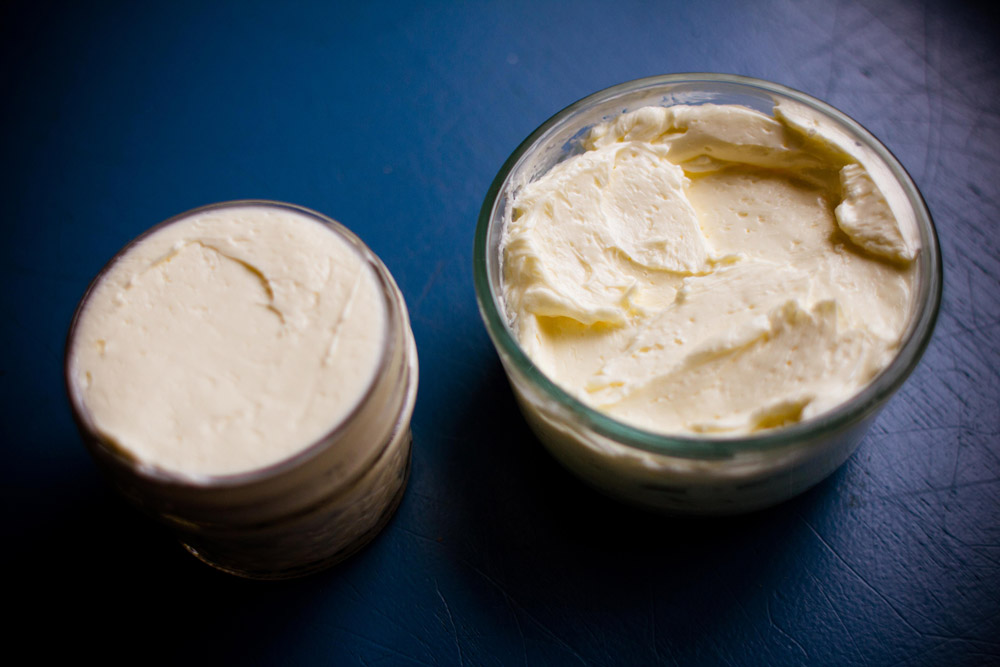
Sparkle Kitchen: Homemade Butter
In the Martin & Sylvia story, “Home-Grown Thanksgiving,” Martin and Sylvia’s family changes their Thanksgiving holiday tradition. For as long as either brother or sister can remember, they have gone to their grandparents’ home to celebrate Thanksgiving. But this year, their parents have decided to host the event at home.
And not only is the traditional location changing, but Momma and Daddy have proposed to cook a Thanksgiving meal with only local ingredients. Everything they eat will come from their own garden or from farms nearby.
Like Martin and Sylvia’s family, our family has experimented with making holiday meals from ingredients closer to home. Increased interest in local eating means that it’s easier than ever to make local meals. But, while finding local veggies and even turkeys isn’t usually hard, where we always get hung-up is in the details.
Little touches like fresh cranberry sauce and warm butter are part of what make Thanksgiving special, but they can be hard to source locally. I haven’t figured out a great solution for the cranberry sauce yet, but where I can help you out is with local butter.
To get local butter, you need local cream. So if you can find a local dairy or friend with a few milk-producing animals—and in most places you can, with just a little research—you’re all set.
The following recipe also uses yogurt or buttermilk to “culture” the butter, giving it a nice added zing of flavor. The butter will be just fine without it, so don’t stress if you’re strictly adhering to a localvore code. Just begin at the mixing step and go from there.
Lastly, as long as you really get the butter “washed” well, this will last for several weeks in the fridge and several months in the freezer, so feel free to make it ahead of time to save your last-minute sanity.
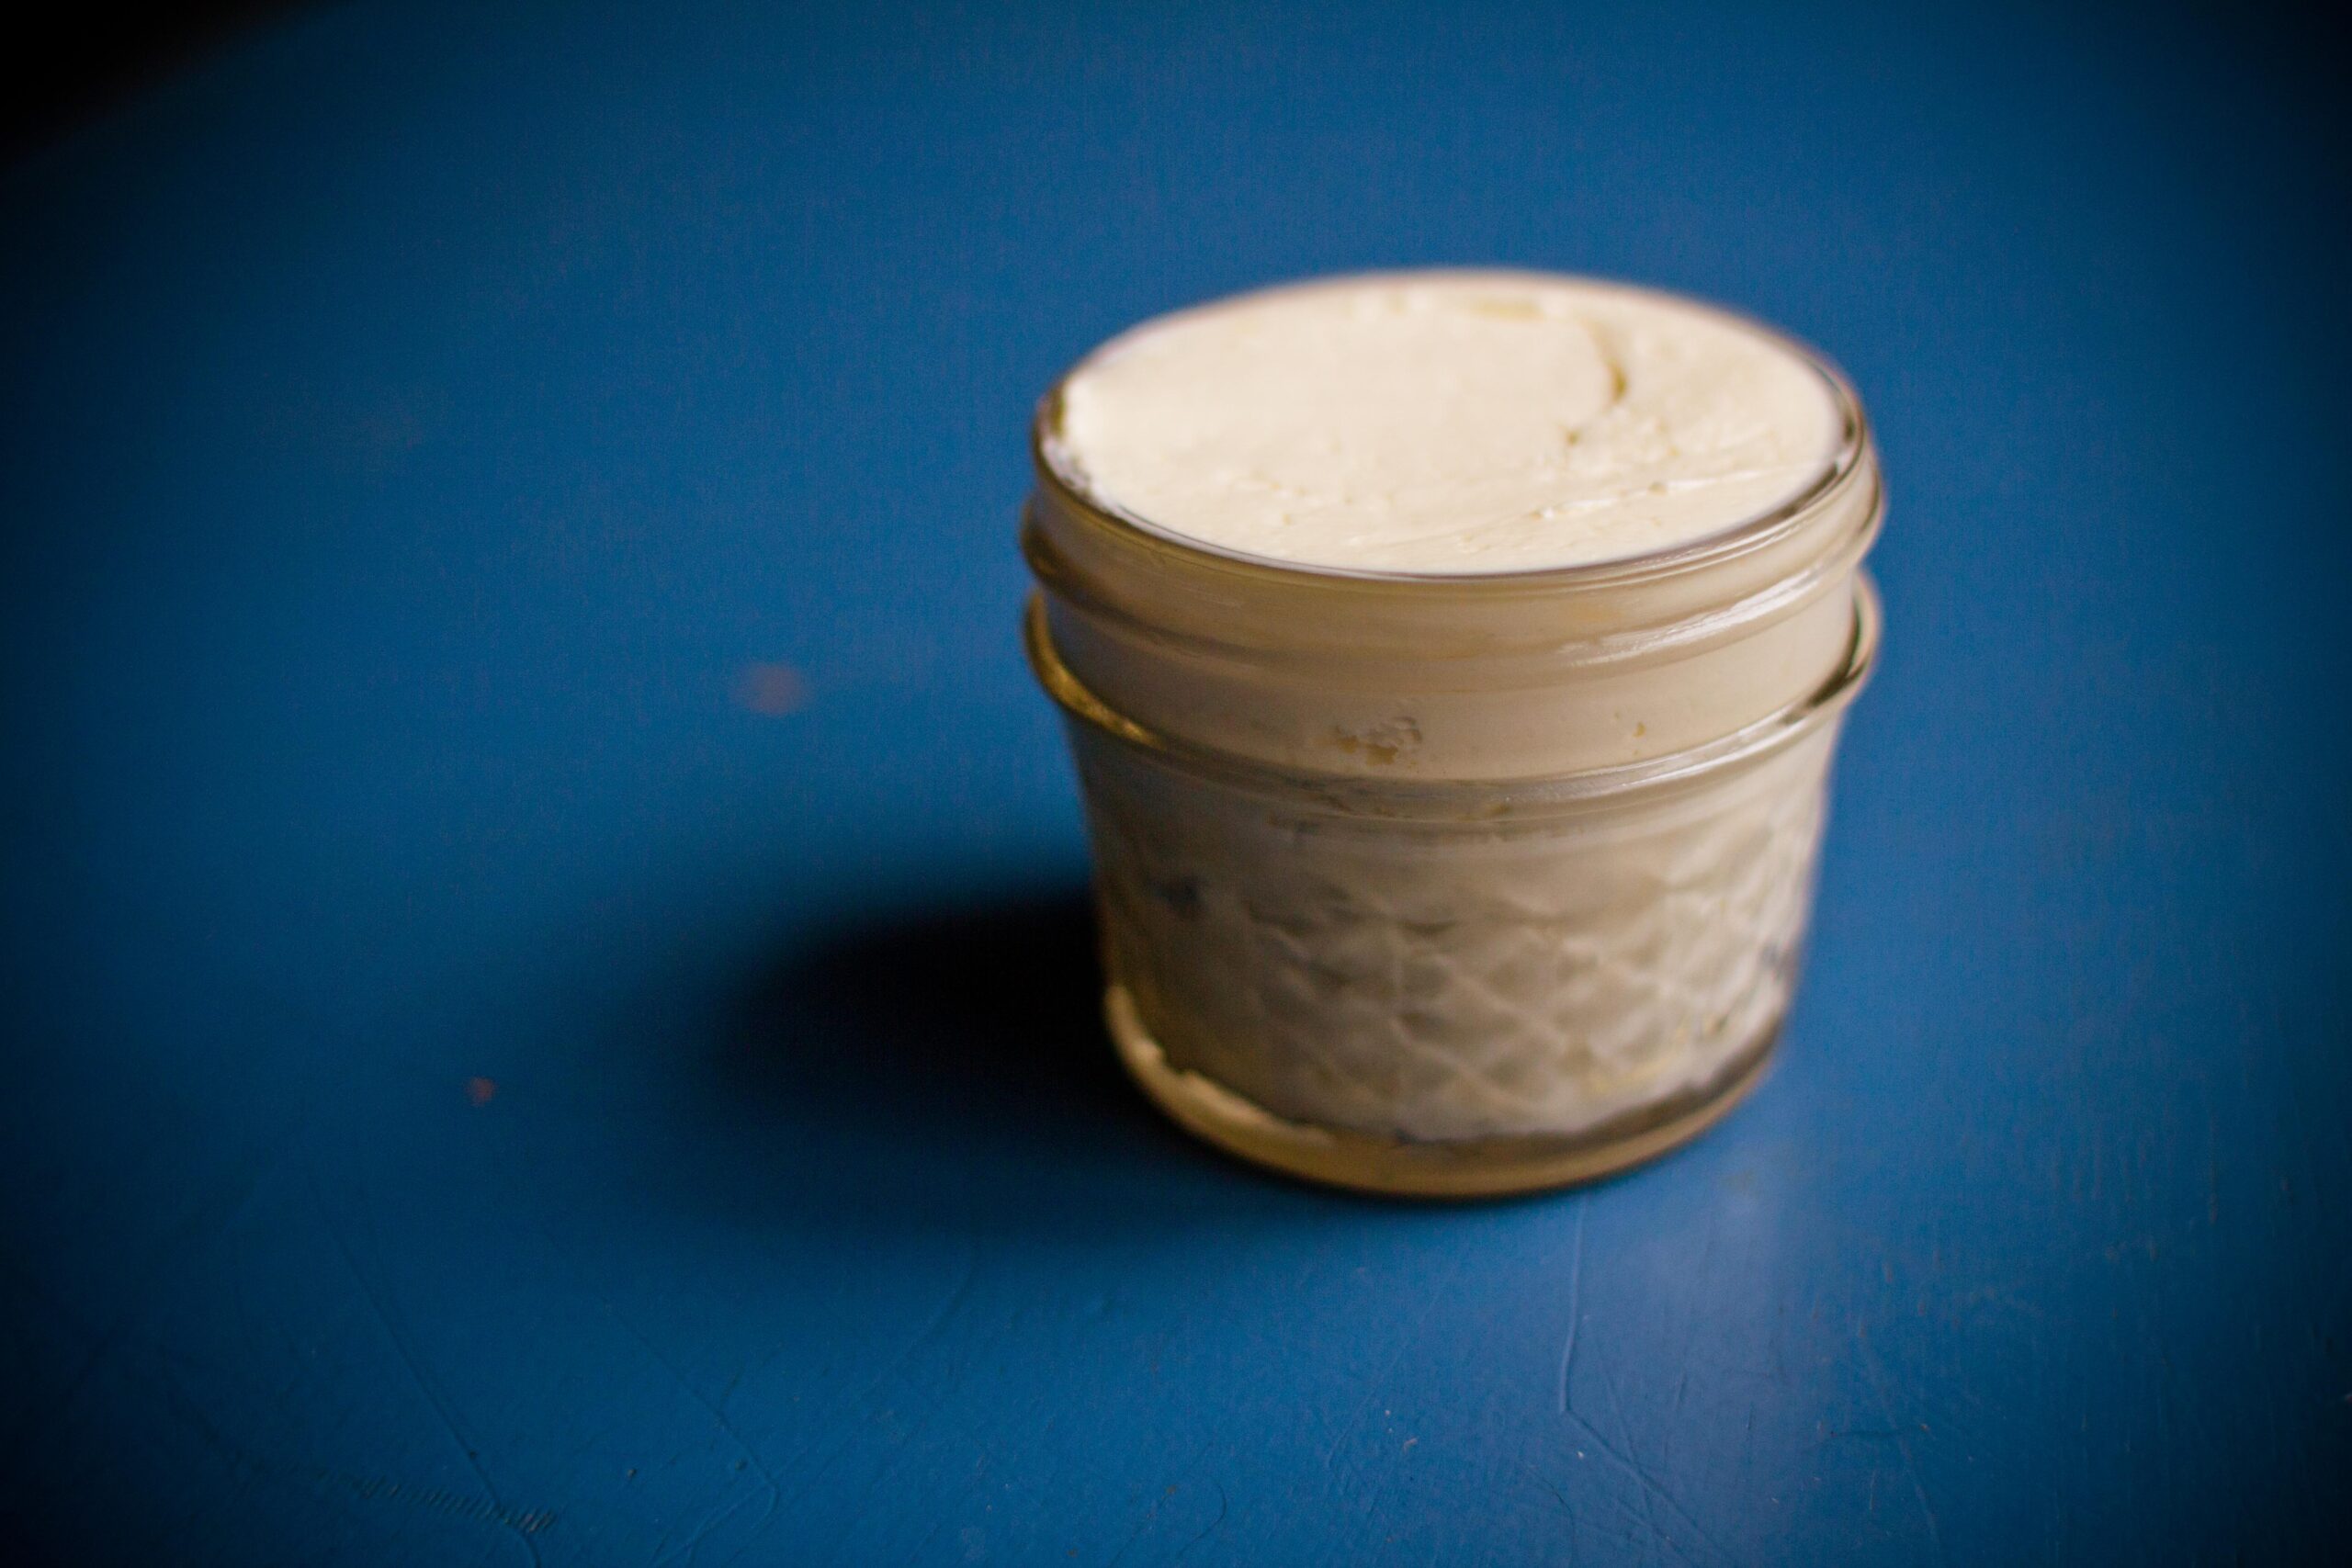
Homemade Butter
(makes about 8 ounces)
Ingredients
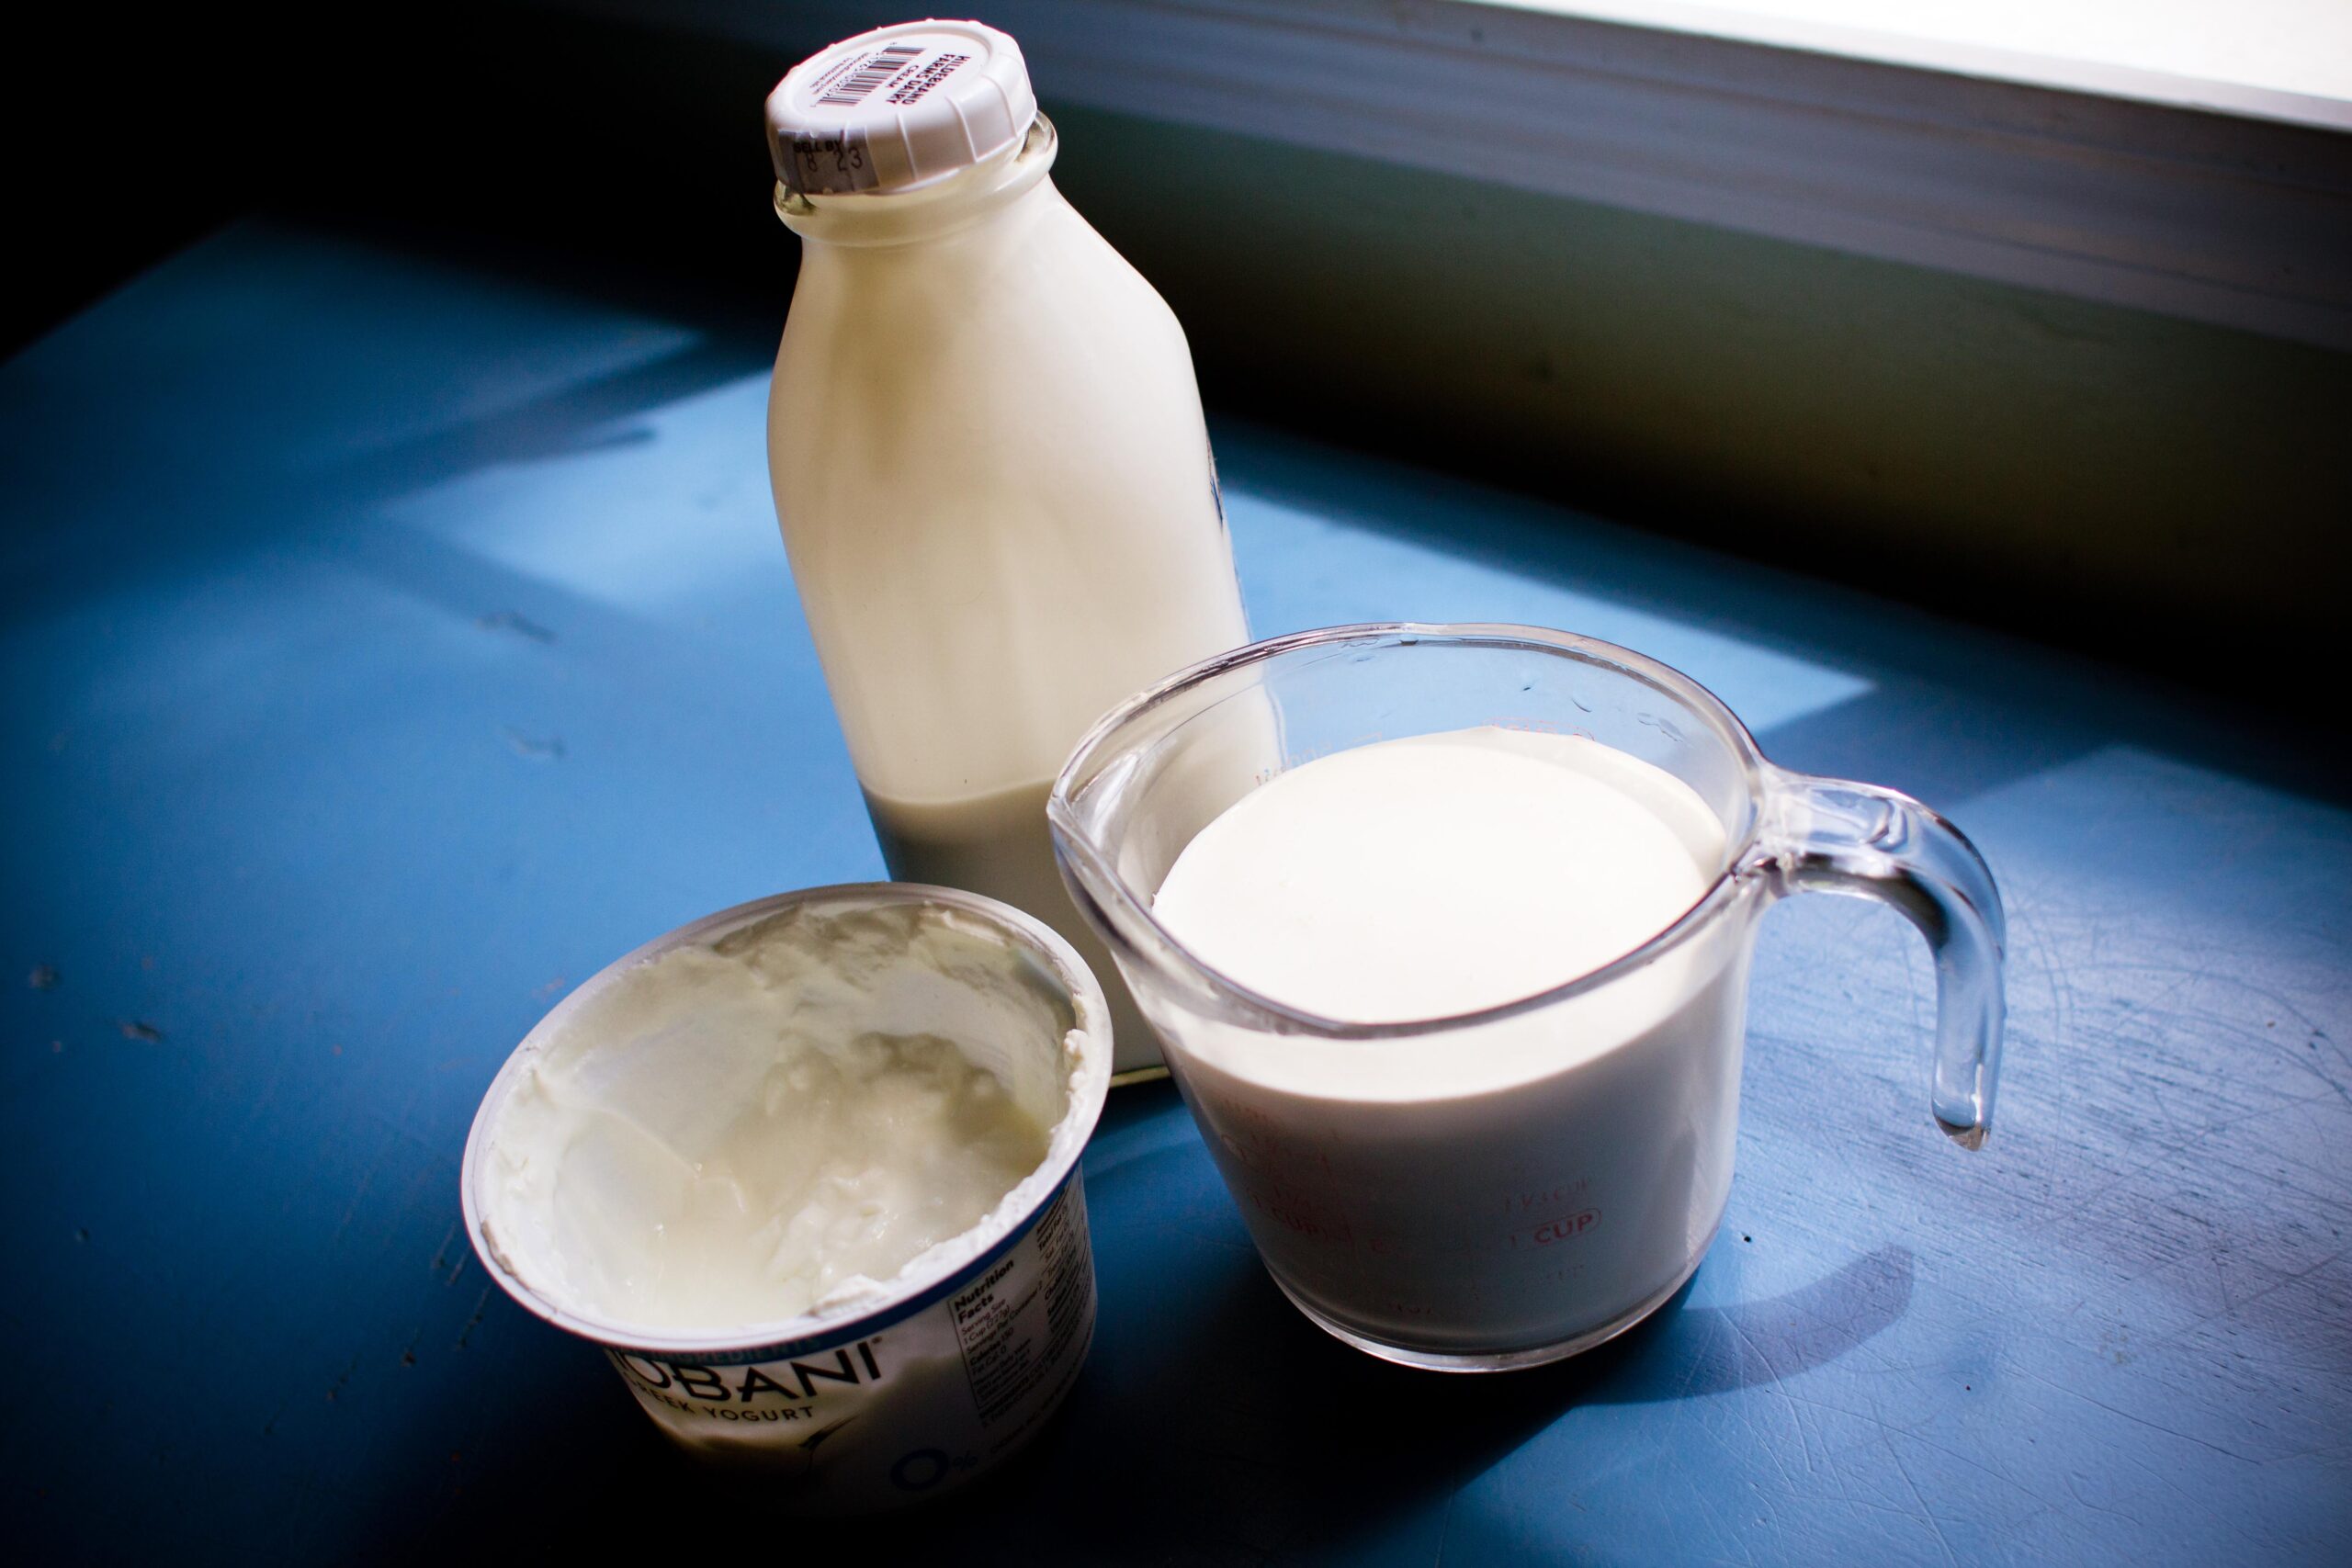
2 cups heavy cream
4 tablespoons yogurt or buttermilk
1 tablespoon salt
Directions
In a clean bowl or large measuring cup, mix the cream and yogurt. Cover with a tea towel and allow to sit at room temperature for about 12 hours. At the end of that time, the cream should be thickened and possibly a little golden. (If it’s bubbling or gassy looking, you’ve accidentally introduced some bad bacteria and you’ll need to throw that cream away and start over.)
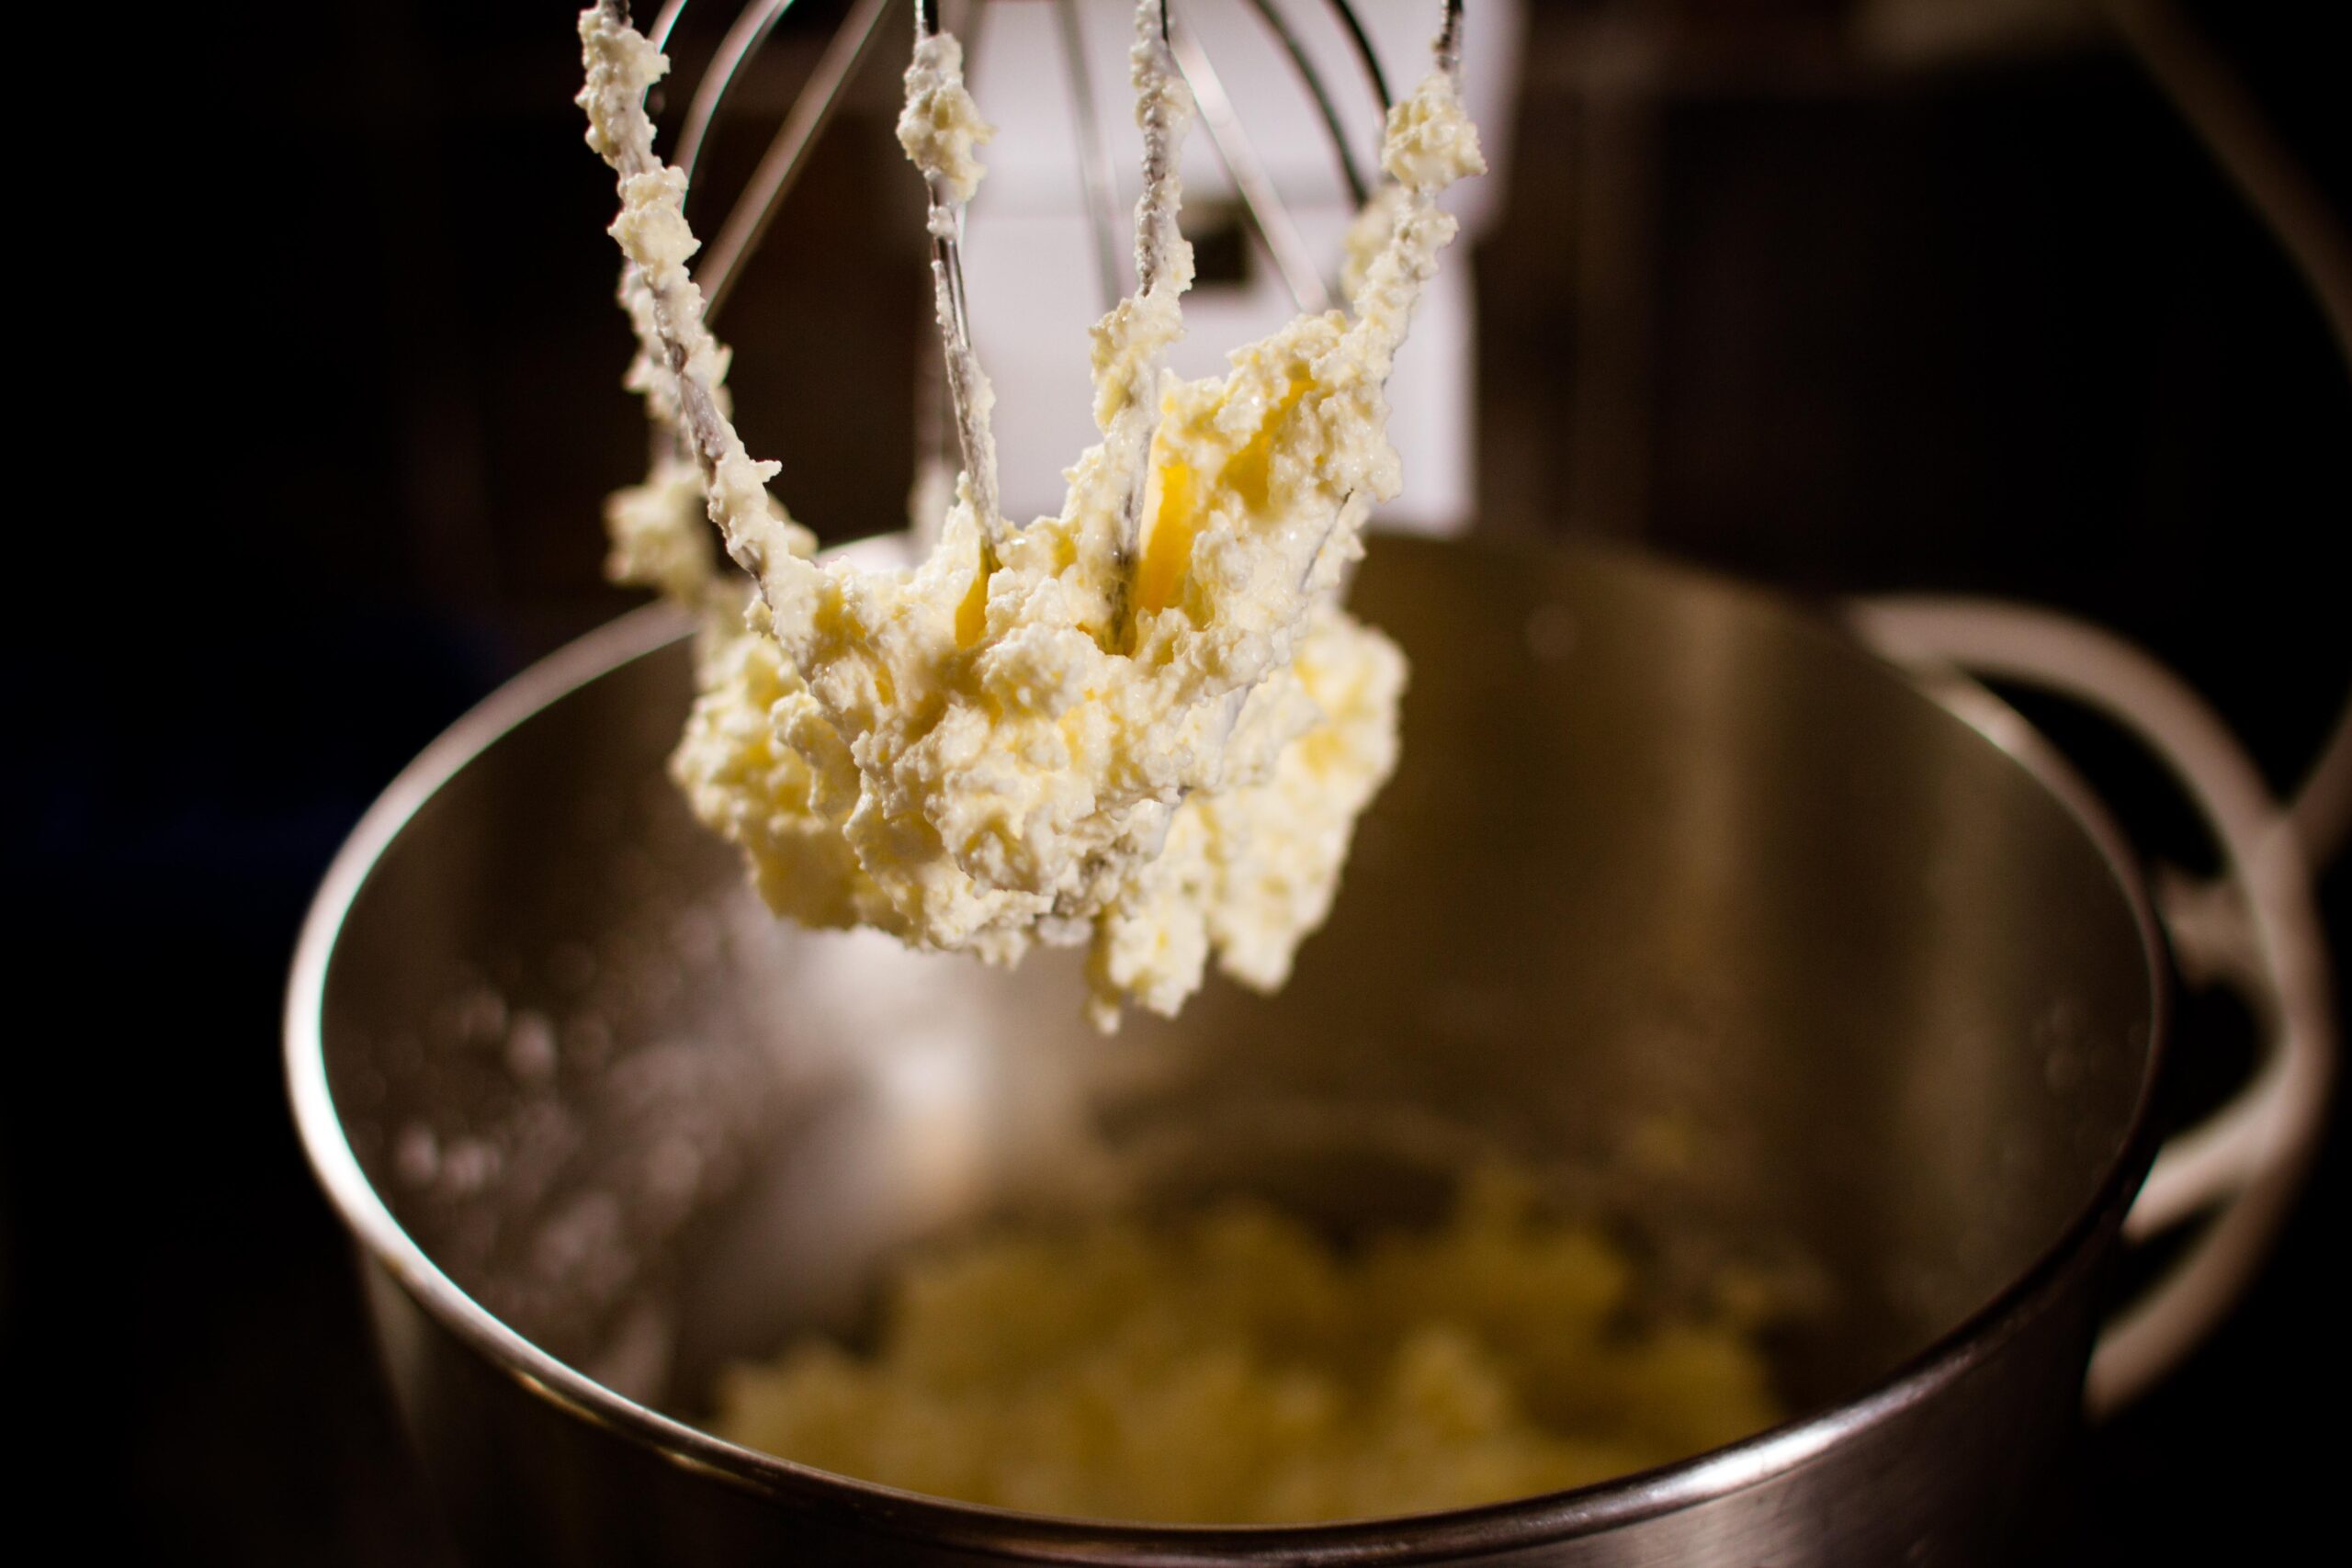
Next, pour the thickened cream into a large mixing bowl and whisk with a stand or hand-held mixer for several minutes. The cream will thicken first, but it will eventually “break” into two separate parts—curdles of butter and buttermilk. When that happens, stop the mixer and pour off as much of the buttermilk as you can. This is essentially the same buttermilk you would buy at the store, so save it and use it in another recipe.
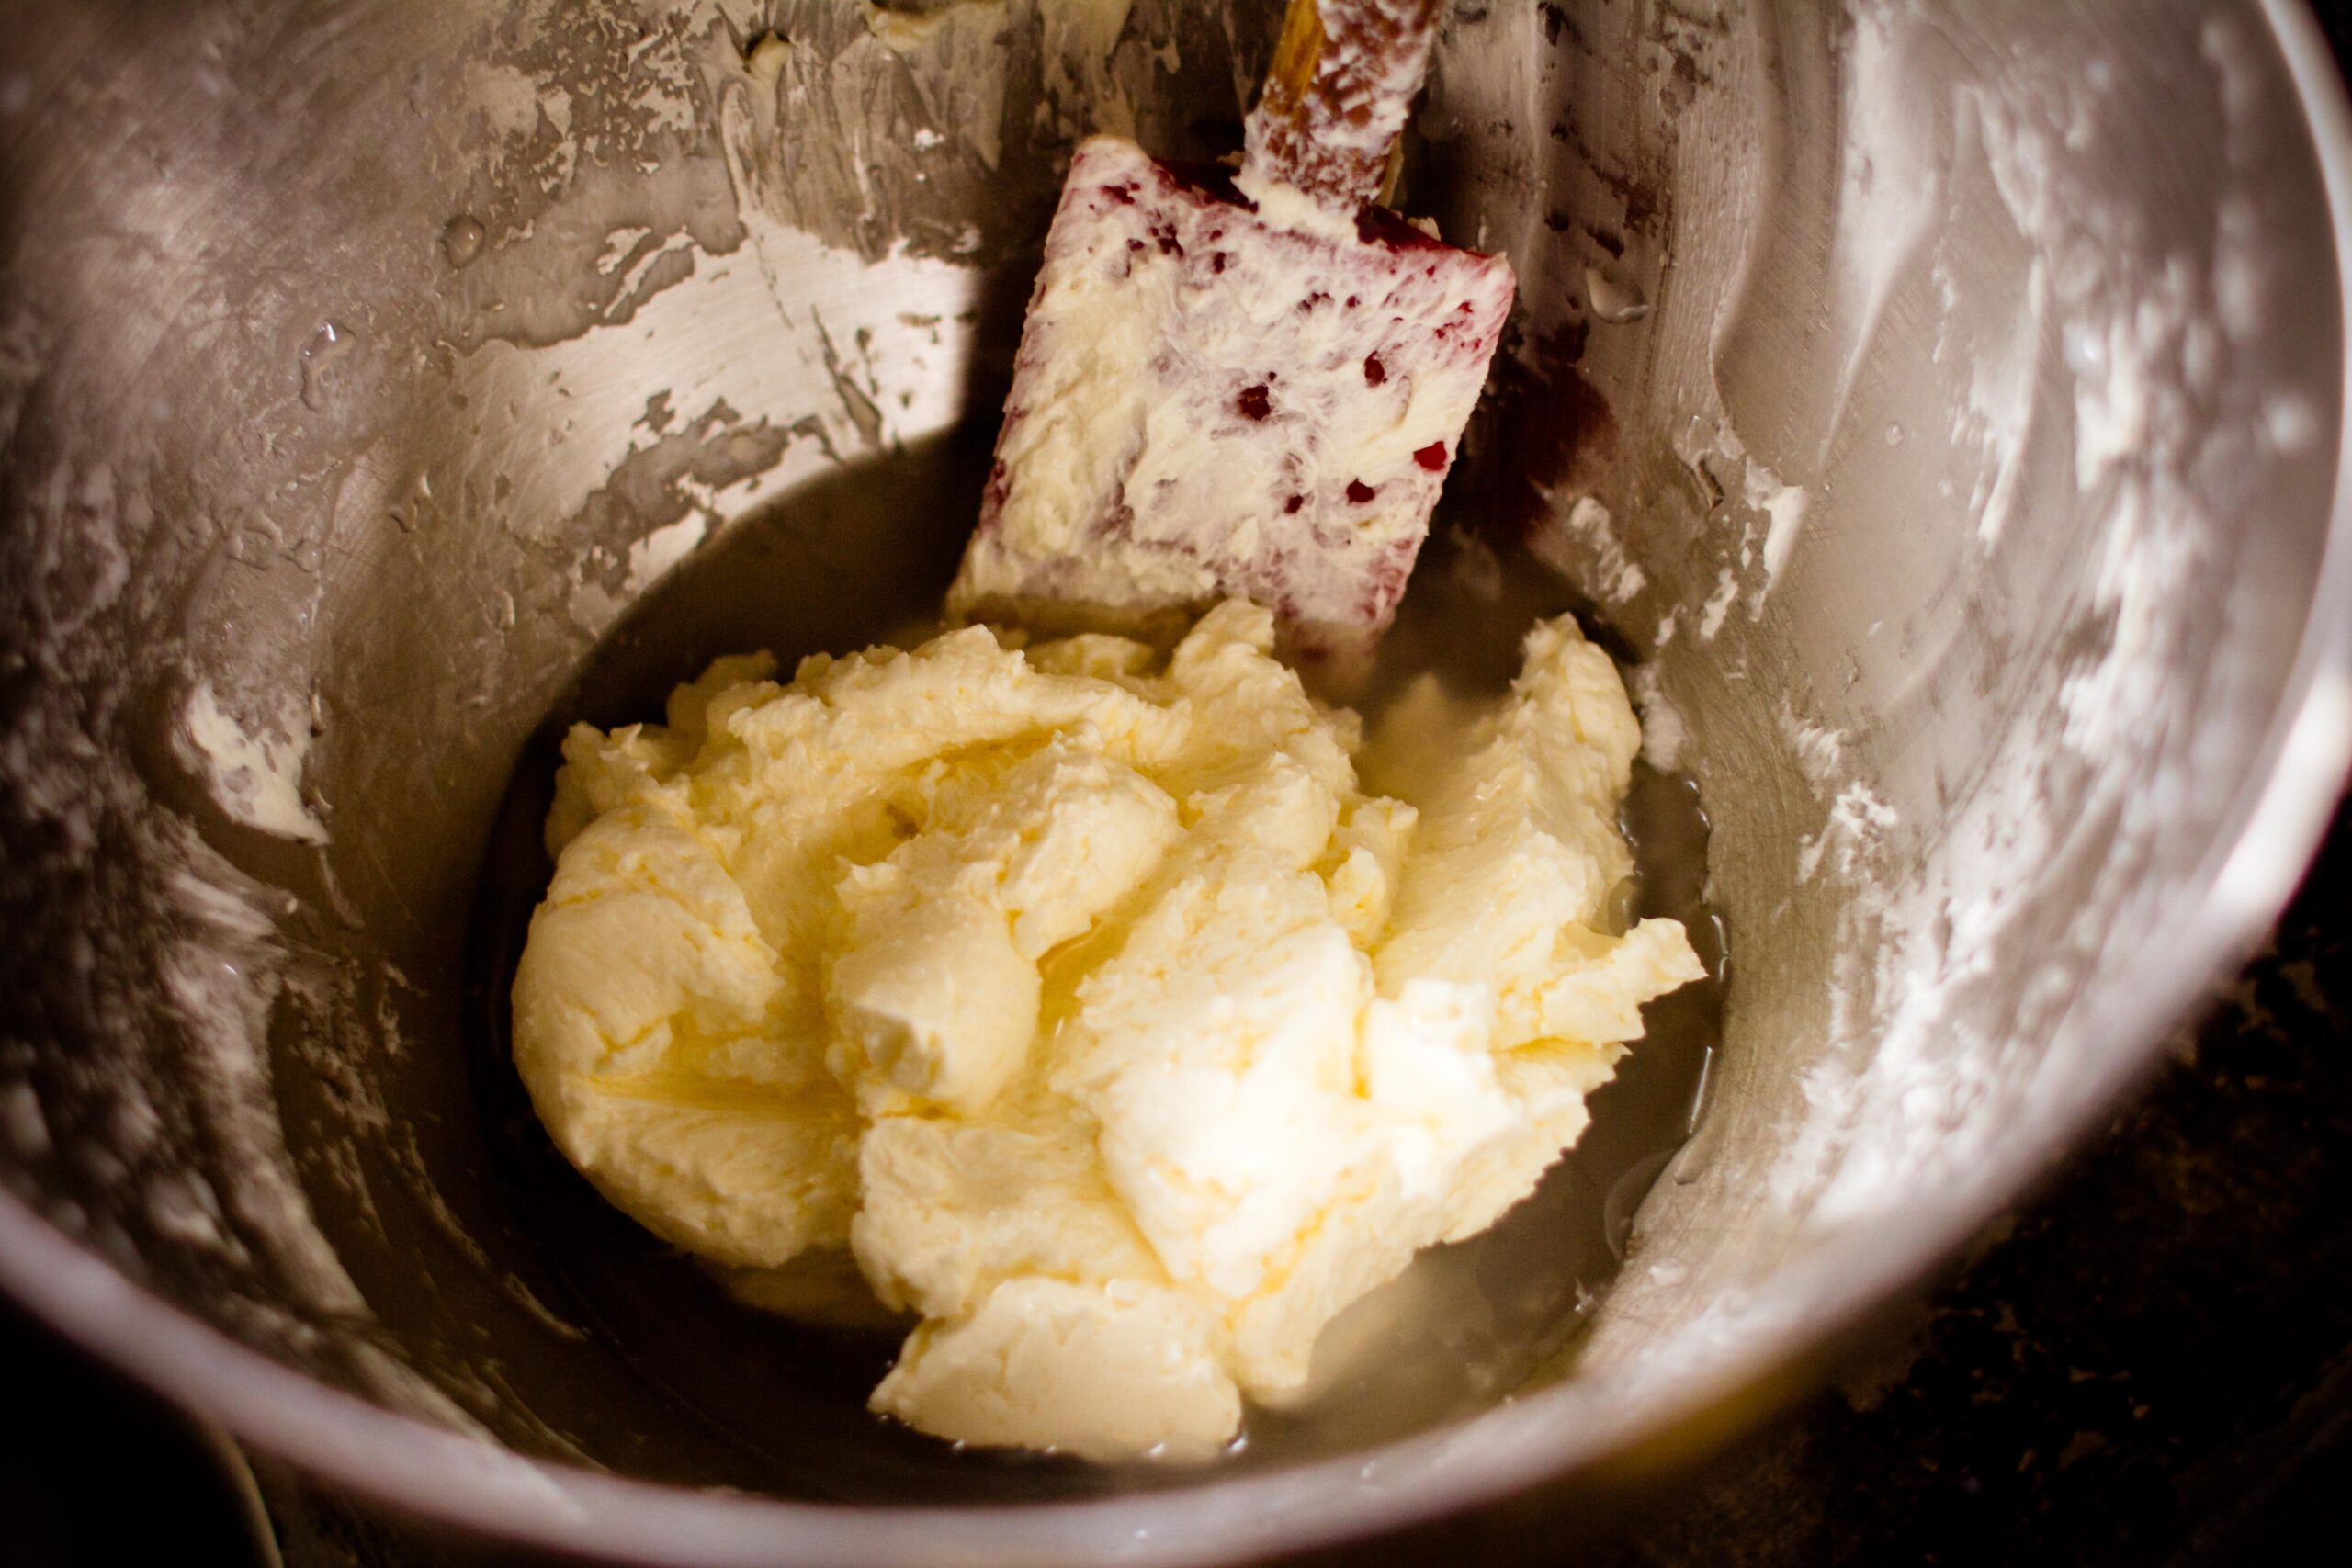
Then, using a spatula or fork, work the butter back and forth at the bottom of the bowl. You’ll notice that even more buttermilk will start to come out. When that happens, add a little ice water and keep working. Every few minutes, pour off the old water and add new—continuing to work the butter all the while. This is called “washing” the butter. The butter is completely washed, and you’re finished, when any new water that you add stays clear.
If you’d like salted butter, pour the butter out onto a cutting board and sprinkle the salt over the top. Mix the salt in well.
Finally, pack the butter into small lidded containers and store in the fridge or freezer. Enjoy!
If you liked this recipe, here are others you might enjoy:
Not yet a subscriber? Try a free trial HERE.
About the authors
-

Meryl Carver-Allmond
Sparkle Kitchen & Craft BloggerThe Sparkle Kitchen Series is created by Meryl Carver-Allmond.
Meryl lives in a hundred-year-old house near the prairie with her sweet husband, two preschoolers, one puppy, one gecko, and about ten chickens. While she’s been writing since she could pick up a pen, in recent years she’s discovered the joy of photography, too. She feels lucky to be able to combine those skills, along with a third passion — showing people that cooking for themselves can be healthy and fun — in her Sparkle Kitchen posts.
