Sparkle Craft: Simple Sewn Books
In the Martin & Sylvia: Saturdays! story “Explorer Pig“, both kids work on their own books to record and share something that they’d learned the previous year. Martin is eager and filled with ideas for filling the pages in his own story. Sylvia is a little more reluctant, not sure at first what she wants to write about. It’s easy to relate to both!
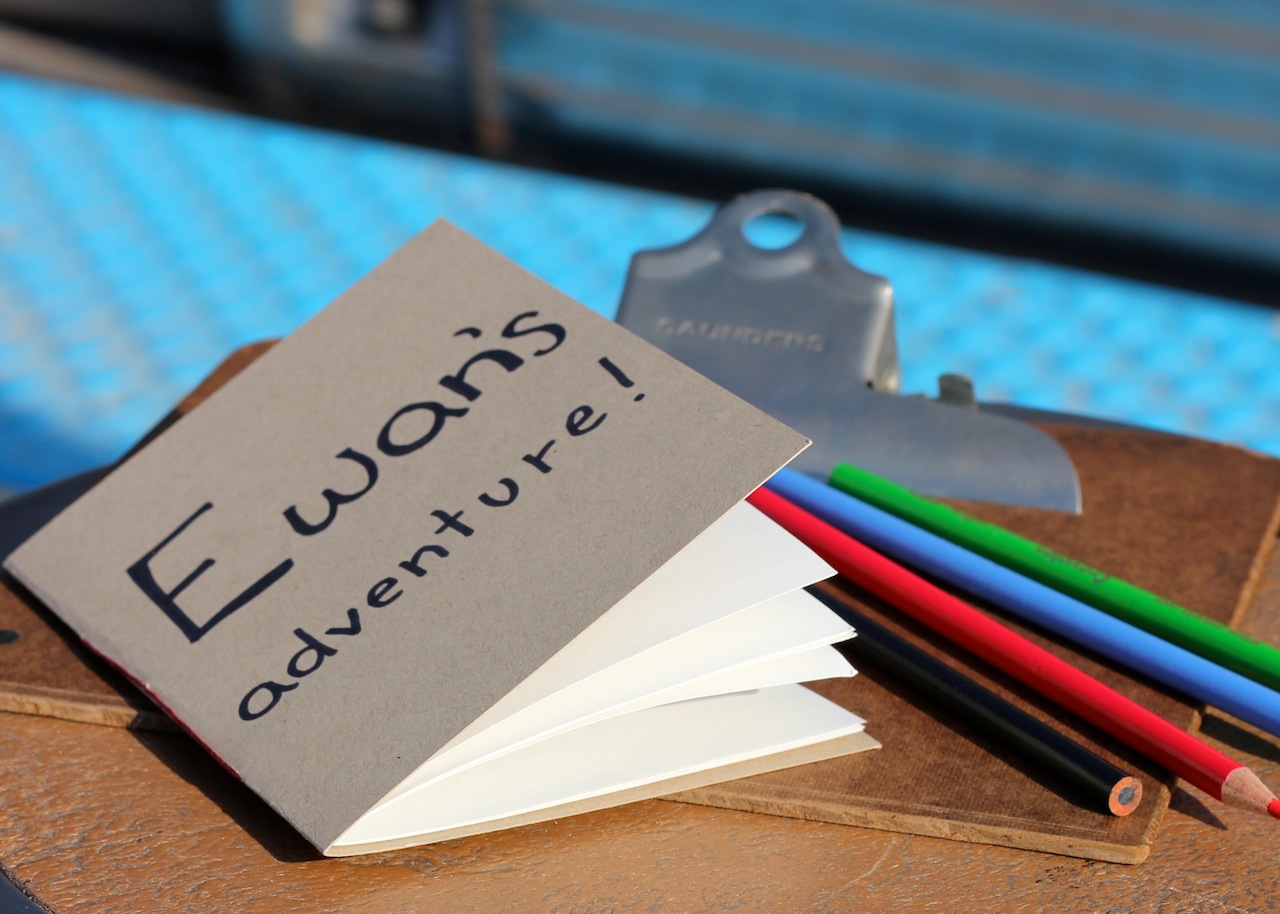
Making simple sewn books is one of my very favorite projects to do with kids. There is something truly magical about giving little ones the chance and opportunity to tell their own tales and write their own stories. These little books make perfect additions to a home library and are super keepsakes, capturing the moment in time in a way that a photograph just can’t.
So, make a few simple sewn books and invite your little ones to fill them. See what they come up with and have fun!

You Will Need
Card Stock
Journal Pages
Credit Card
Bookbinding (or sewing) Needle
Bakers Twine (or embroidery floss)
Scissors
What To Do
Decide how large you want your journal to be.
Cut the card stock accordingly. Trim the inside pages to ¼-inch smaller – in length and width – than your cover.
Example – if your cover is 8-inches by 10-inches, you’ll want to trim your inside pages to 7¼-inches by 9¼-inches.

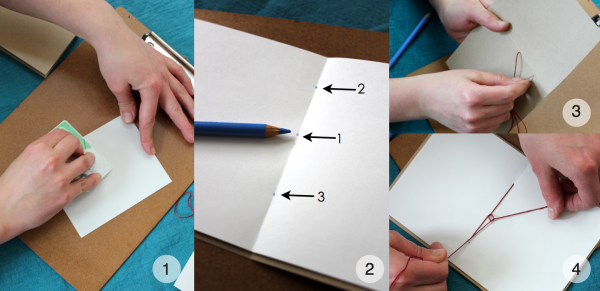
Fold the card stock cover and journal pages in half. Rub a credit card up and down the fold to flatten it (picture 1).
Open the pages up and stack them with the cover on the bottom.
Mark the pages. On the inside fold, make a mark at the center with a pencil. Then make a mark on each side of that center mark. These two marks should be halfway between the center mark and the edge of the paper (picture 2).
Thread the bakers twine or embroidery floss through your needle.
Bind the book. Starting at mark 1, push the needle through from the inside of the journal to the outside. Leave a couple inch tail on the inside of the journal. Push the needle back through to the inside at mark 2 (picture 3). Push the needle through to the outside at mark 3. Finish binding the journal by again stitching from the outside to the inside at mark 1. With the two ends of thread, tie a knot in the inside-middle of your journal (picture 4). Cut the ends of the thread.
Fill your pages. And this is where the real fun comes in! Decide how to fill those pages and do it!
Explore More
Perhaps you’d like to share your book with someone. Who do you think would enjoy it?
Do you know what a sequel is? Ask your grown-up. Then, can you try writing a sequel to your story?
Make Connections
Have you ever had a time, like Martin, where your mind was bursting with ideas and you couldn’t wait to get started? How about like Sylvia, where it took you just a little bit longer to find inspiration?
About the authors
-

Andrea Folsom
Sparkle Crafts BloggerAndrea Folsom describes herself as a writer, editor, creative maker, and eternal optimist. She is passionate about learning and sharing new creative techniques, making beautiful spaces, and talking about the social-emotional benefits of creativity and art. She runs [Crafting Connections](http://www.craftingconnections.net/) – a website providing inspiration, practical advice, and projects for creative families – with her close friend Danielle Reiner.
-

Danielle Reiner
Sparkle Crafts BloggerDanielle Reiner describes herself as a creative, a maker, and a mama. At the heart of her story is creativity, though that hasn’t always been the case. She rediscovered her deeply hidden creativity early in adulthood – with a ball of yarn and a couple of knitting needles – and hasn’t stopped since. Danielle also runs [Crafting Connections](http://www.craftingconnections.net/) – a website providing inspiration, practical advice, and projects for creative families – with her close friend Andrea Folsom.


