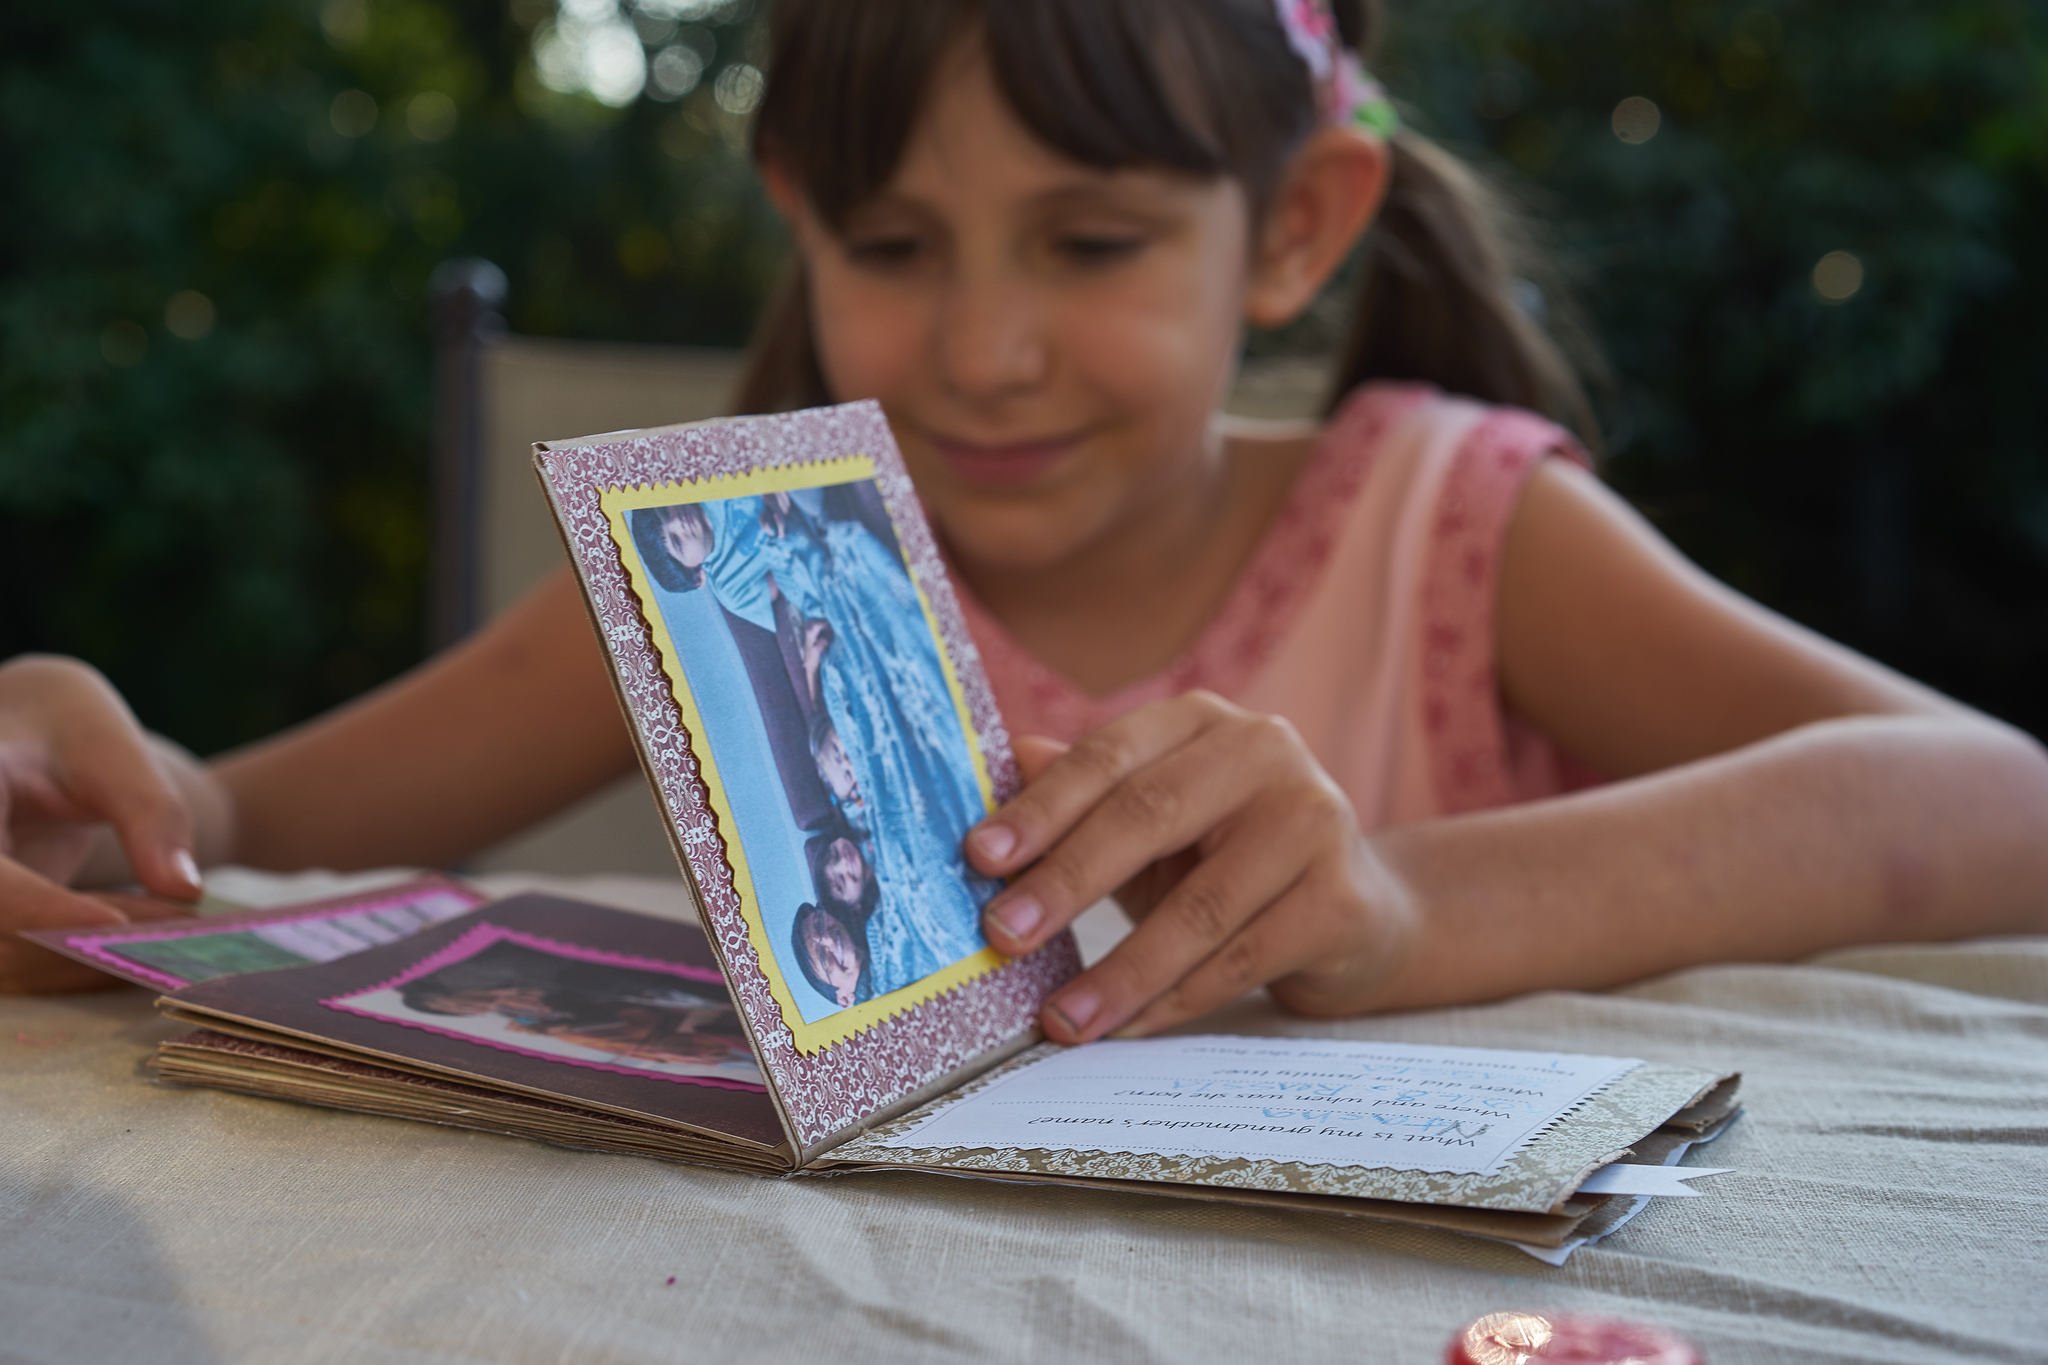
Craft Your Own Memory Book
In the Loving Our Grands story “Grandpa Red-Crest’s Memory Nest,” Grandpa Woodpecker is having trouble with his memory. This confuses and concerns Little Bluebill. His mother suggests a plan to help that offers comfort, excitement, and a special challenge for the little woodpecker:
“When woodpeckers have trouble remembering things, we put special memories in the nest with them: little things that are connected to certain times in their life. Like in Grandpa’s case, we would put an acorn to remind him of his big home in the oak tree, and maybe some milkweed silk to remind him of when he met his wife, your grandmother – on a fence in the middle of a field of milkweed. We put those things in his nest to help him remember, and then he can tell those stories again.”
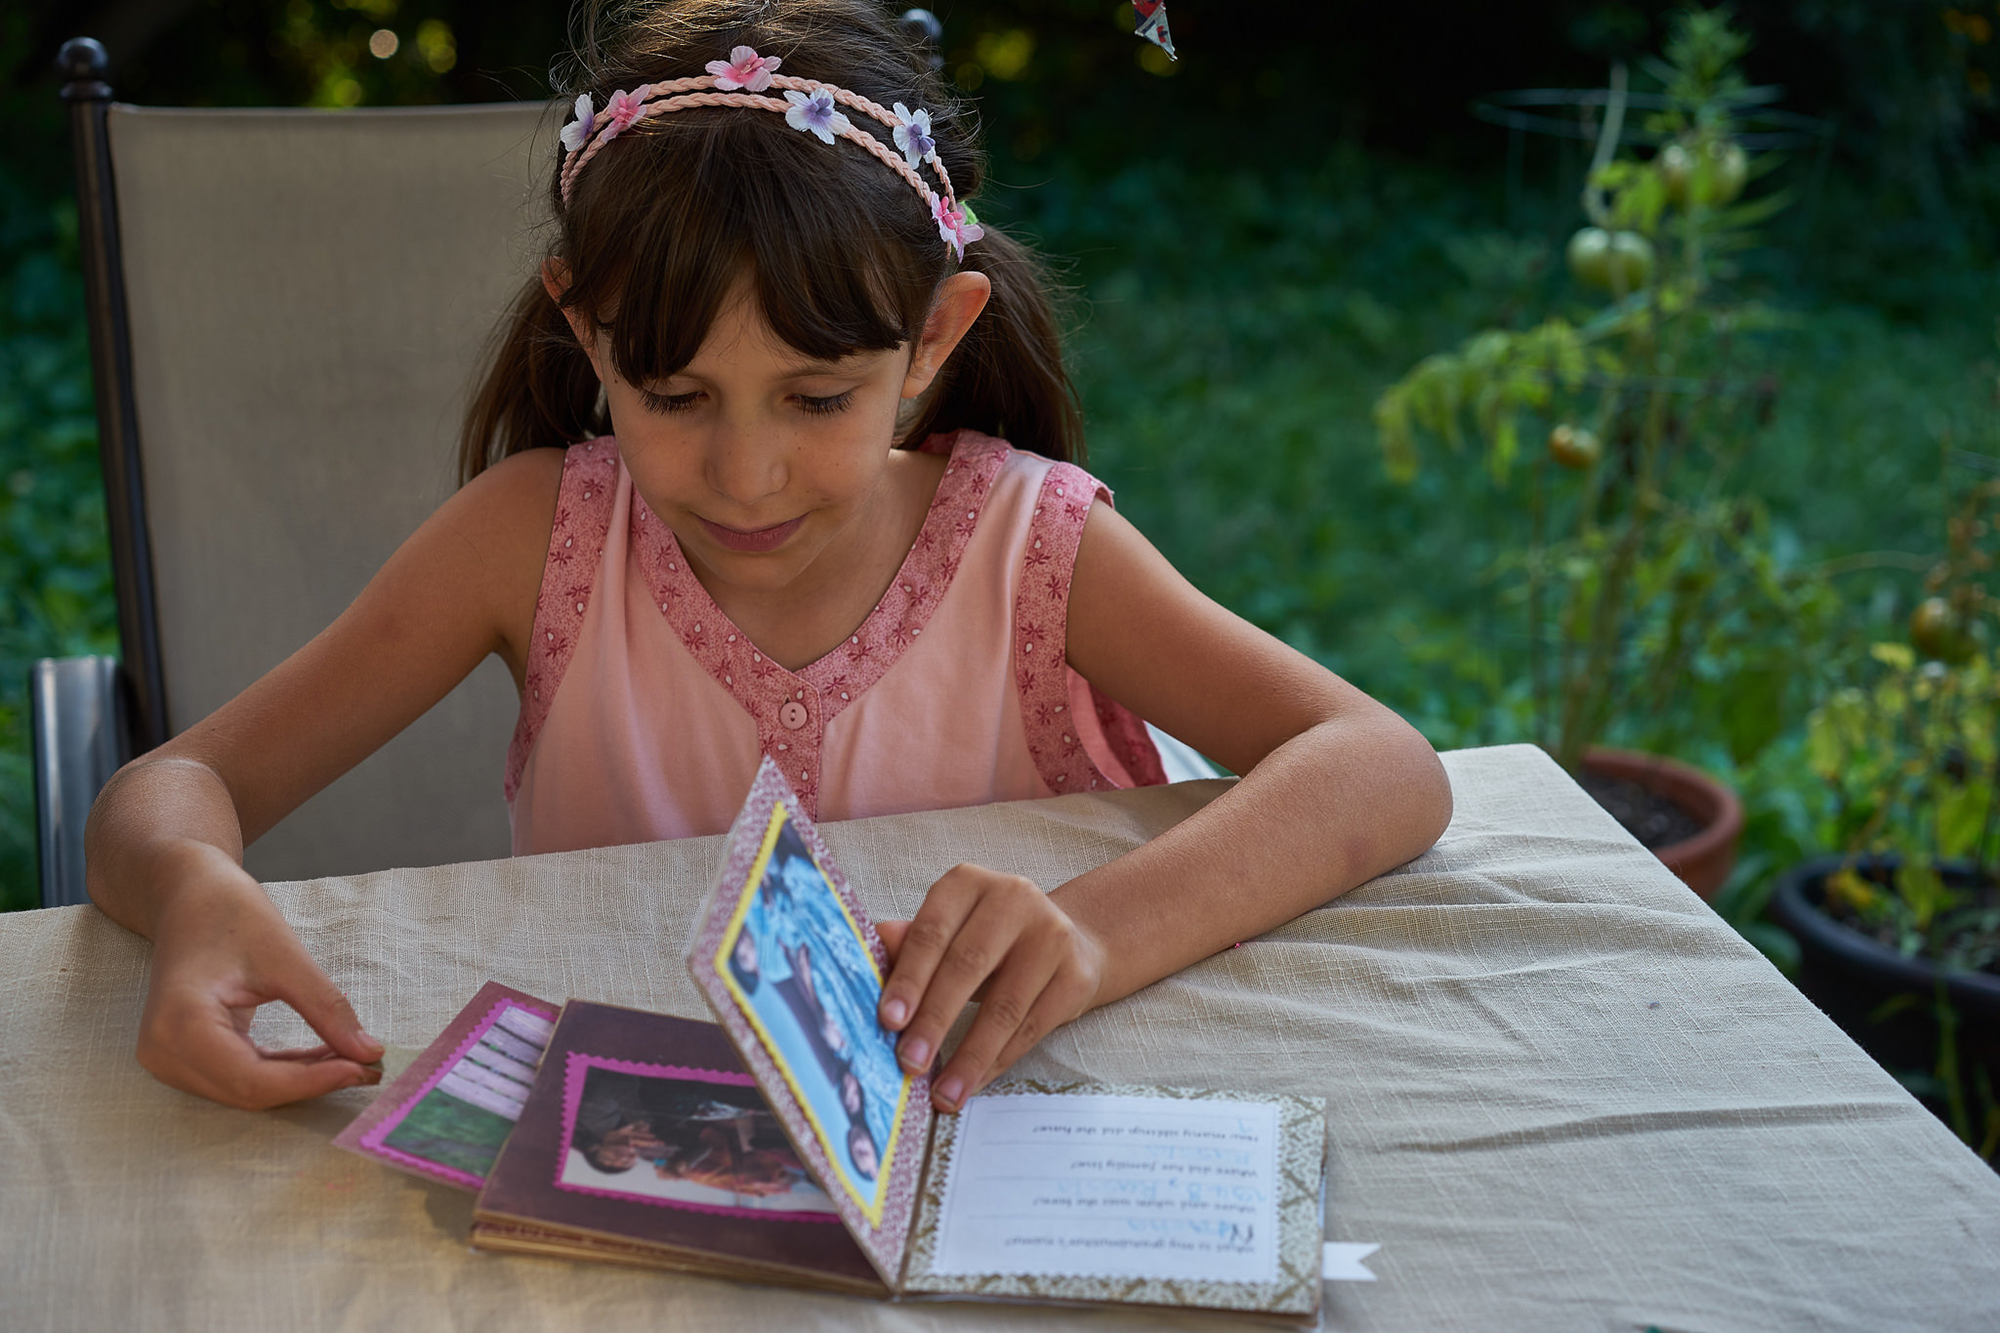
Inspired by the story “Grandpa Red-Crest’s Memory Nest” from our Loving Our Grands collection, we’ve created a playful and compact Memory Book project. Just like Little Bluebill in the story, your children can work with an older relative or friend to compile drawings, photos, or memorabilia from that older person’s younger days — a project that may inspire stories or conversations that both the child and the elder can enjoy.
The goal is not to create the complete memory book of one’s life, but to capture a few moments that will spark memory and connection between them and others.
“Grandpa Red-Crest’s Memory Nest” is a part of the Loving Our Grands collection, created to support children in understanding, relating to, and honoring the elders in their lives. Find it here.
Memory Book
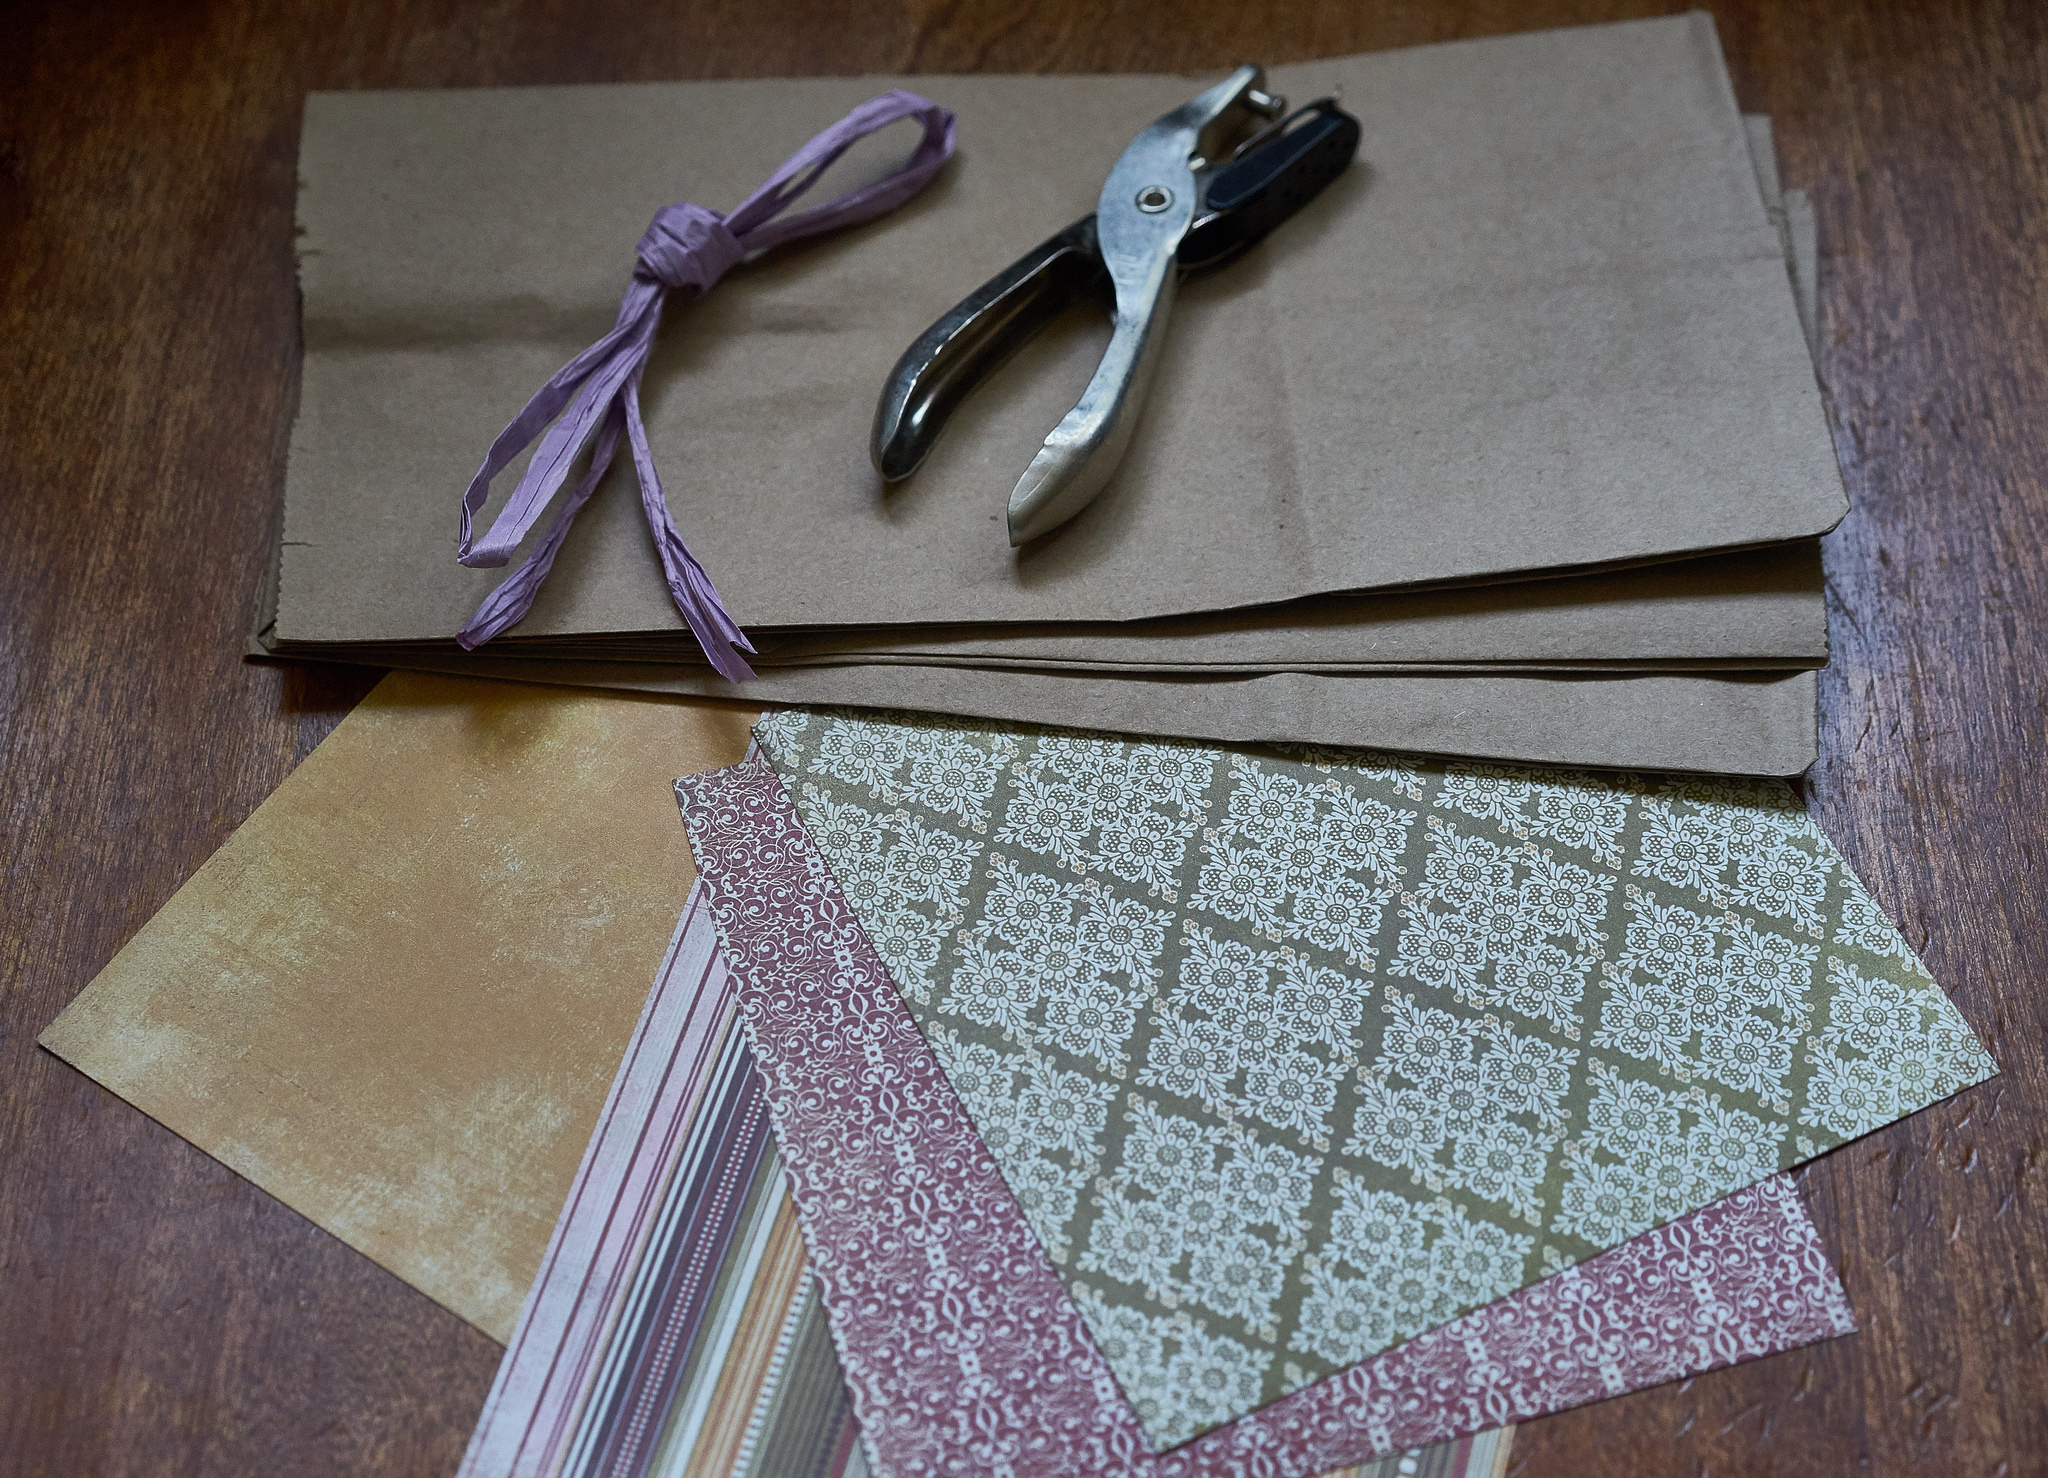
Materials
3 paper lunch bags
Construction paper
Patterned scrapbook paper
String
Hole punch
Pencils, markers, or crayons
Scissors
Glue stick
Directions
Layer three paper bags together. Use the images as a guide.
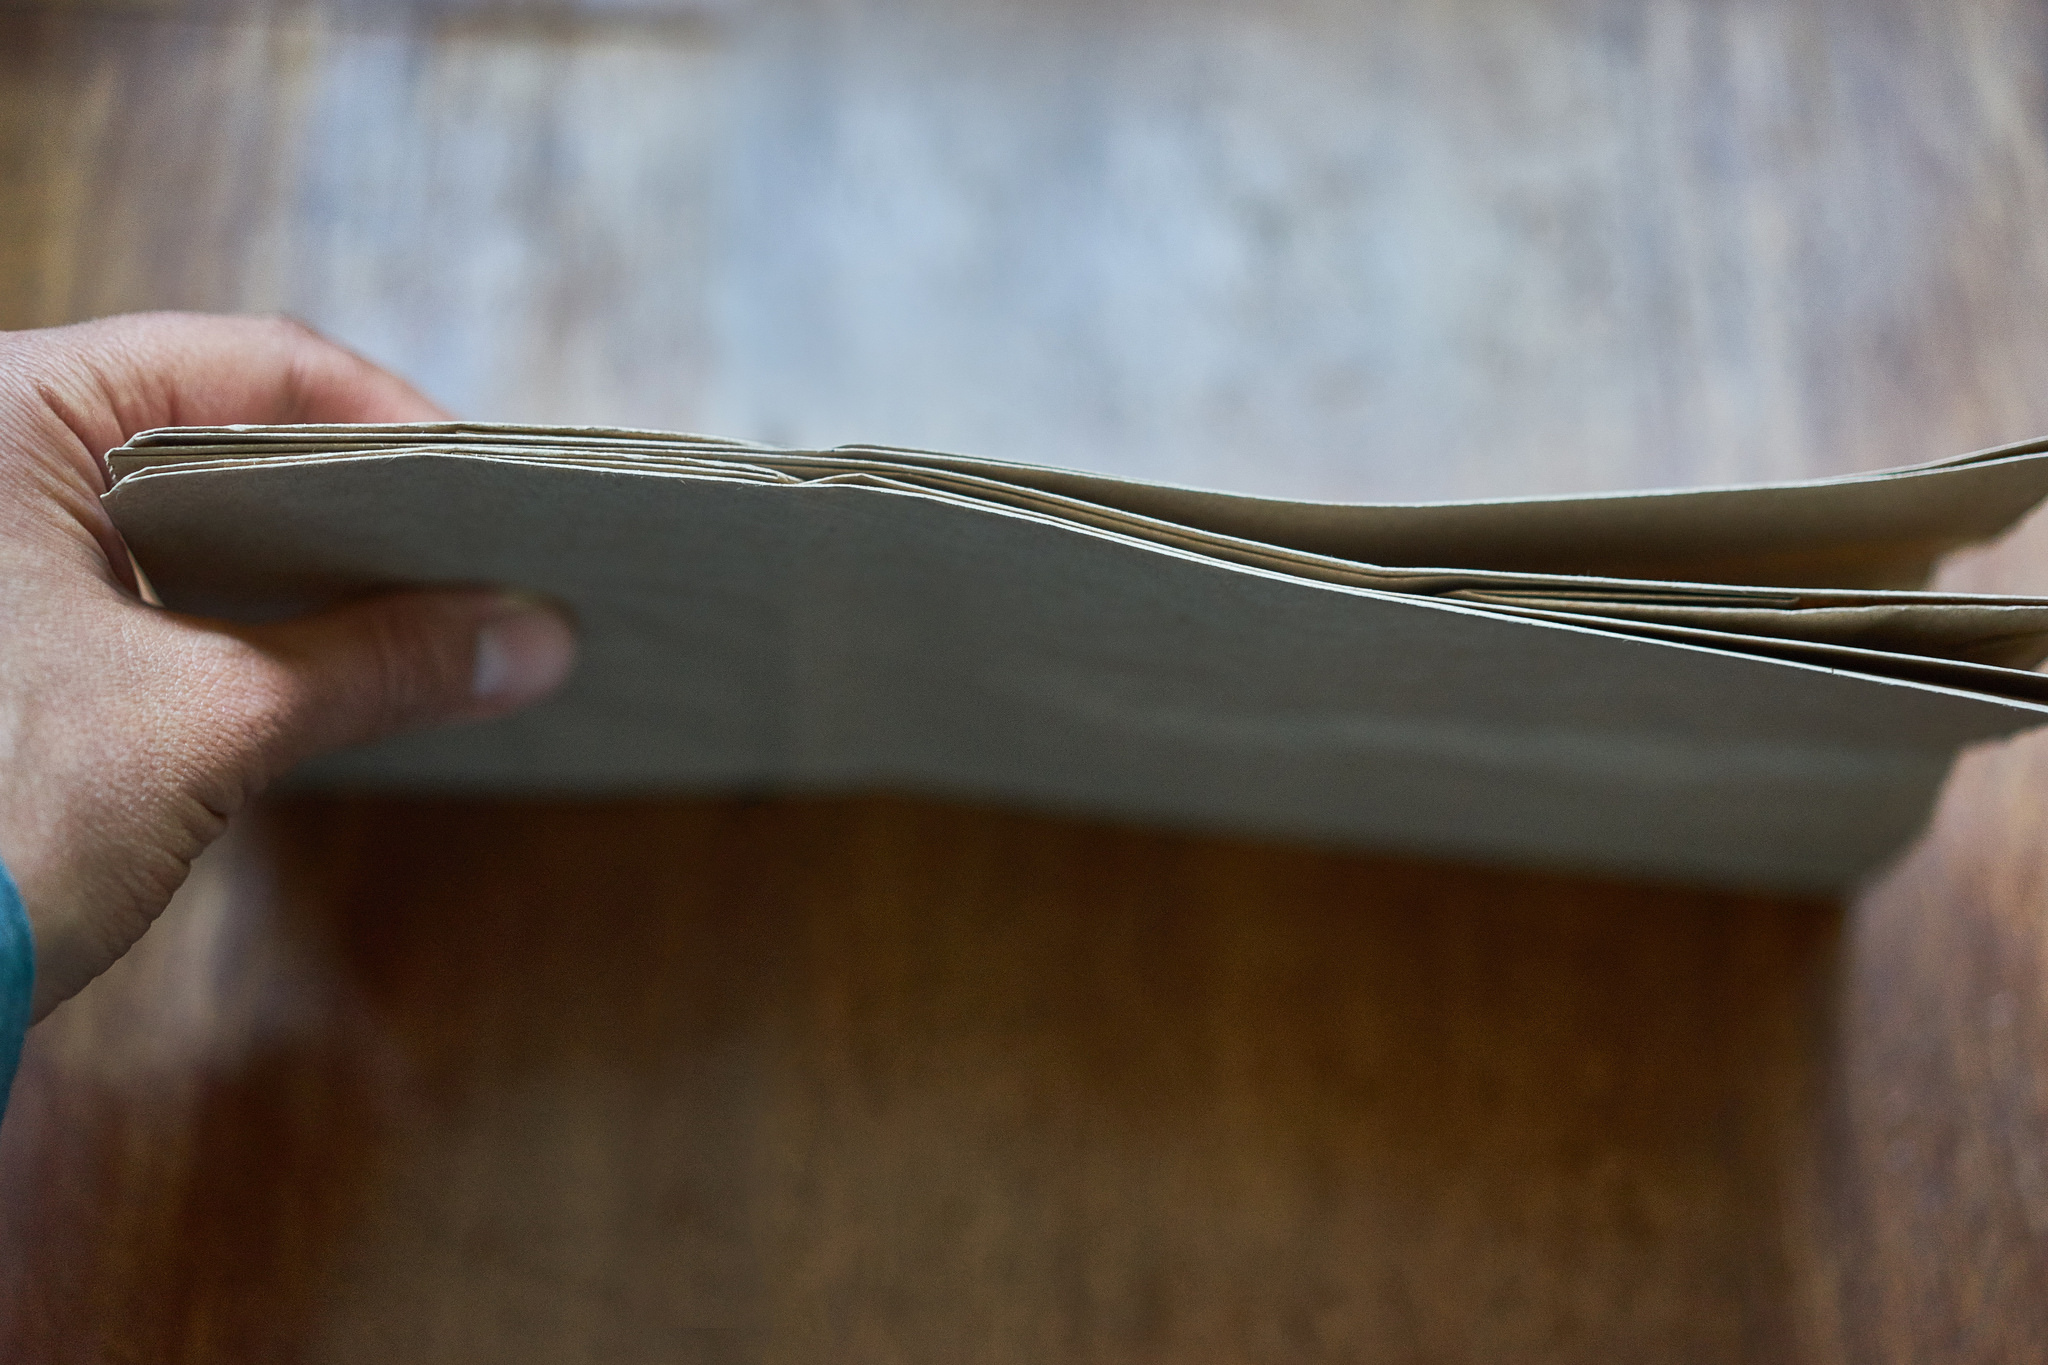
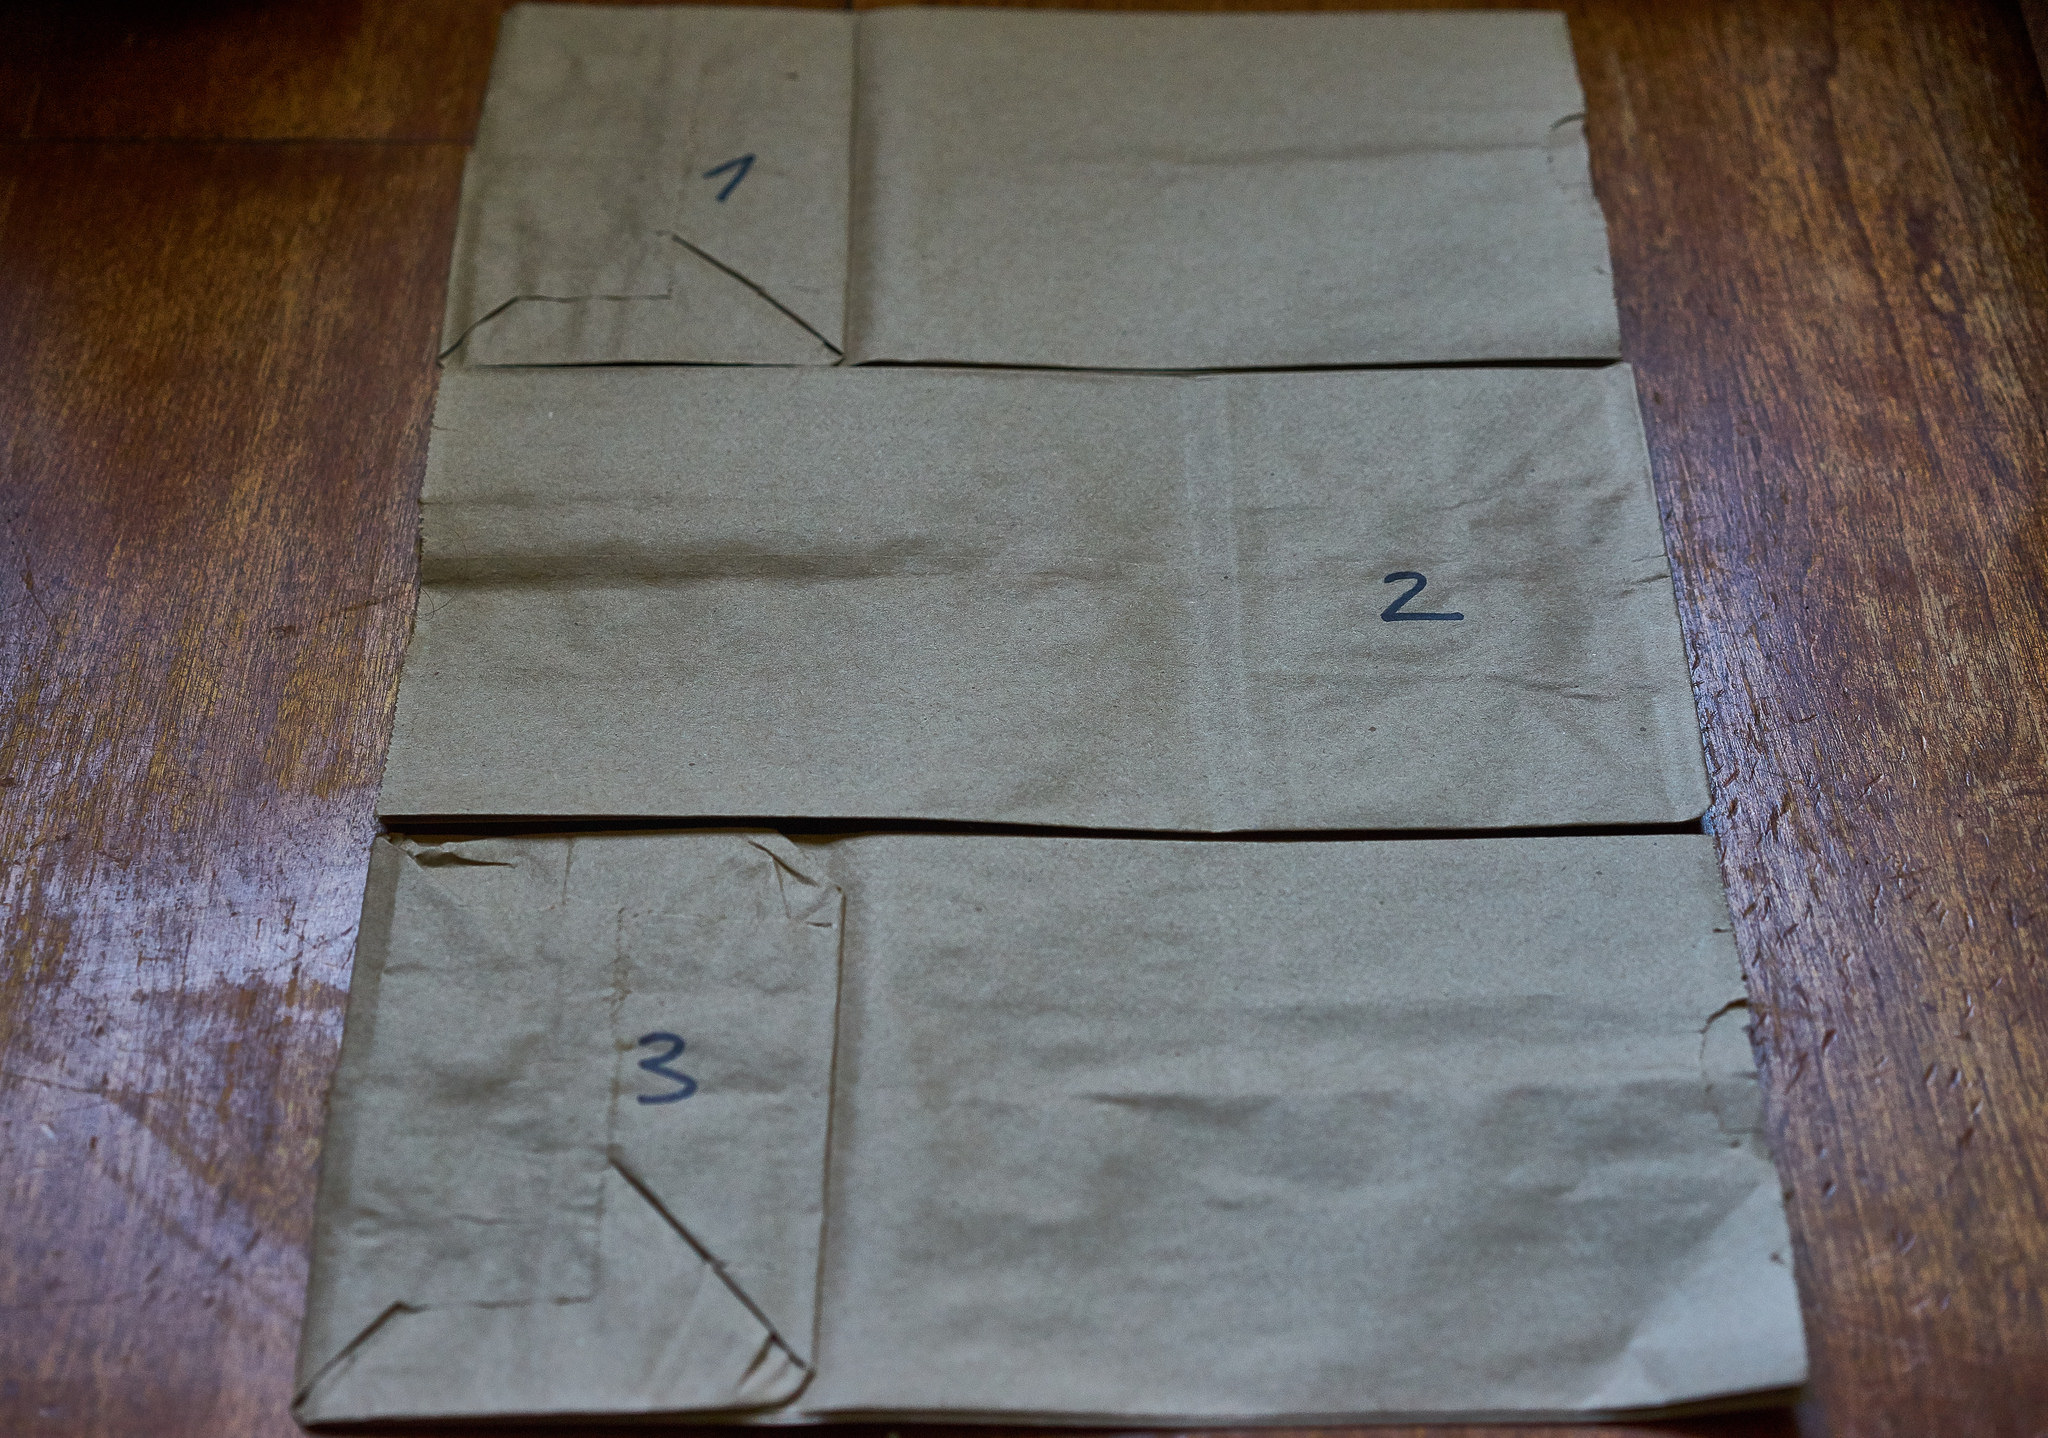
Using a paper bag as a template, cut out a rectangle from the scrapbook paper to create a cover. Place the rectangle under the three paper bags, glue it, and then punch a hole at each side of the book. Thread a string, tie a knot and a bow.
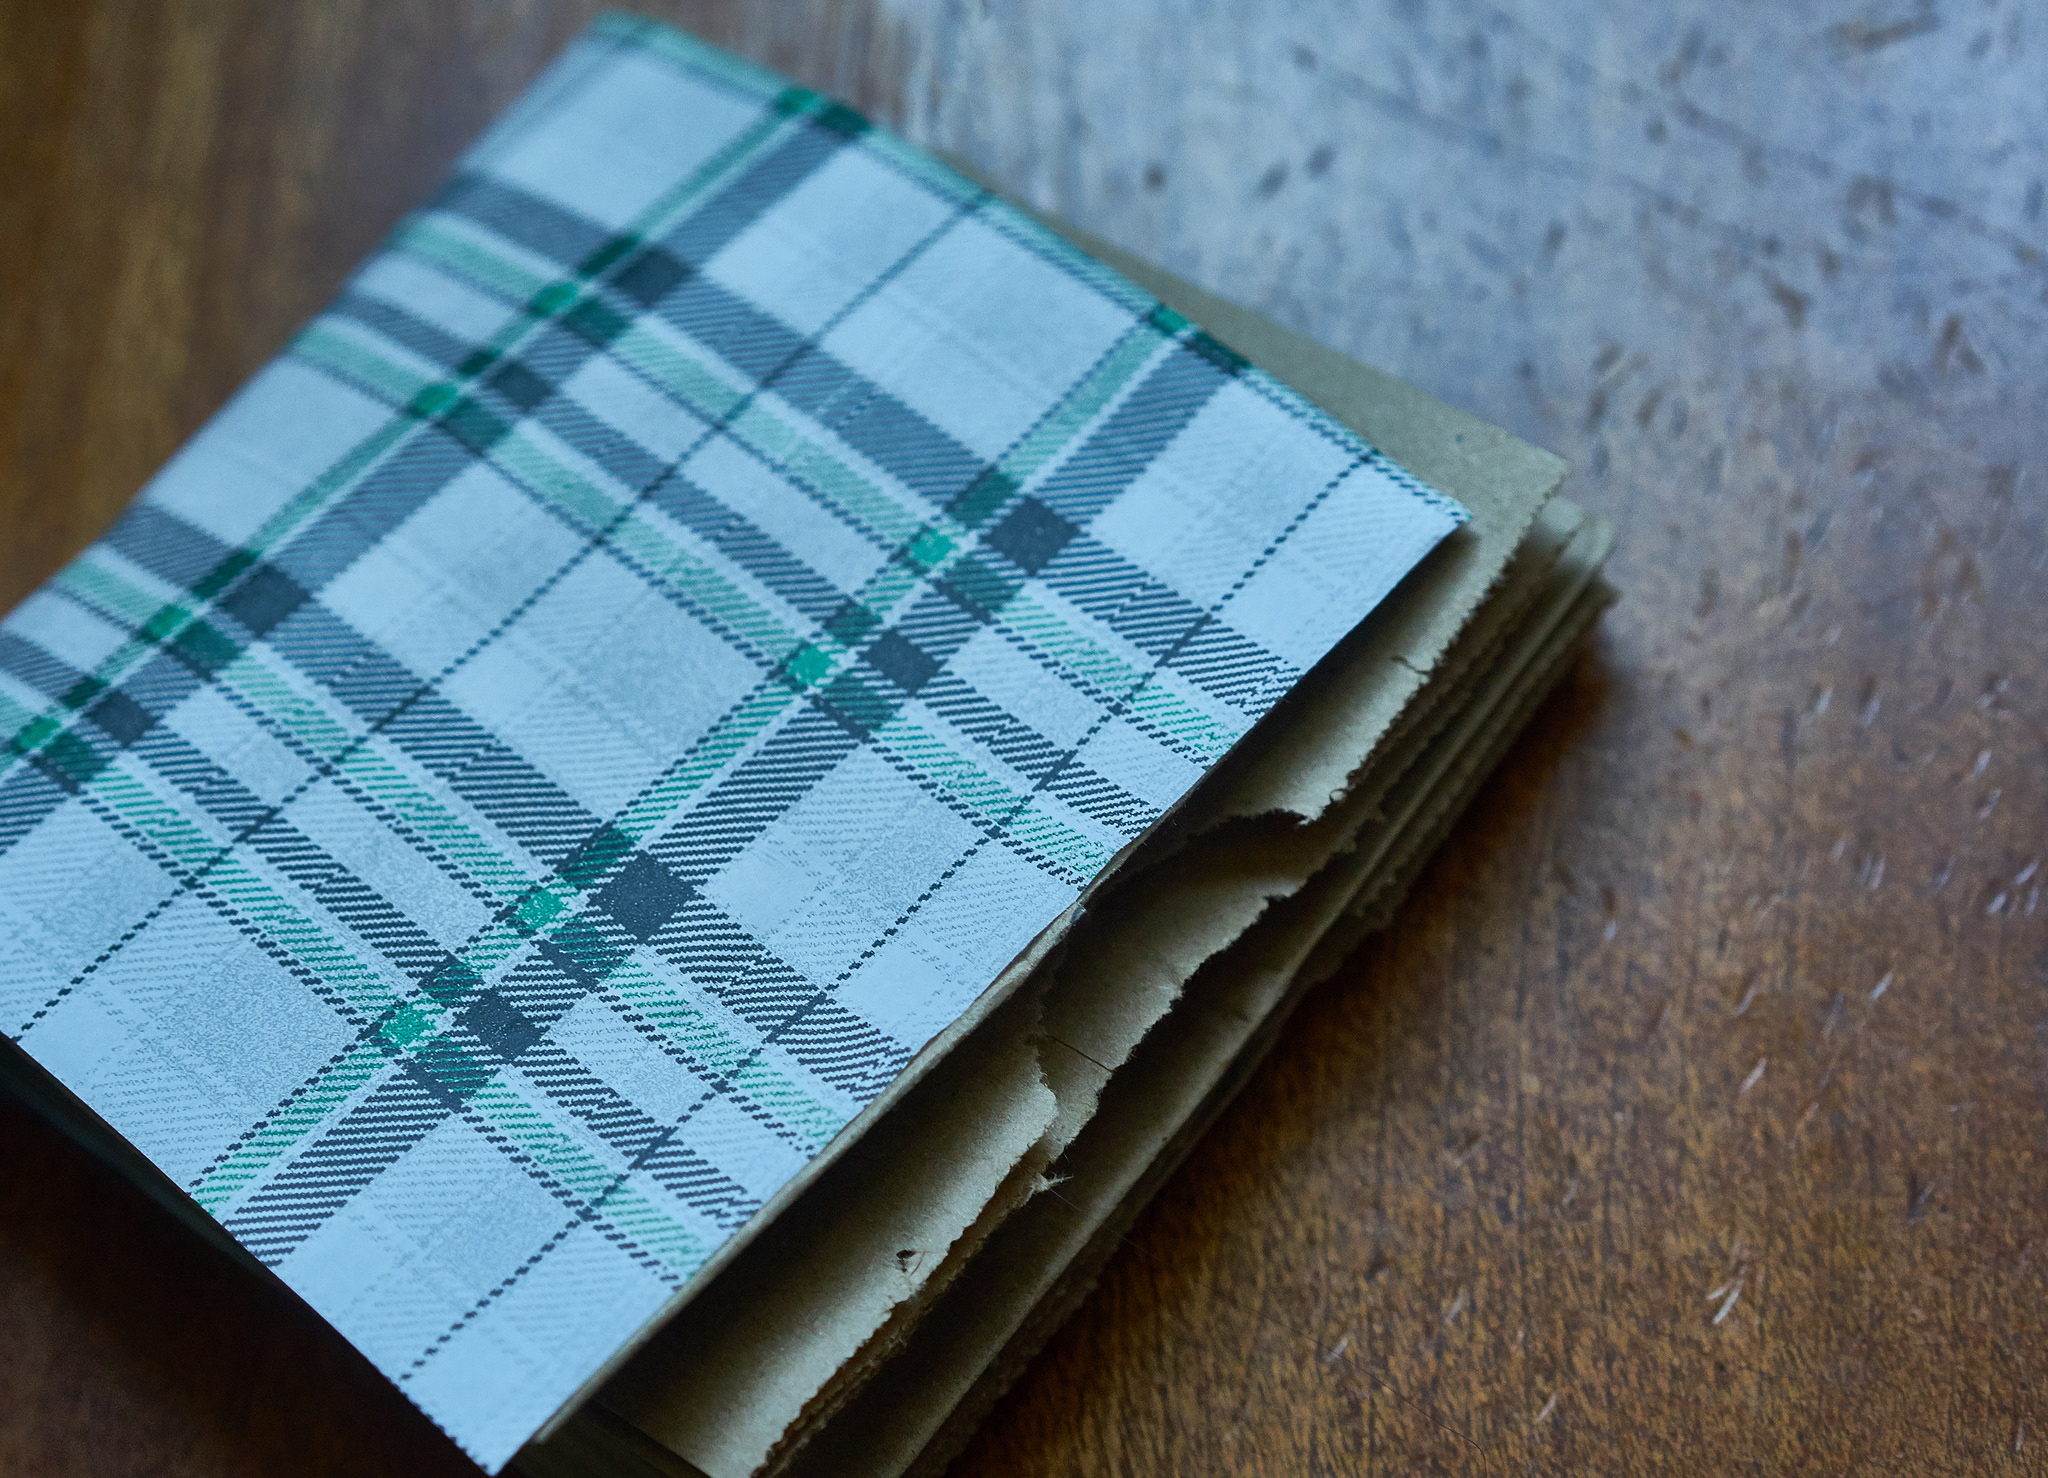
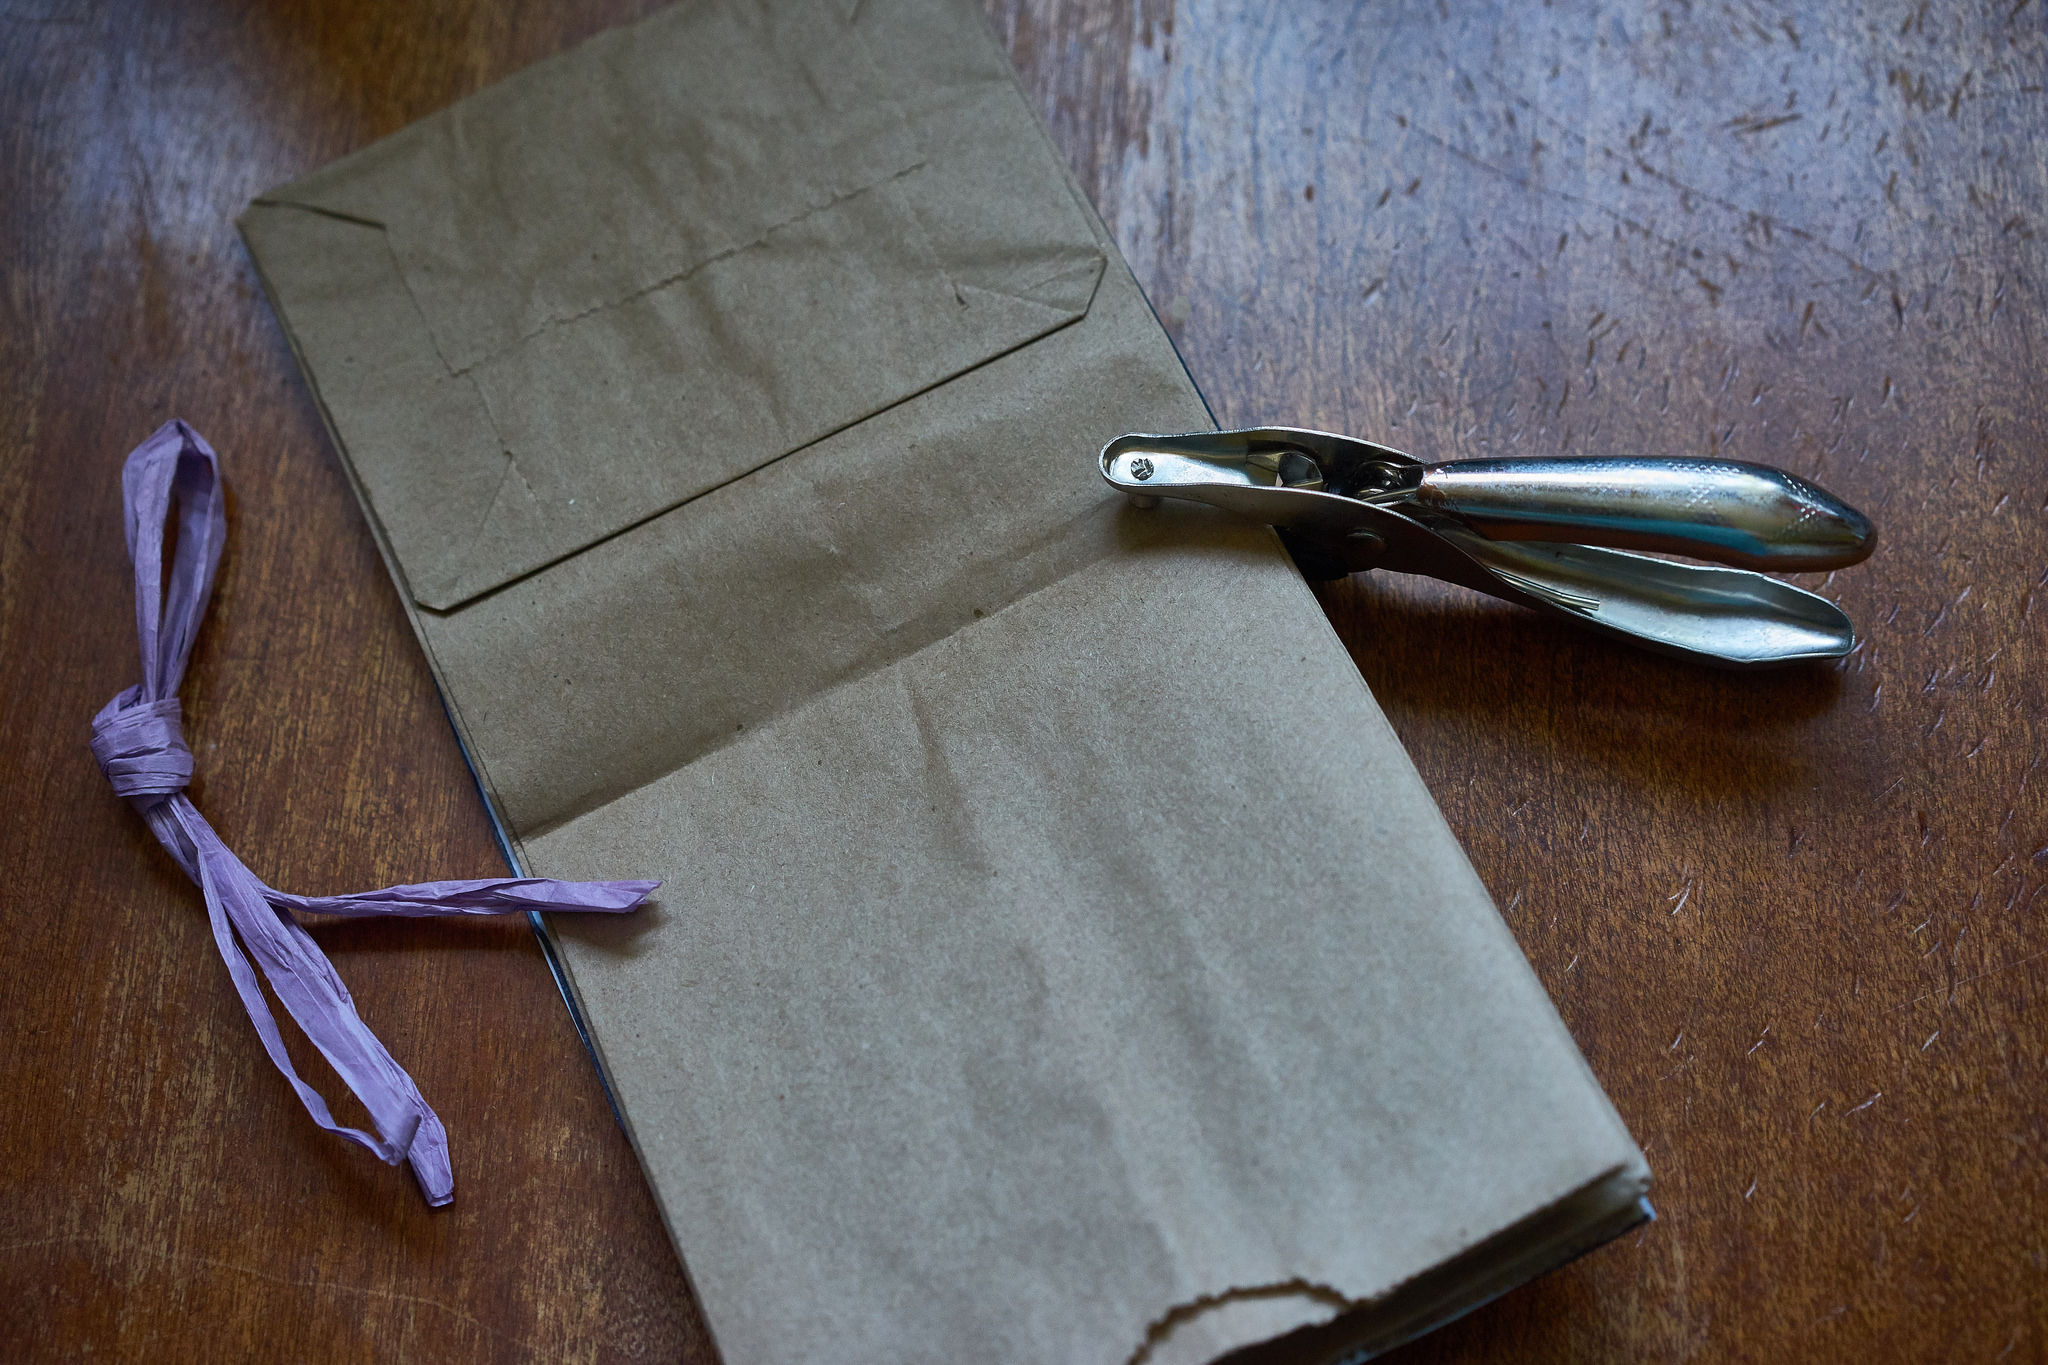
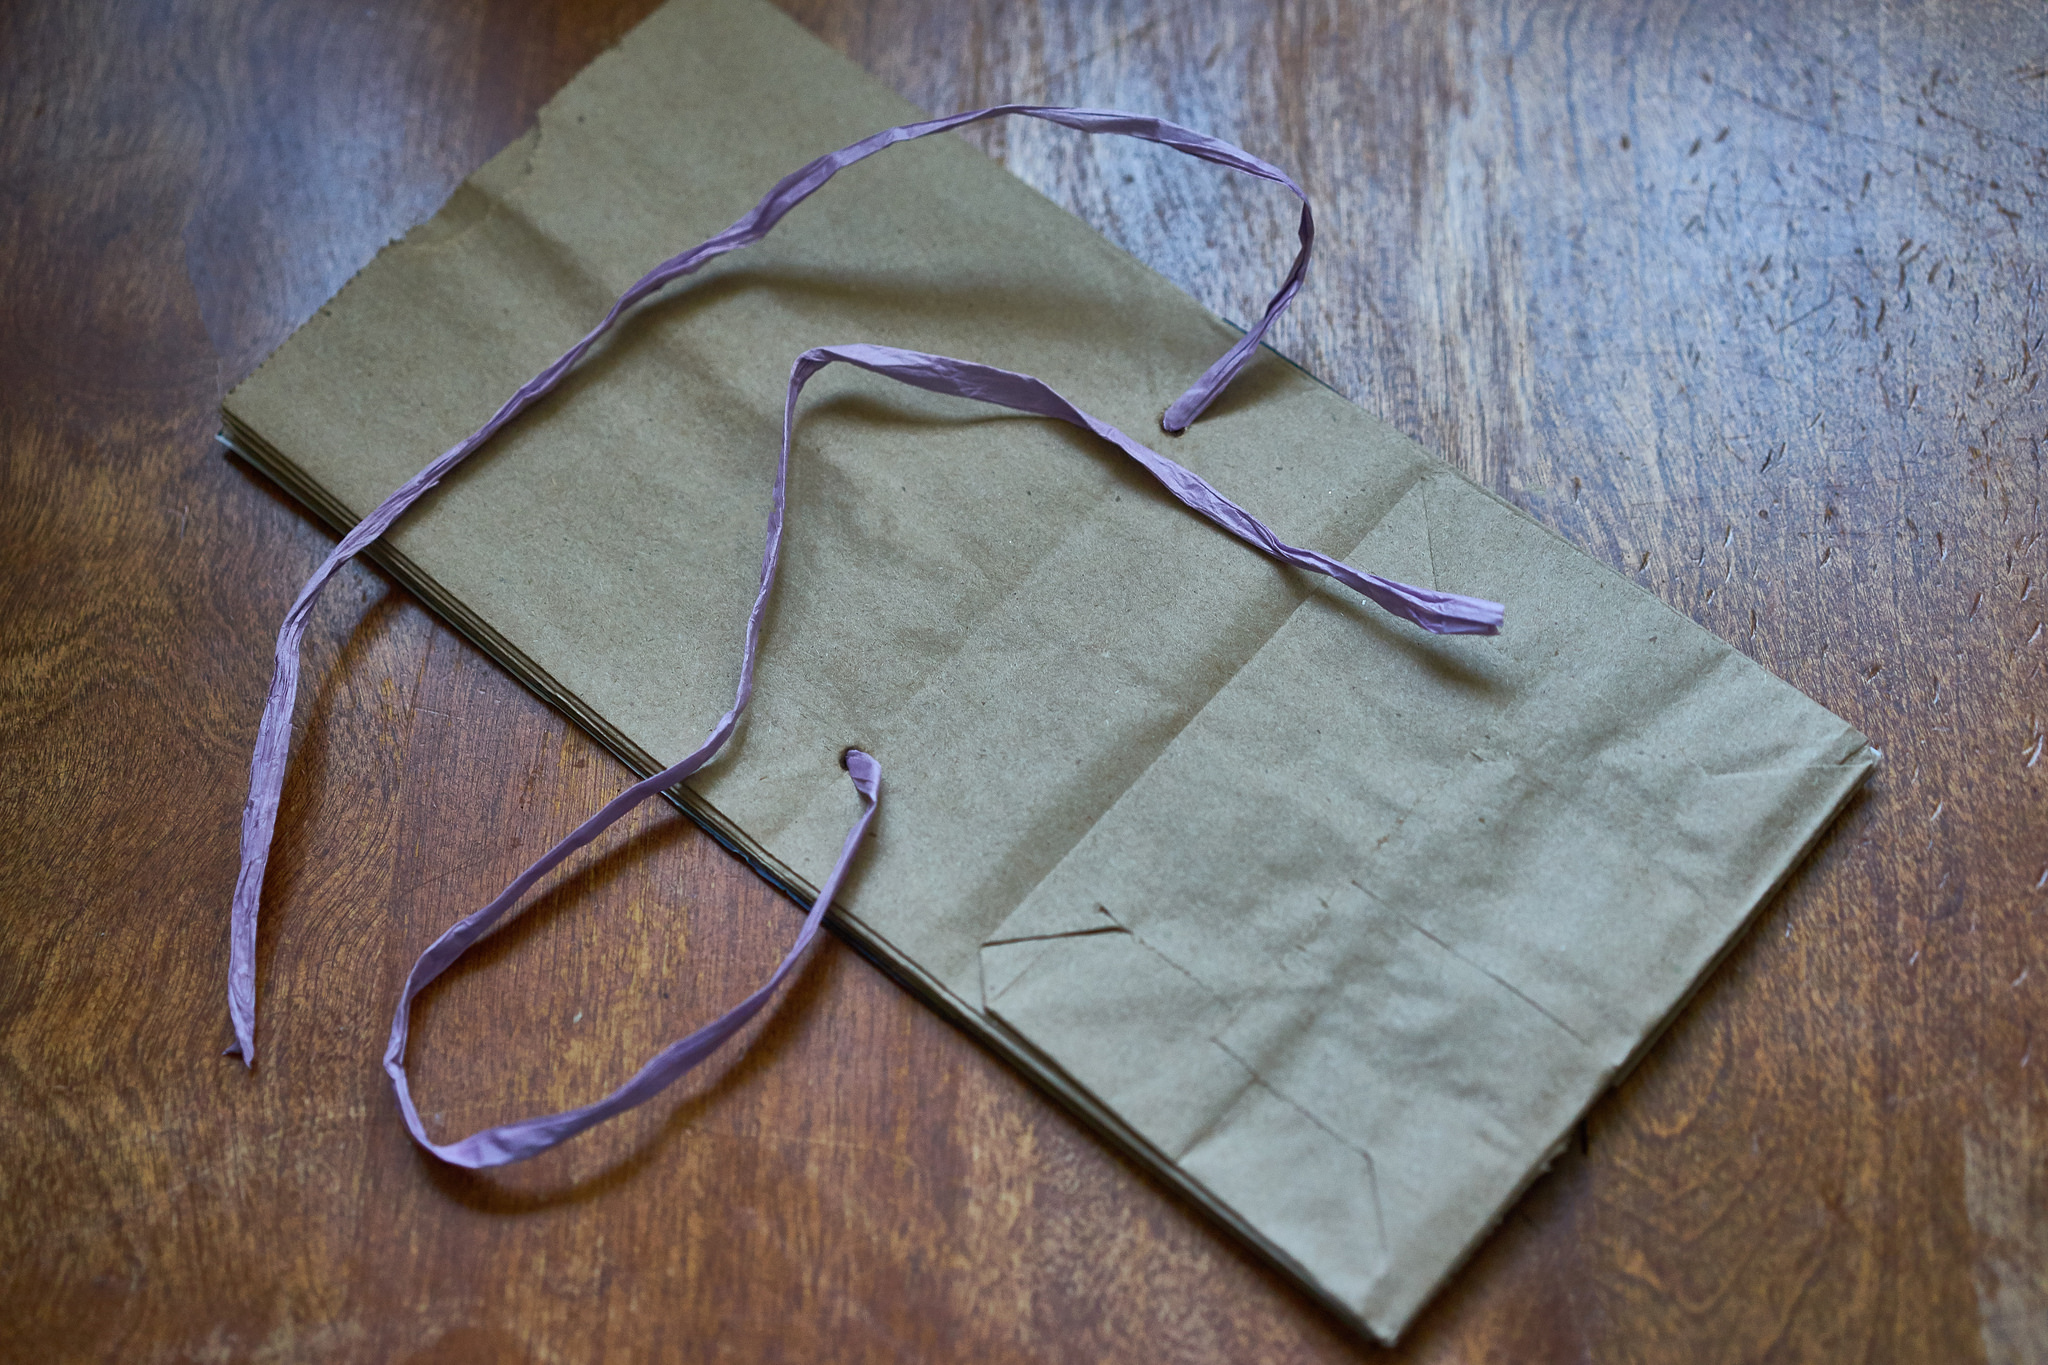
Cut ten square sheets of scrapbook or contruction paper (about 5 inches x 5 inches), glue them onto the inside pages of your book.
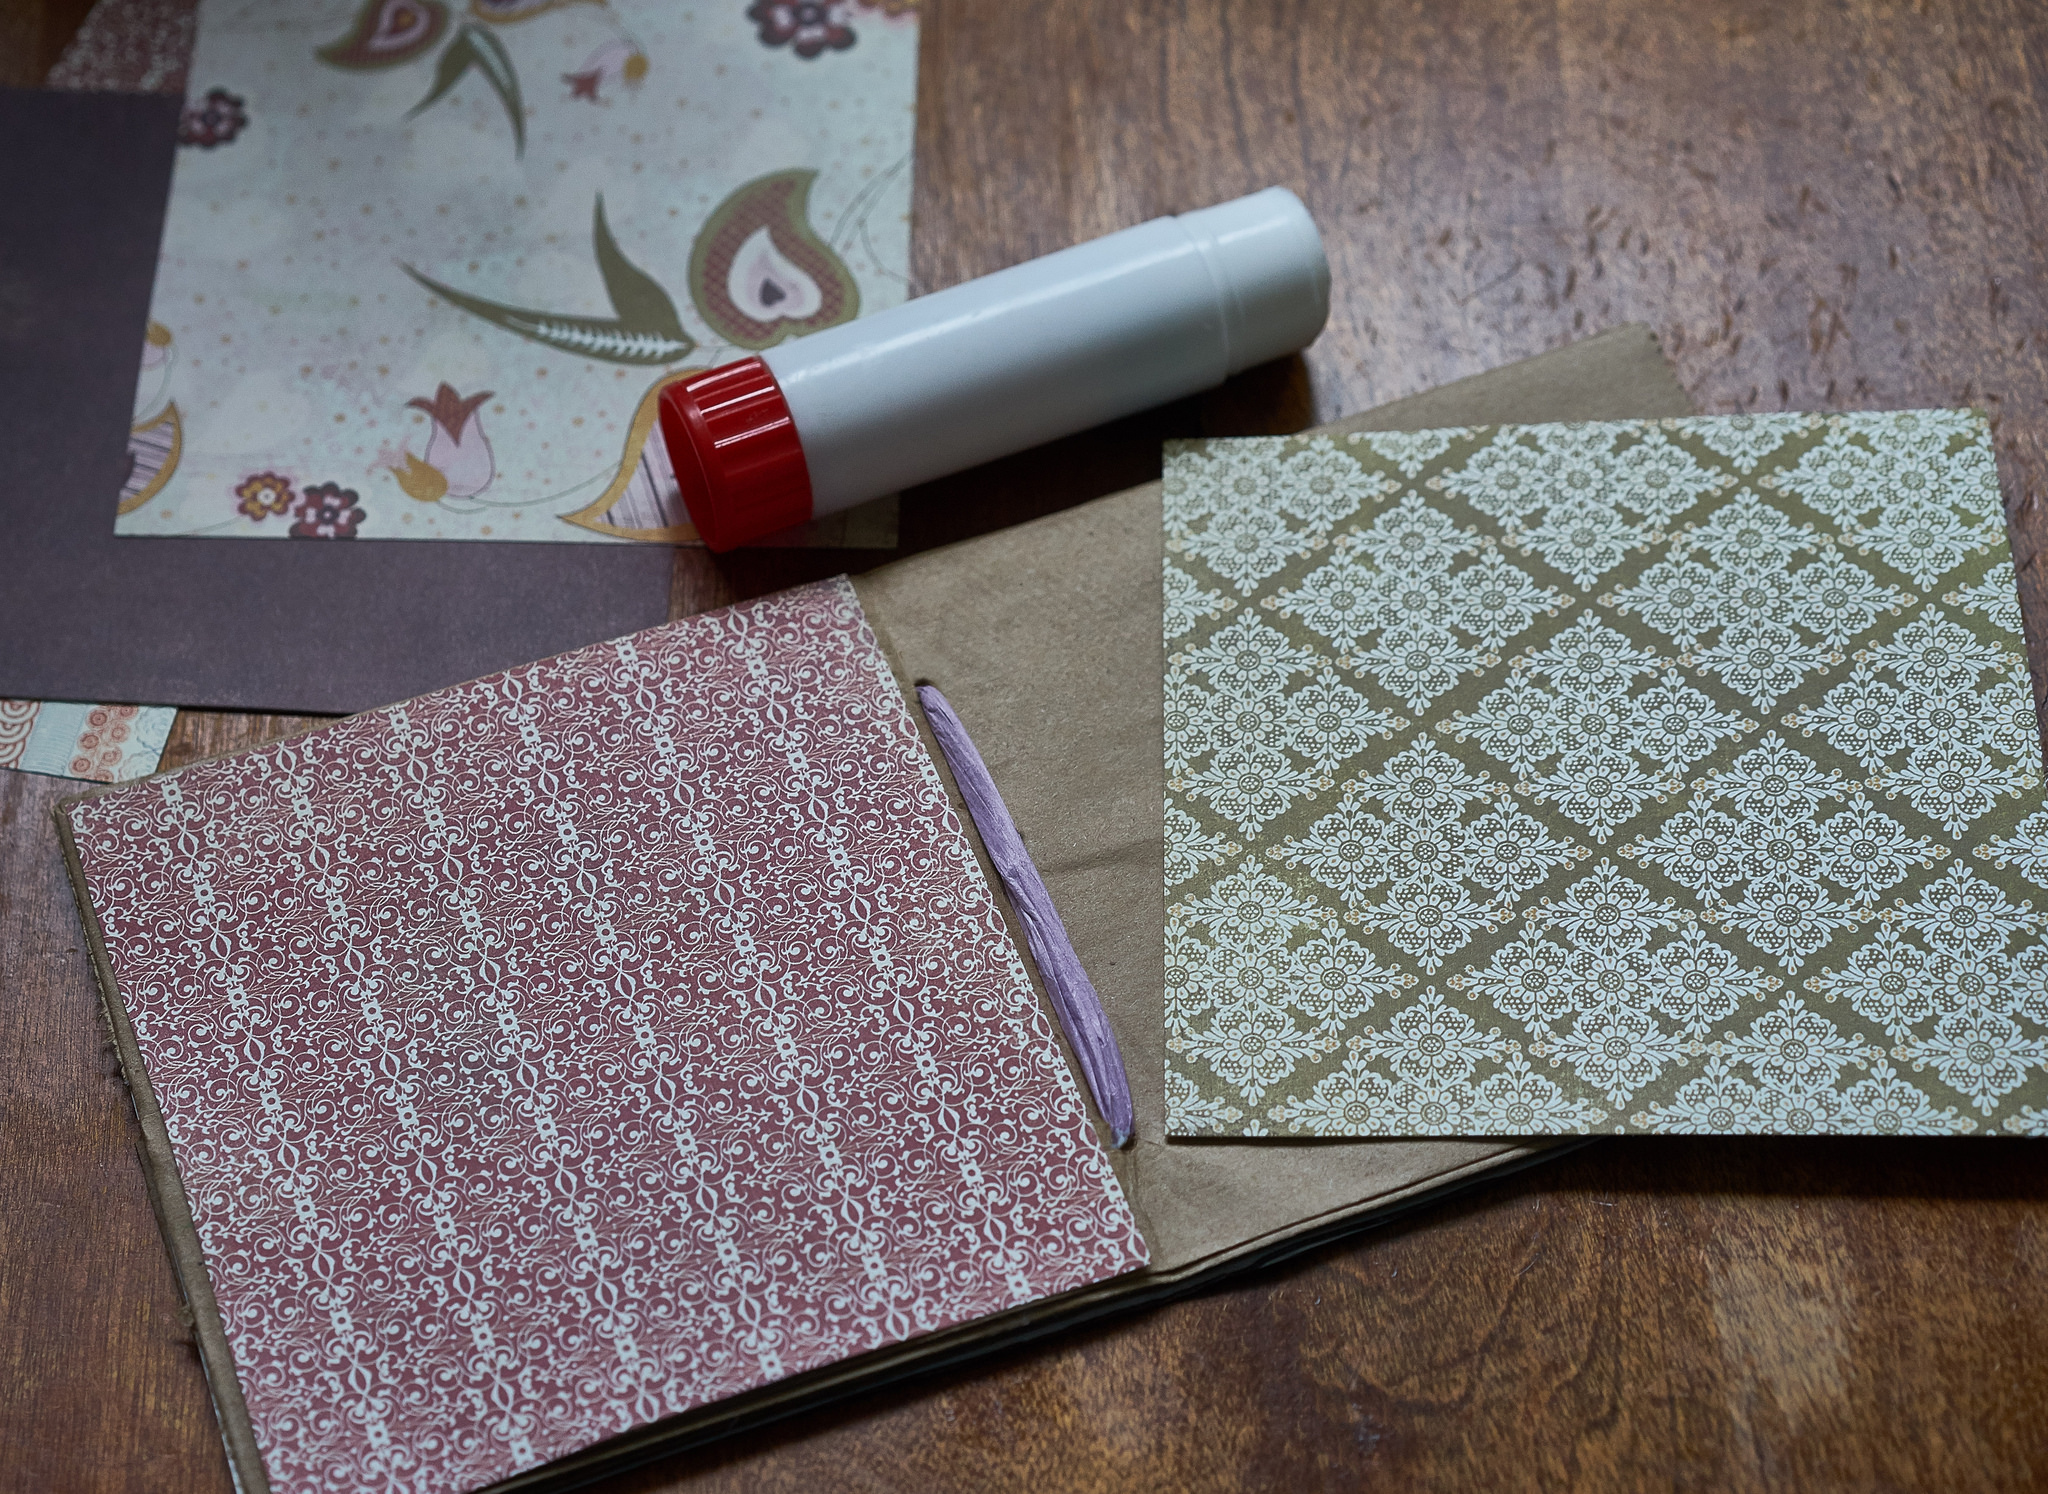
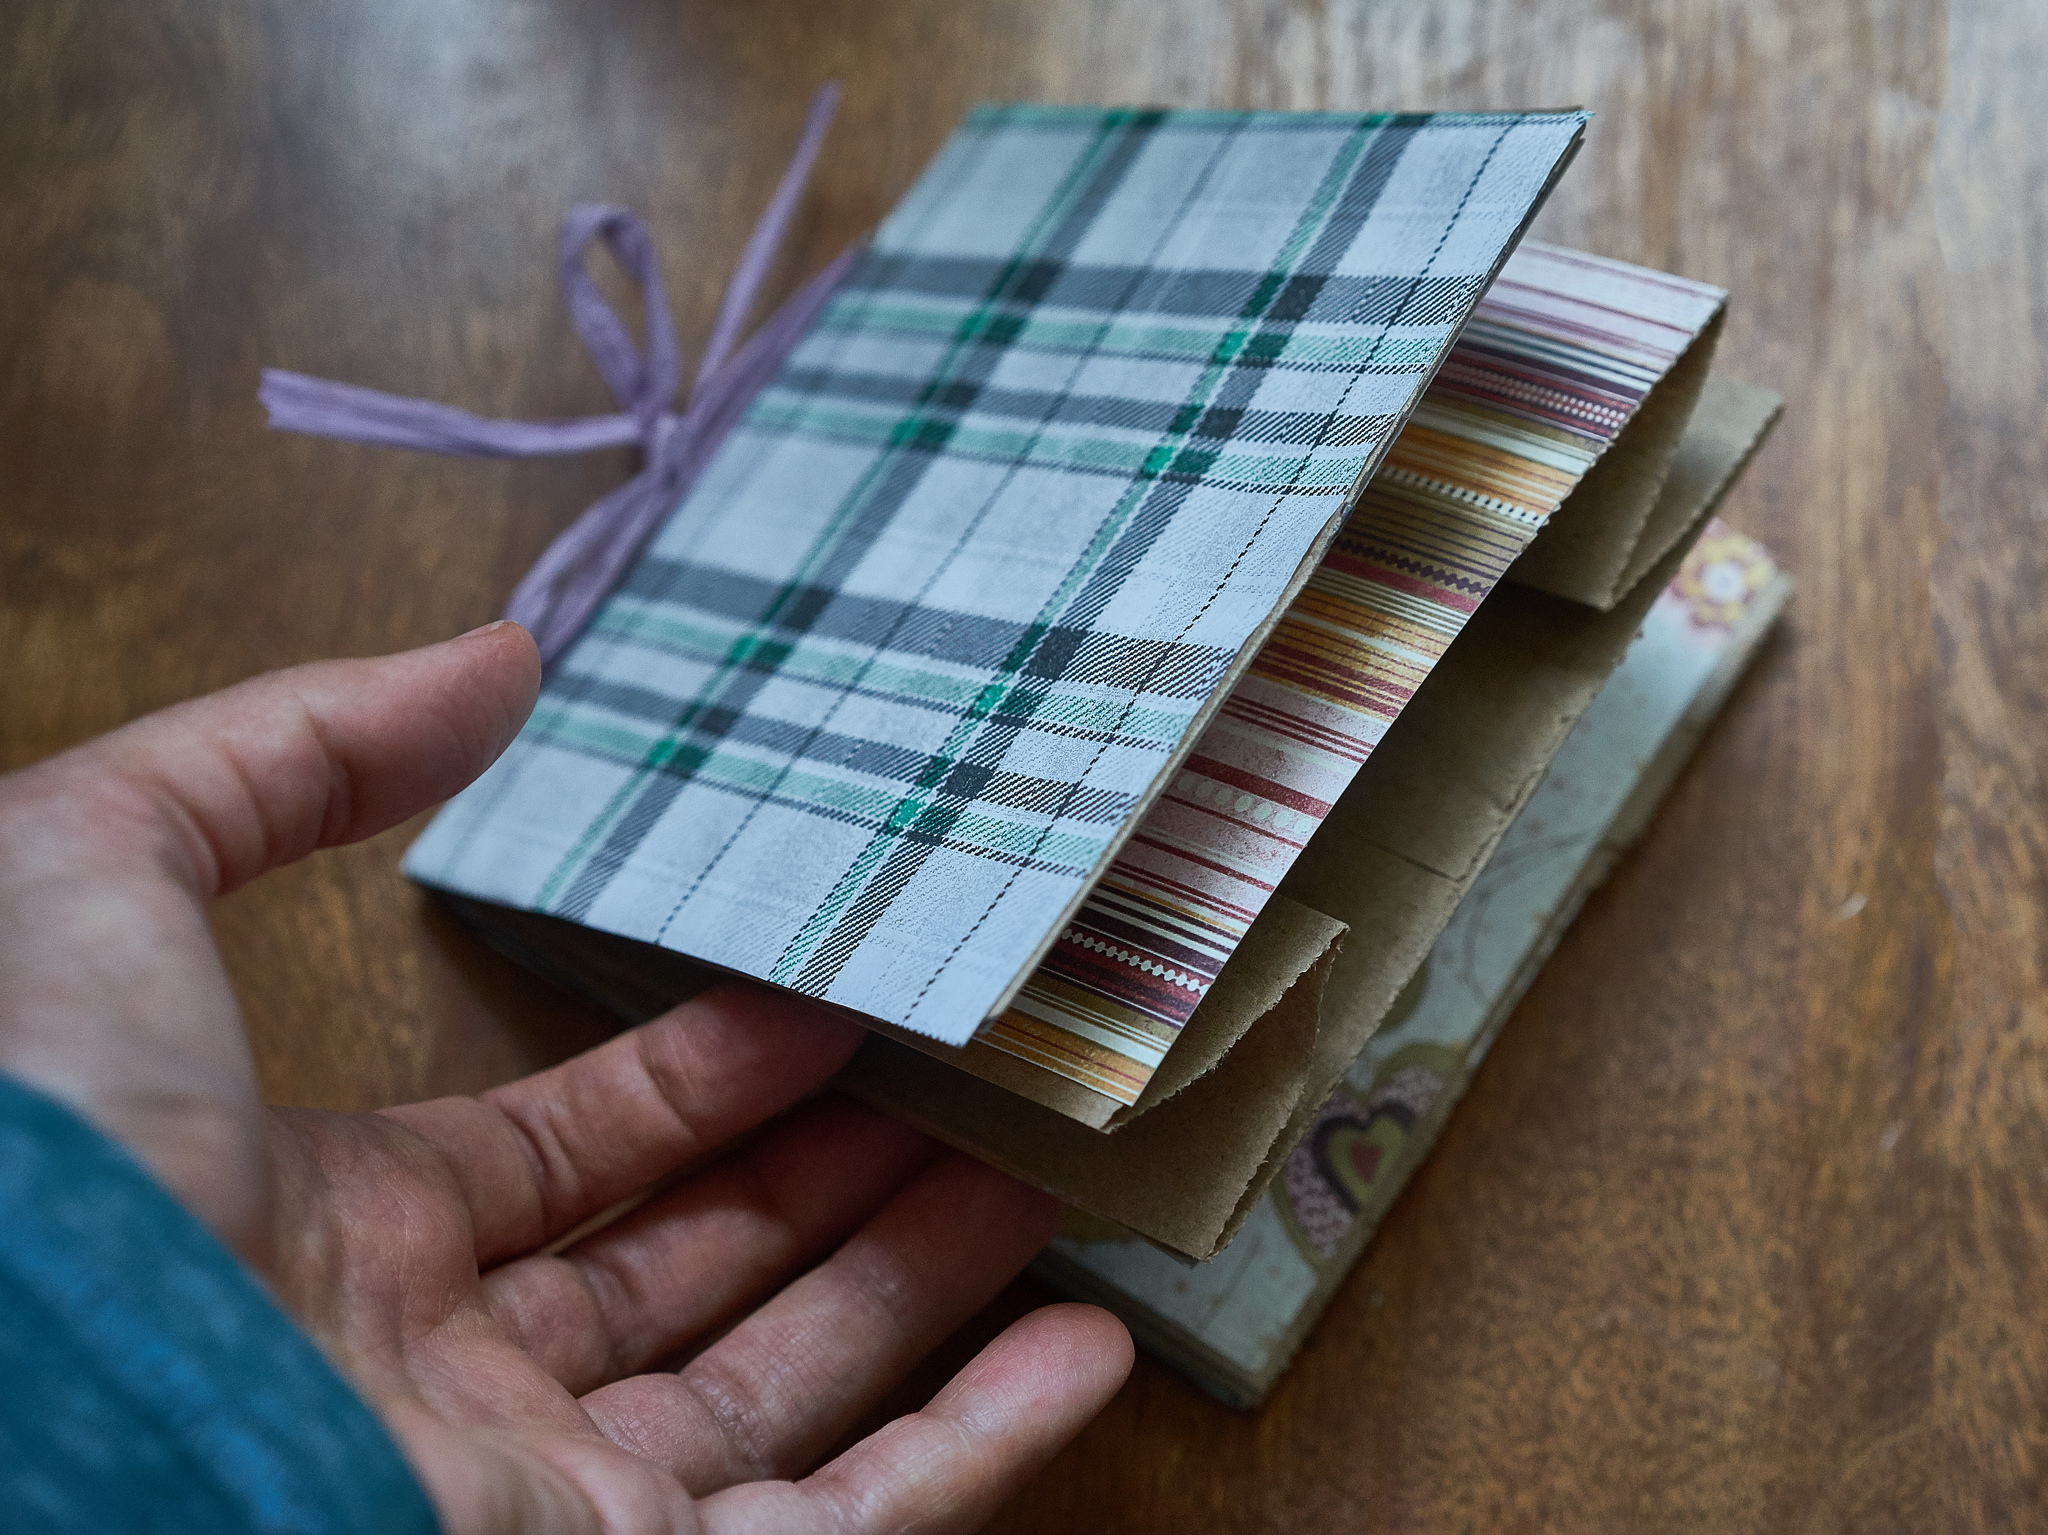
Prepare pocket inserts. You can cut out three squares of scrapbook paper (4 inches x 4 inches) or, alternatively, three photographs. Use circles or other fun shapes to glue them onto the back of the paper or photograph so that they stick out of the book.
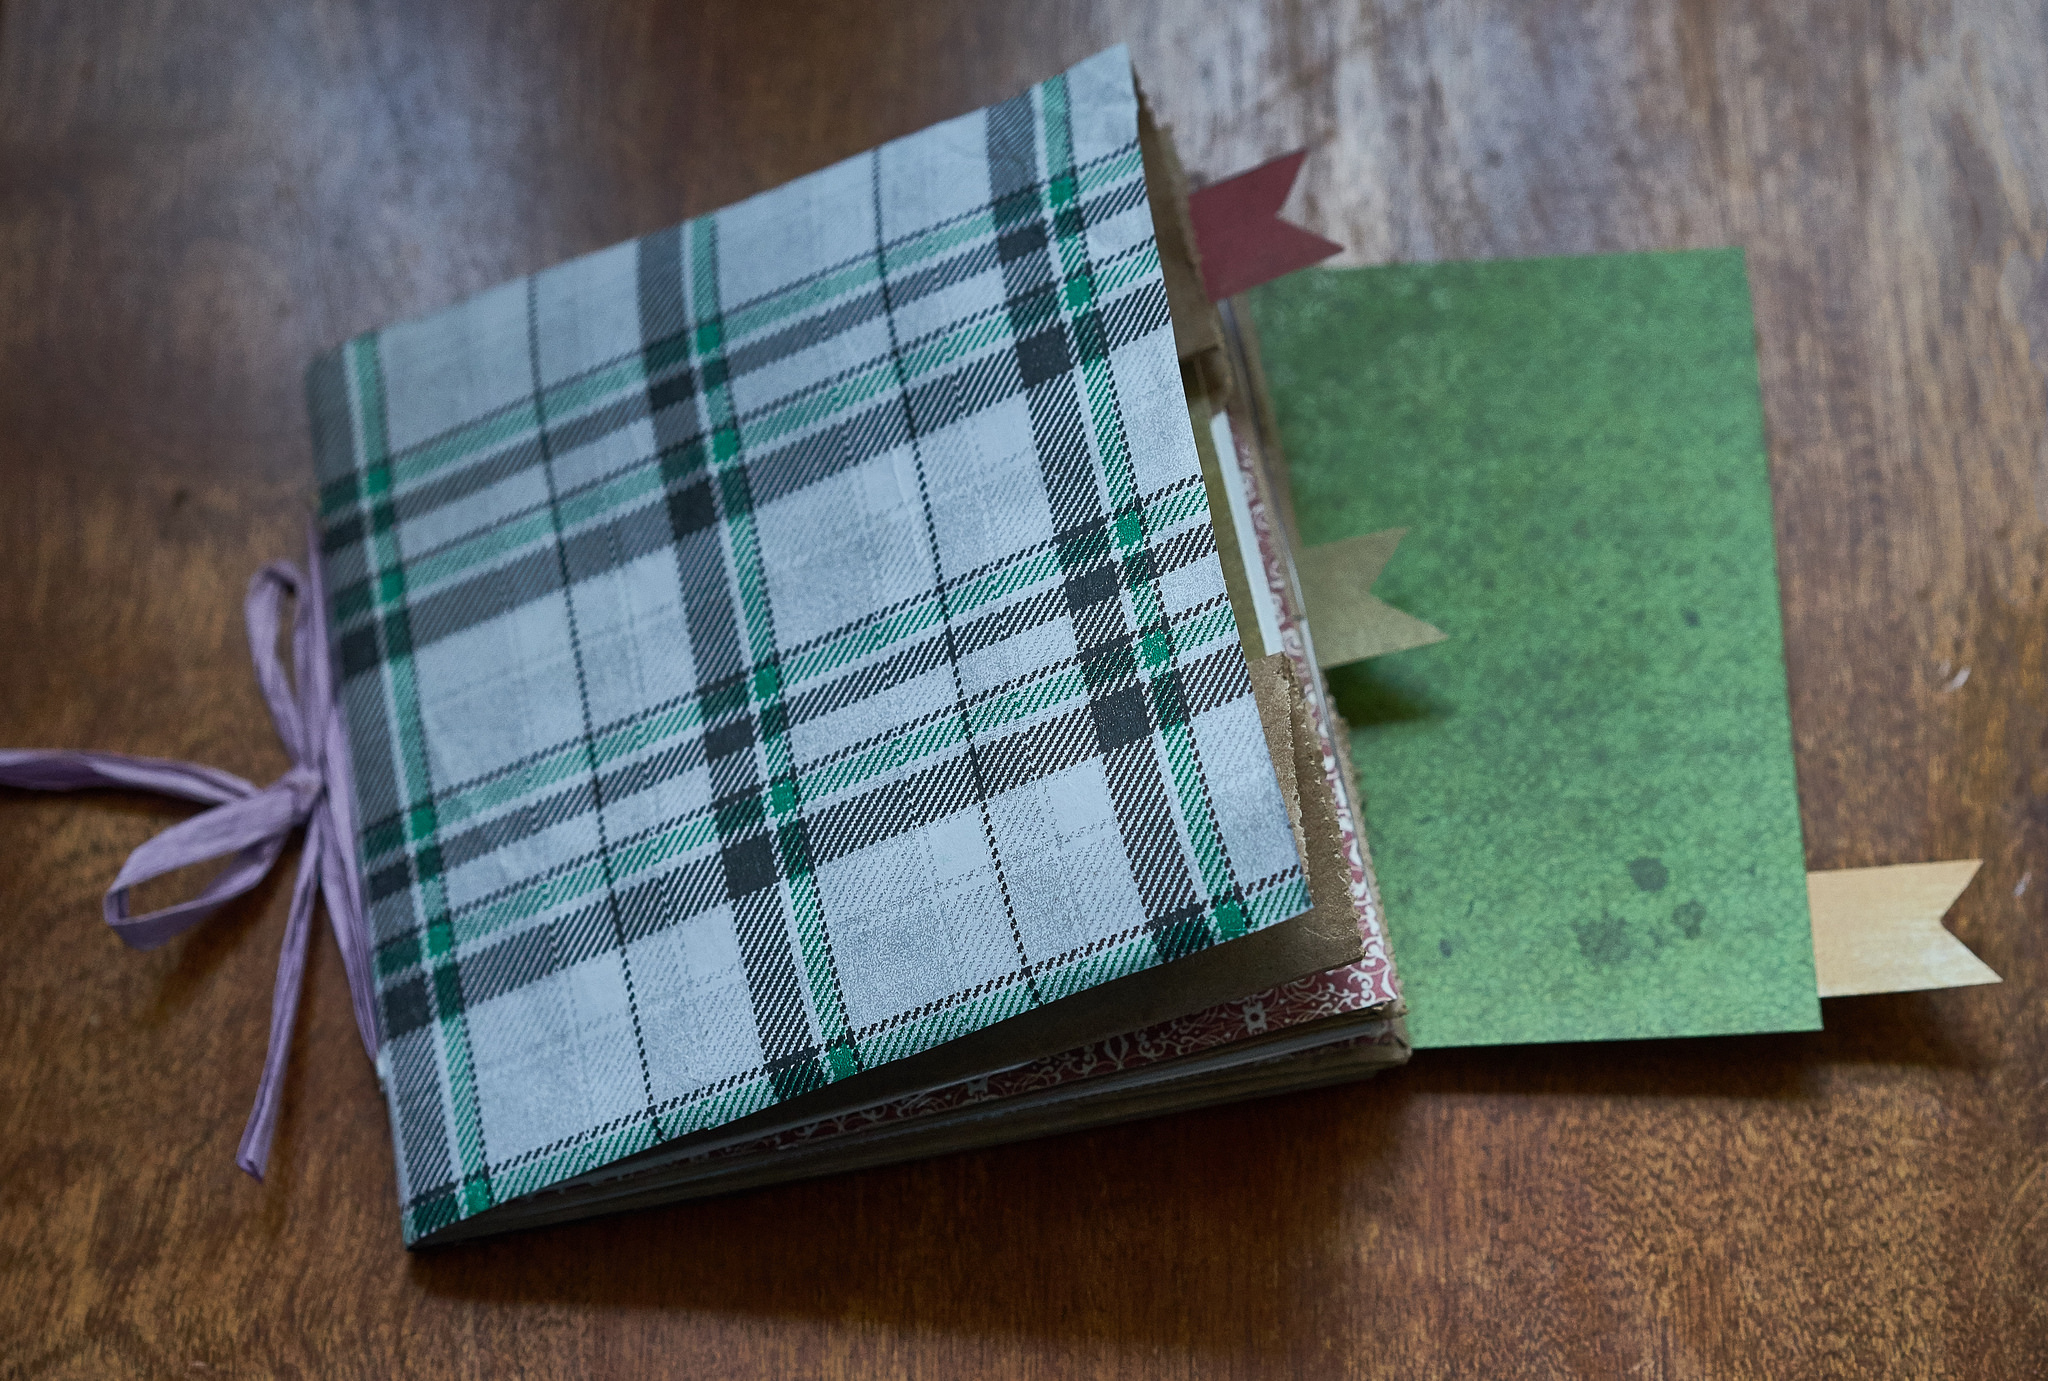
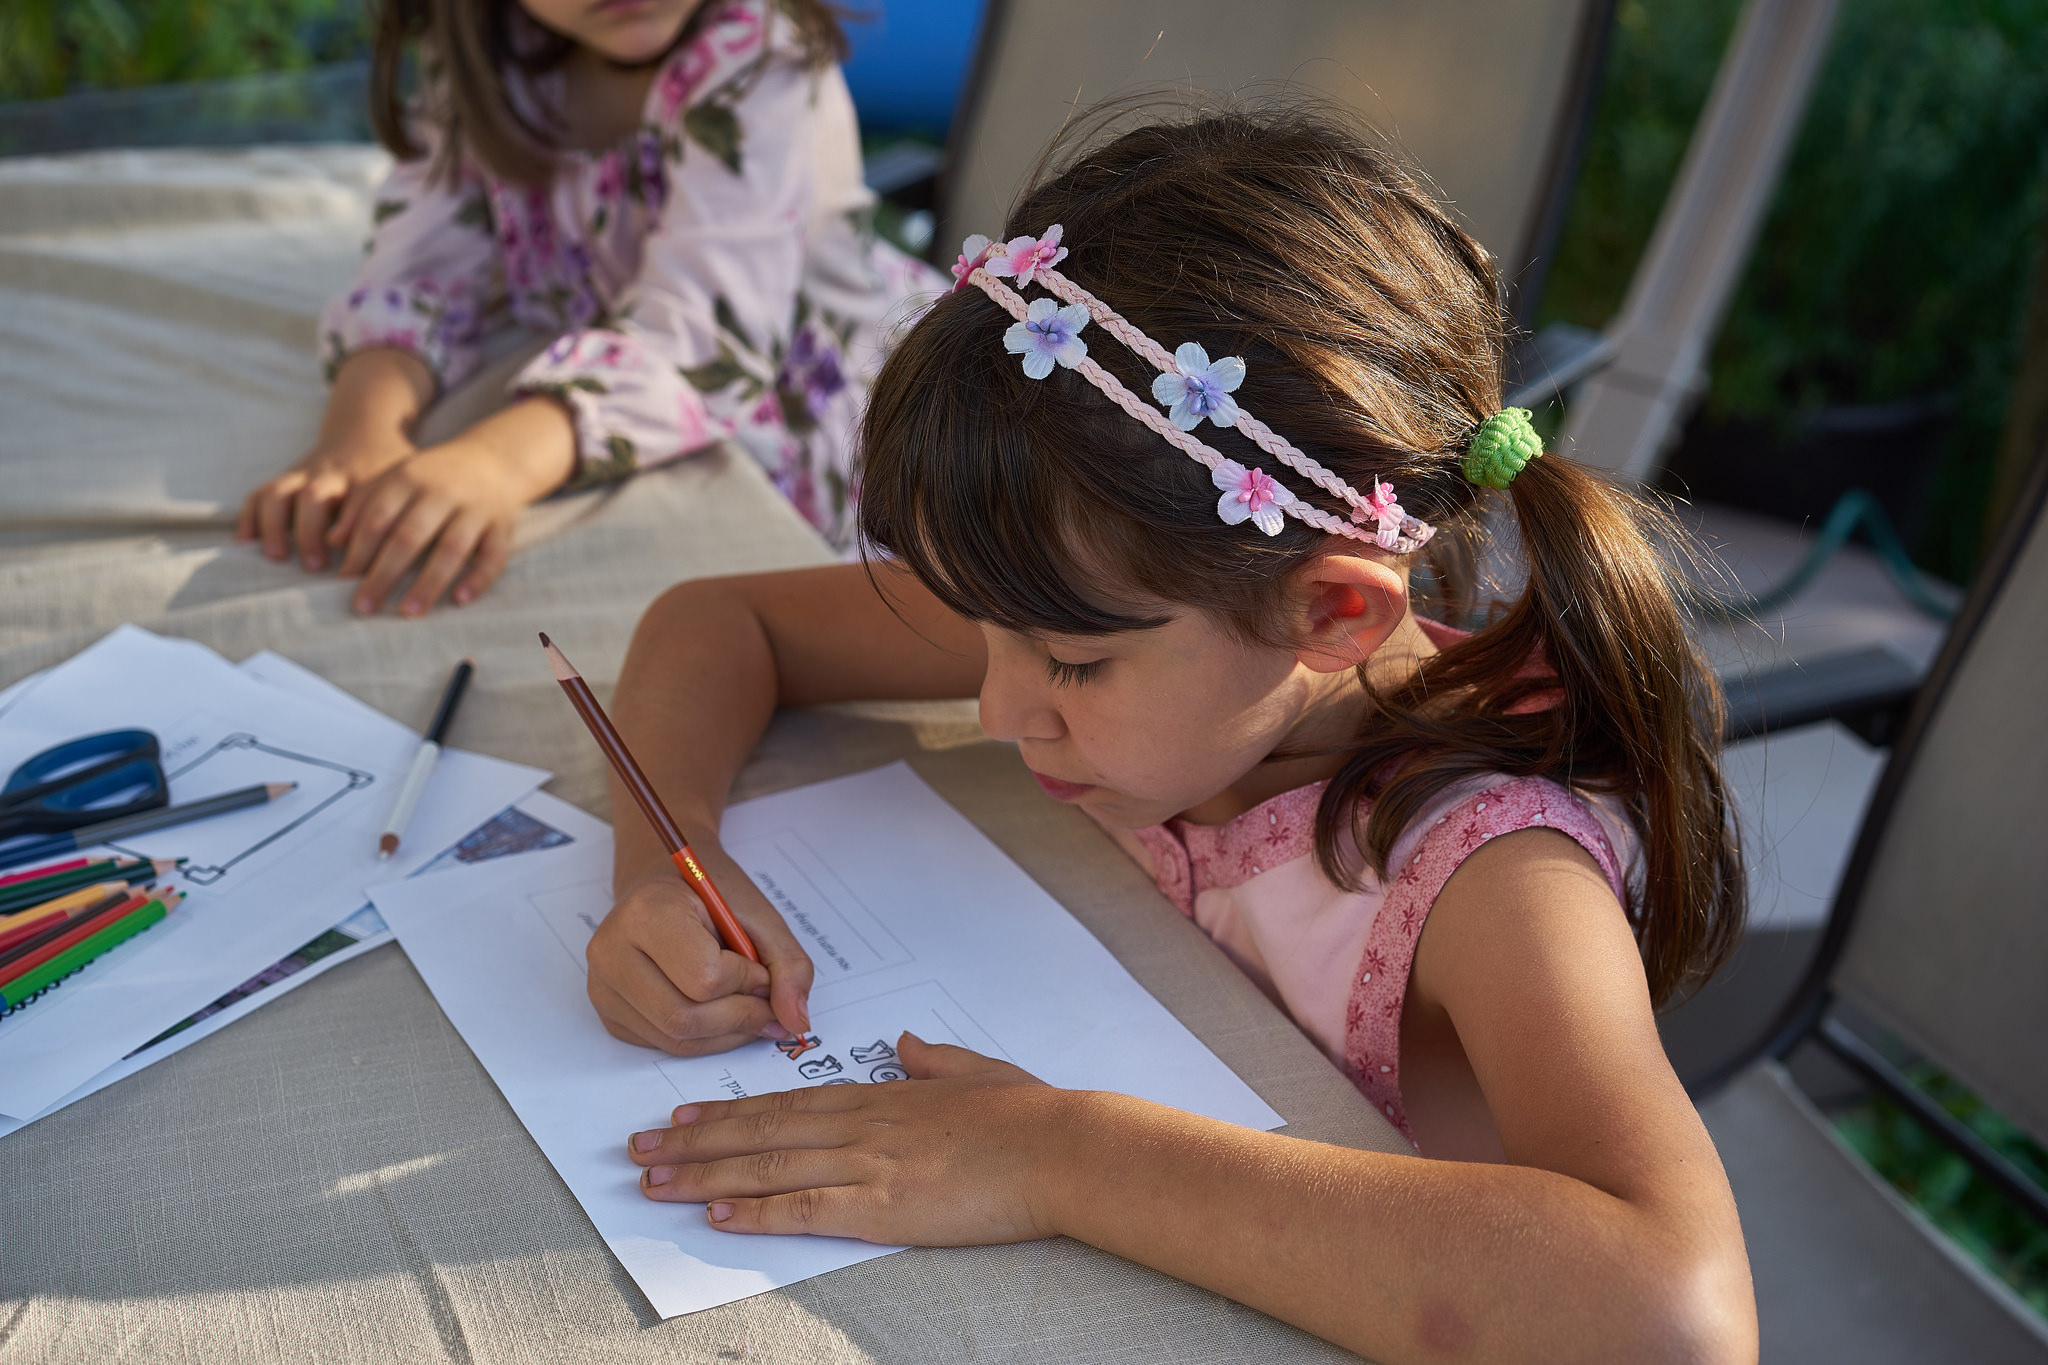
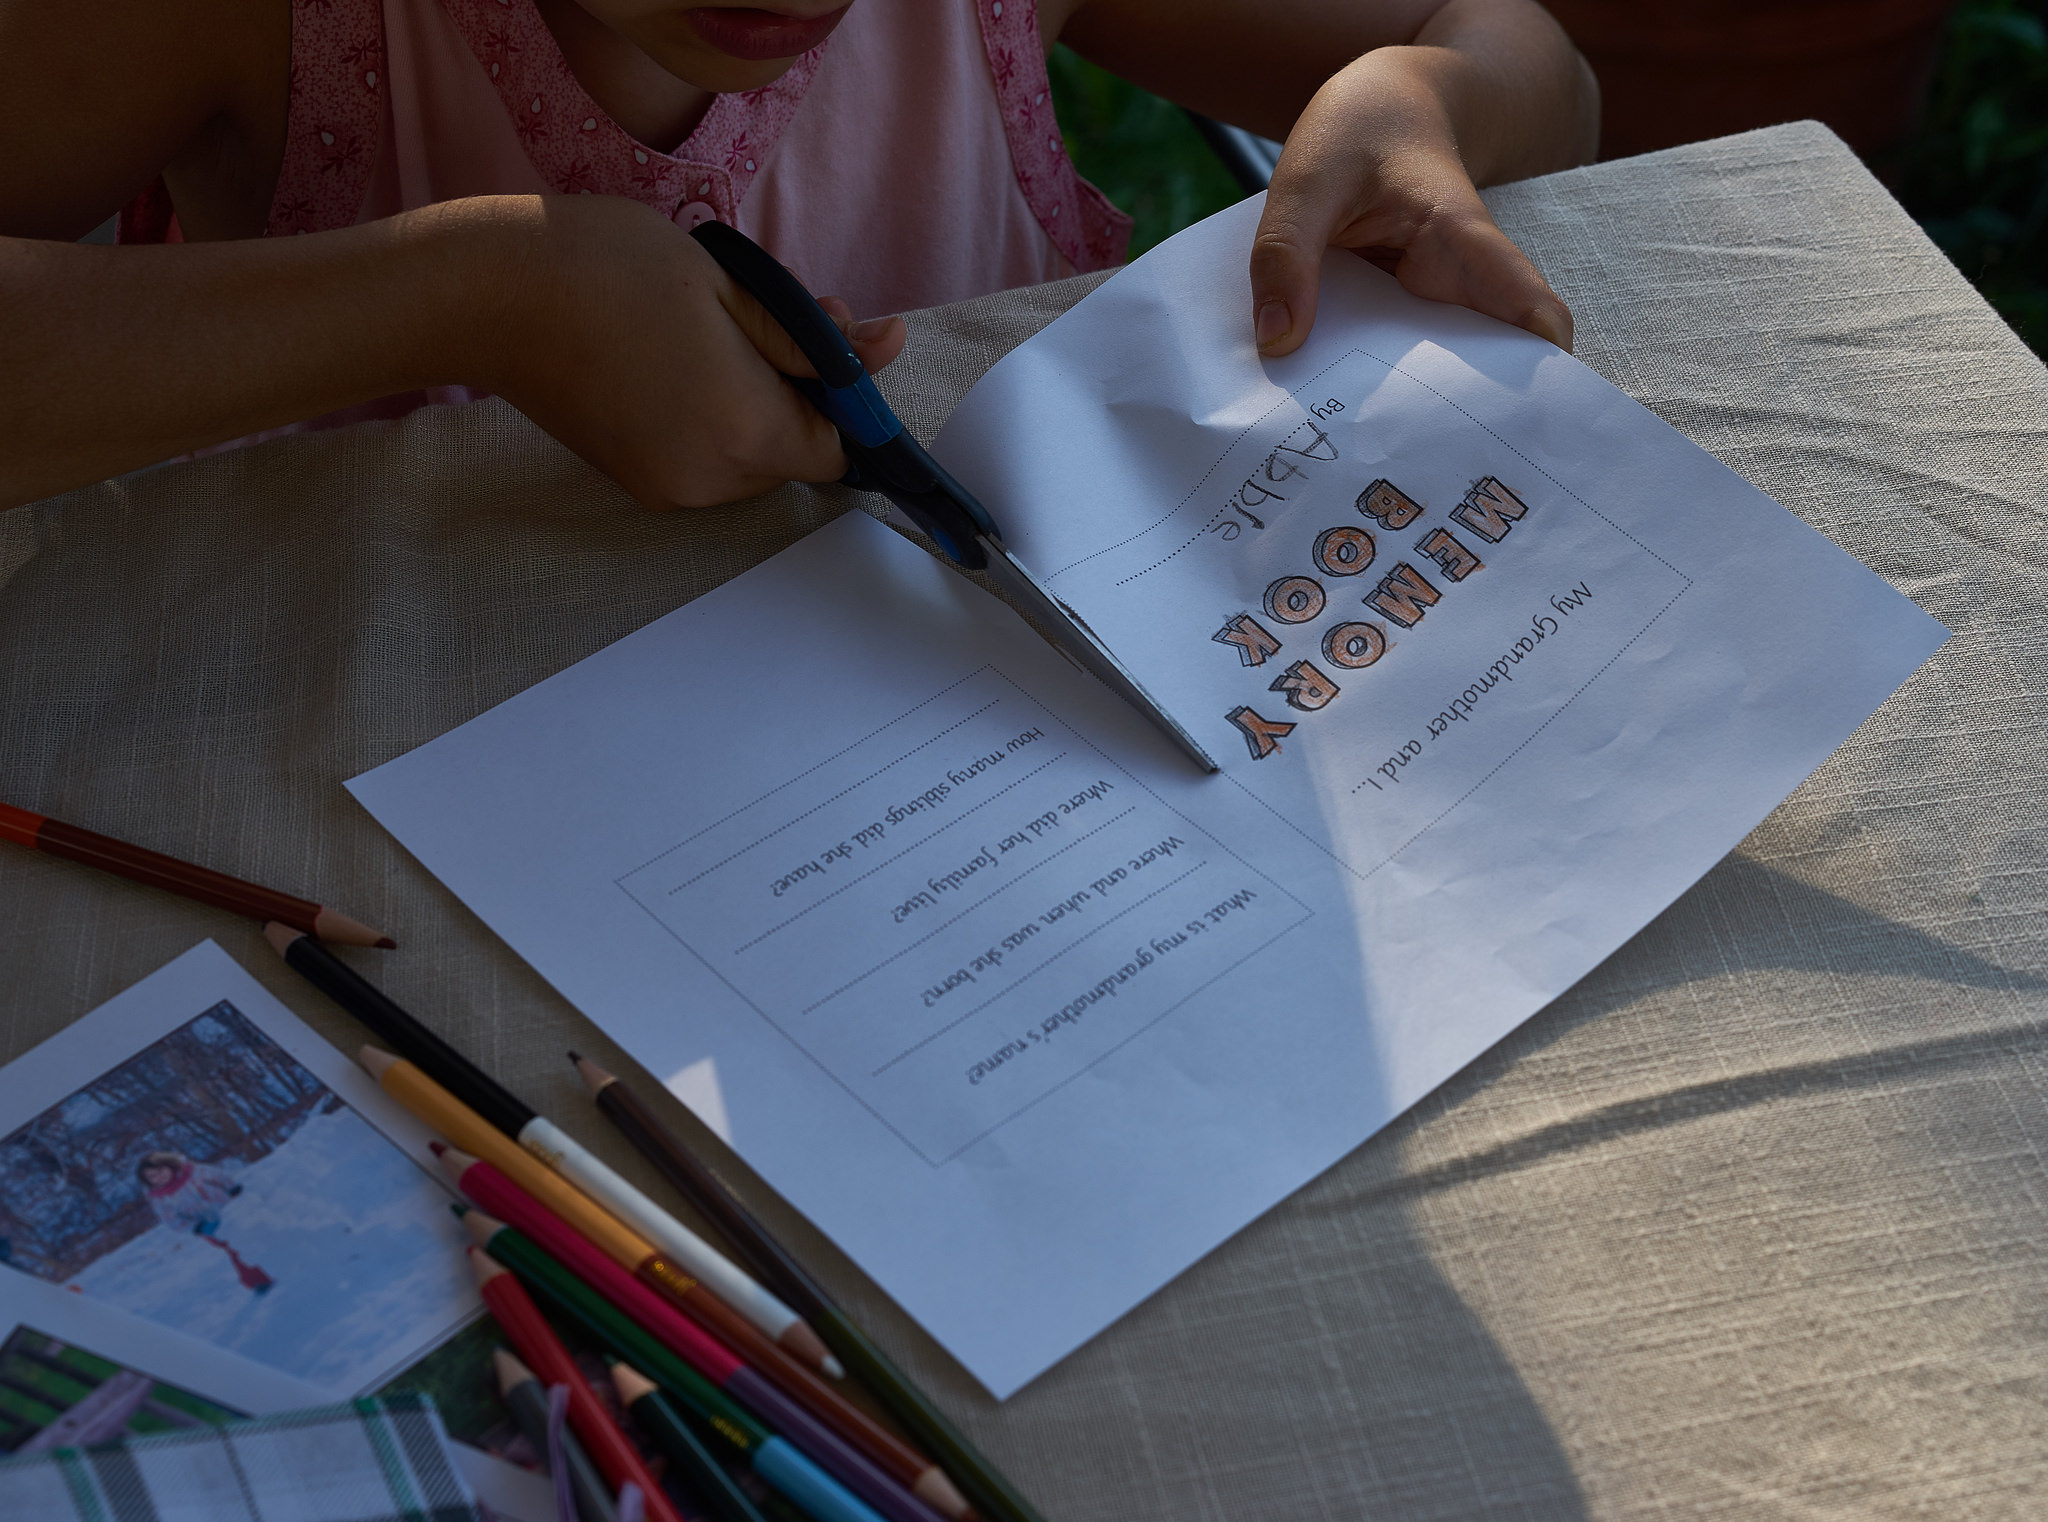
Now it is time to download and print our Memory Book templates. Cut out each of the squares and decorate and personalize them. Please note, we’ve inlcluded some extra pages in the template in order to keep it easily customizable for your needs.
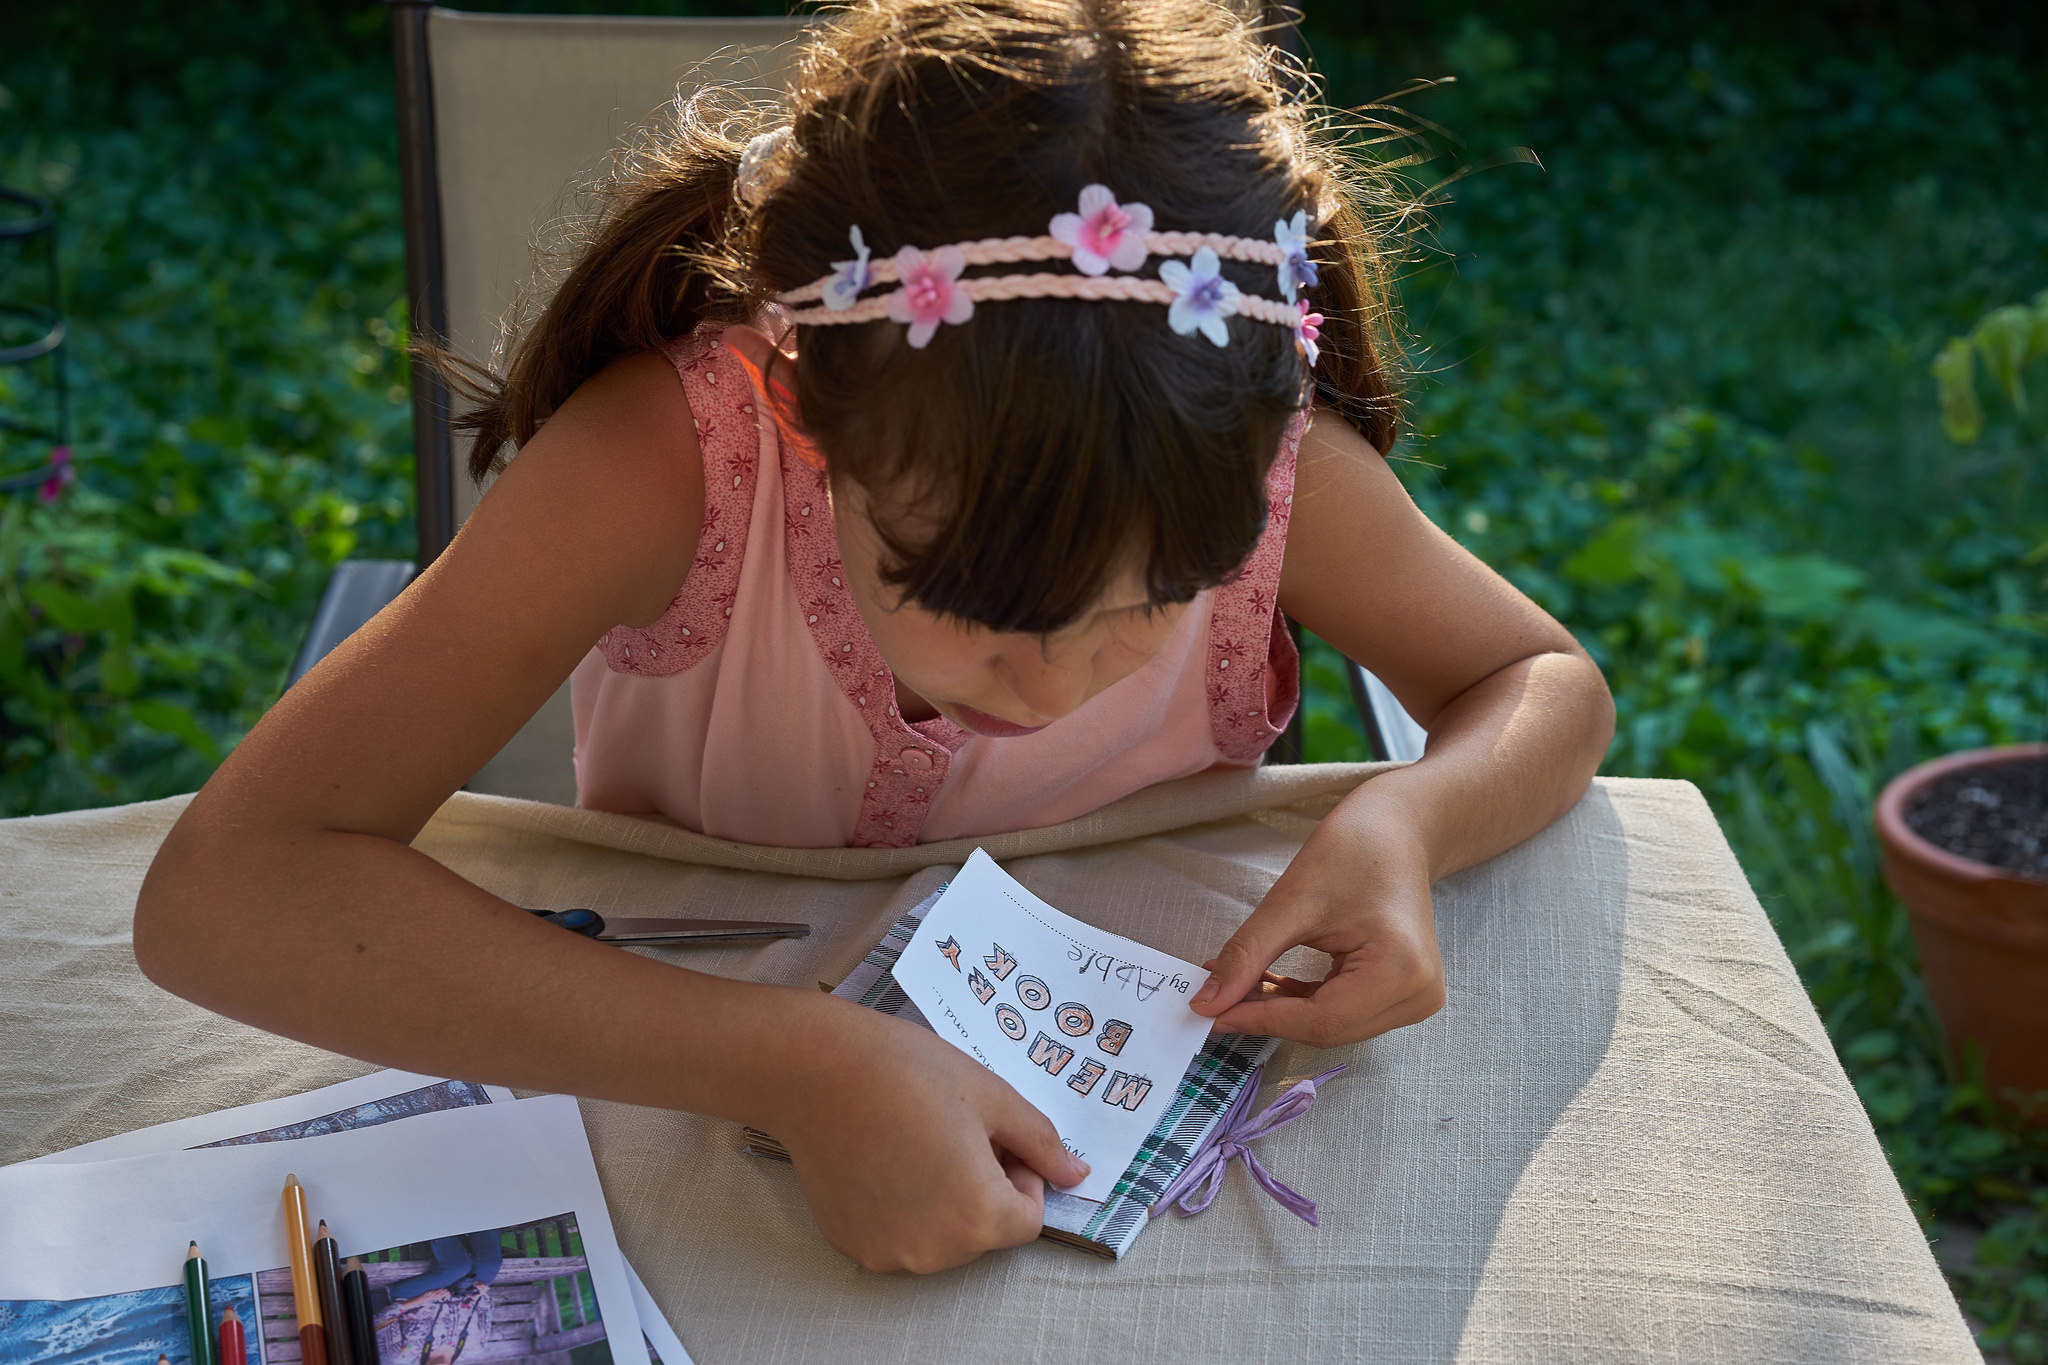
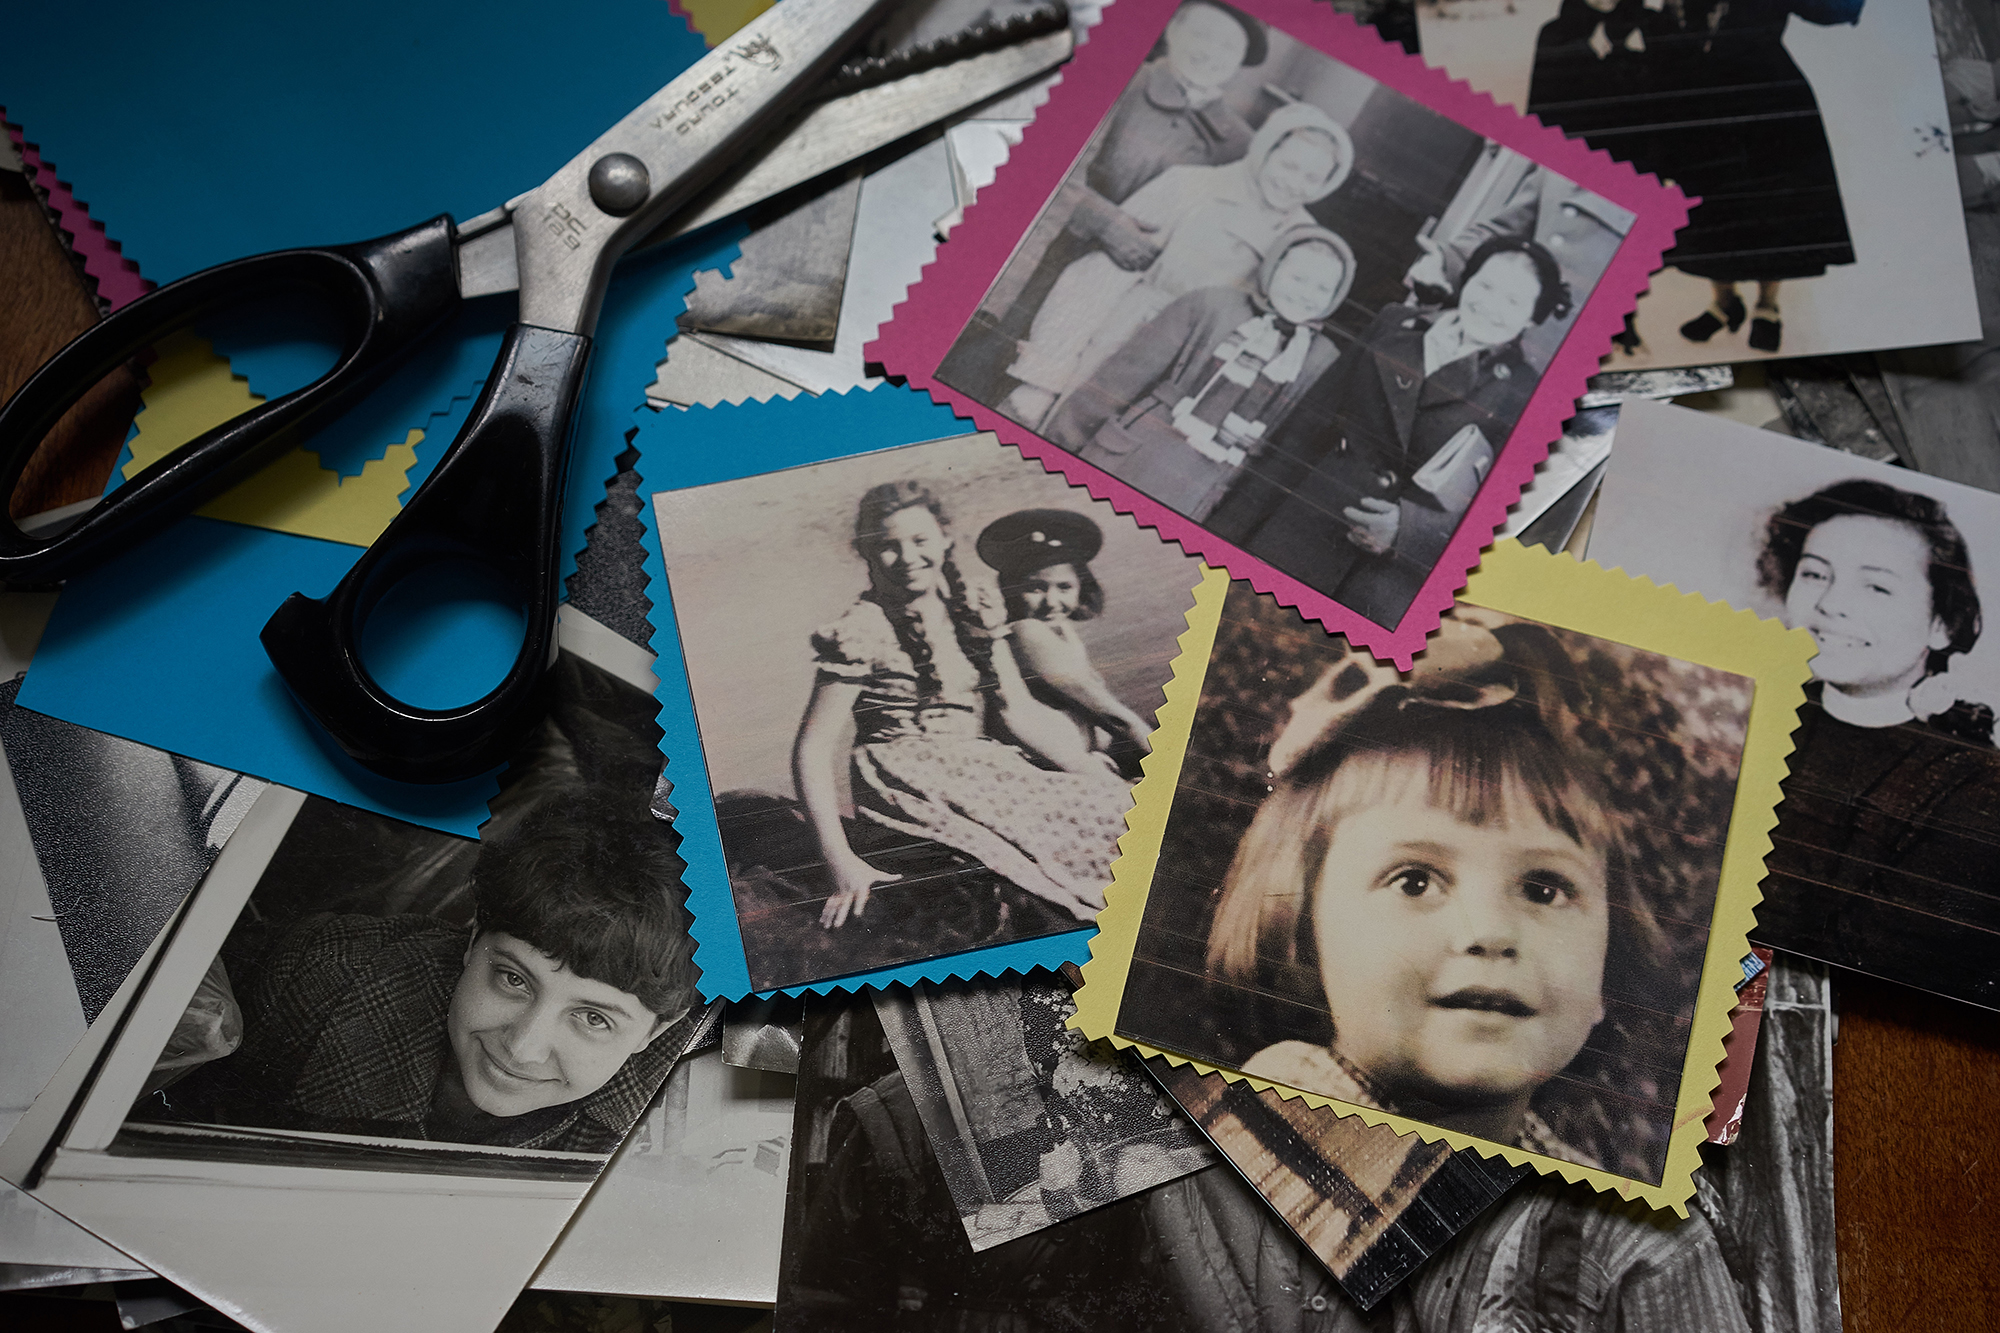
Cut out some photographs. We find that 4 x 4 inch photos work best, but photogaphs can be a bit smaller or up to 5 x 5 inches. You can cut colorful squares out of construction paper and glue them under the photographs in order to provide fun splashes of color.
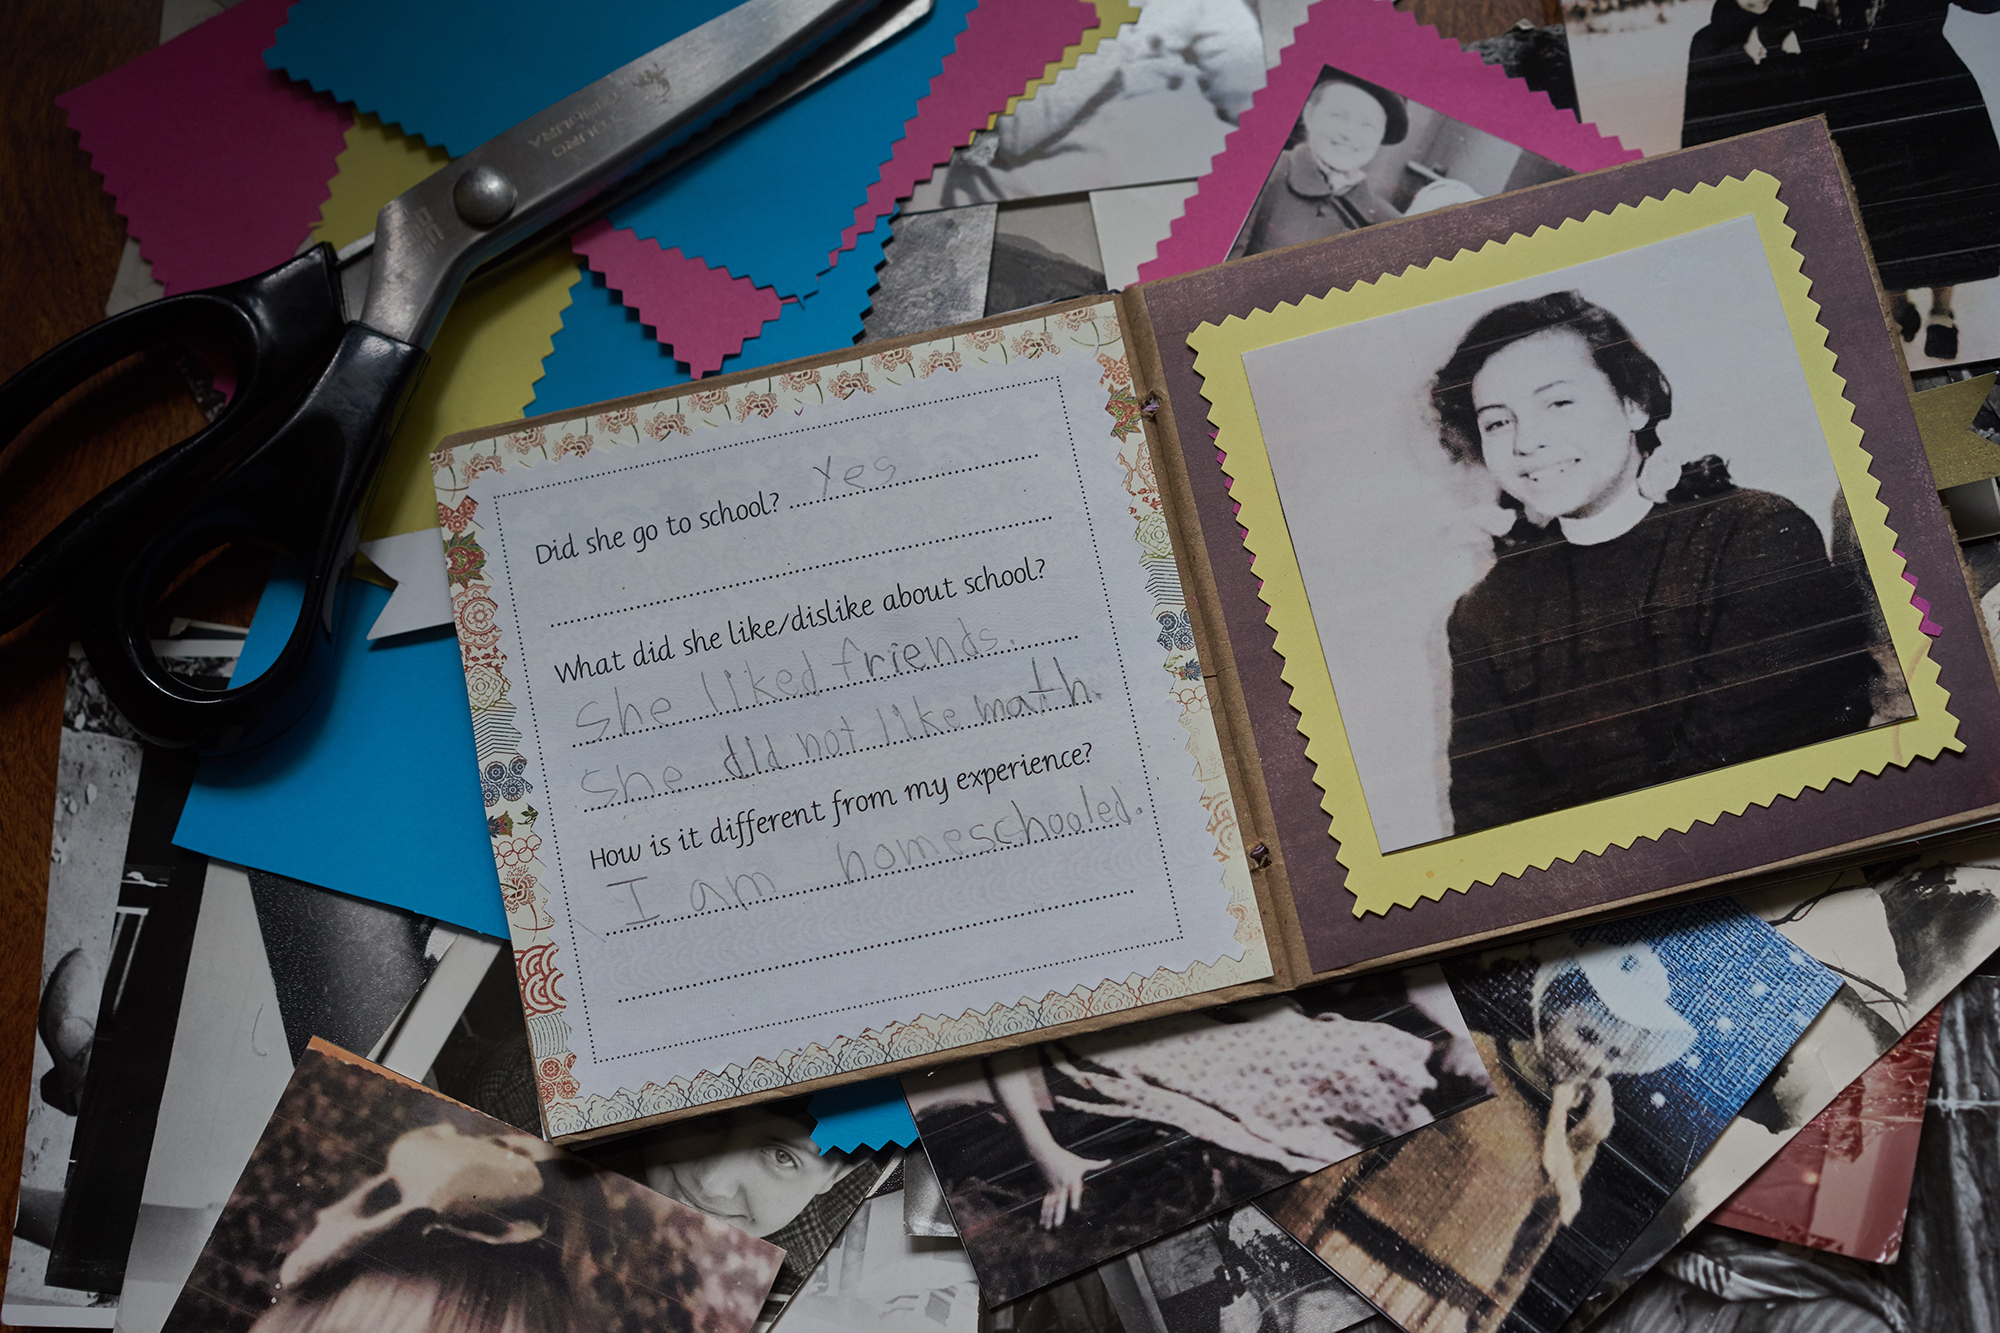
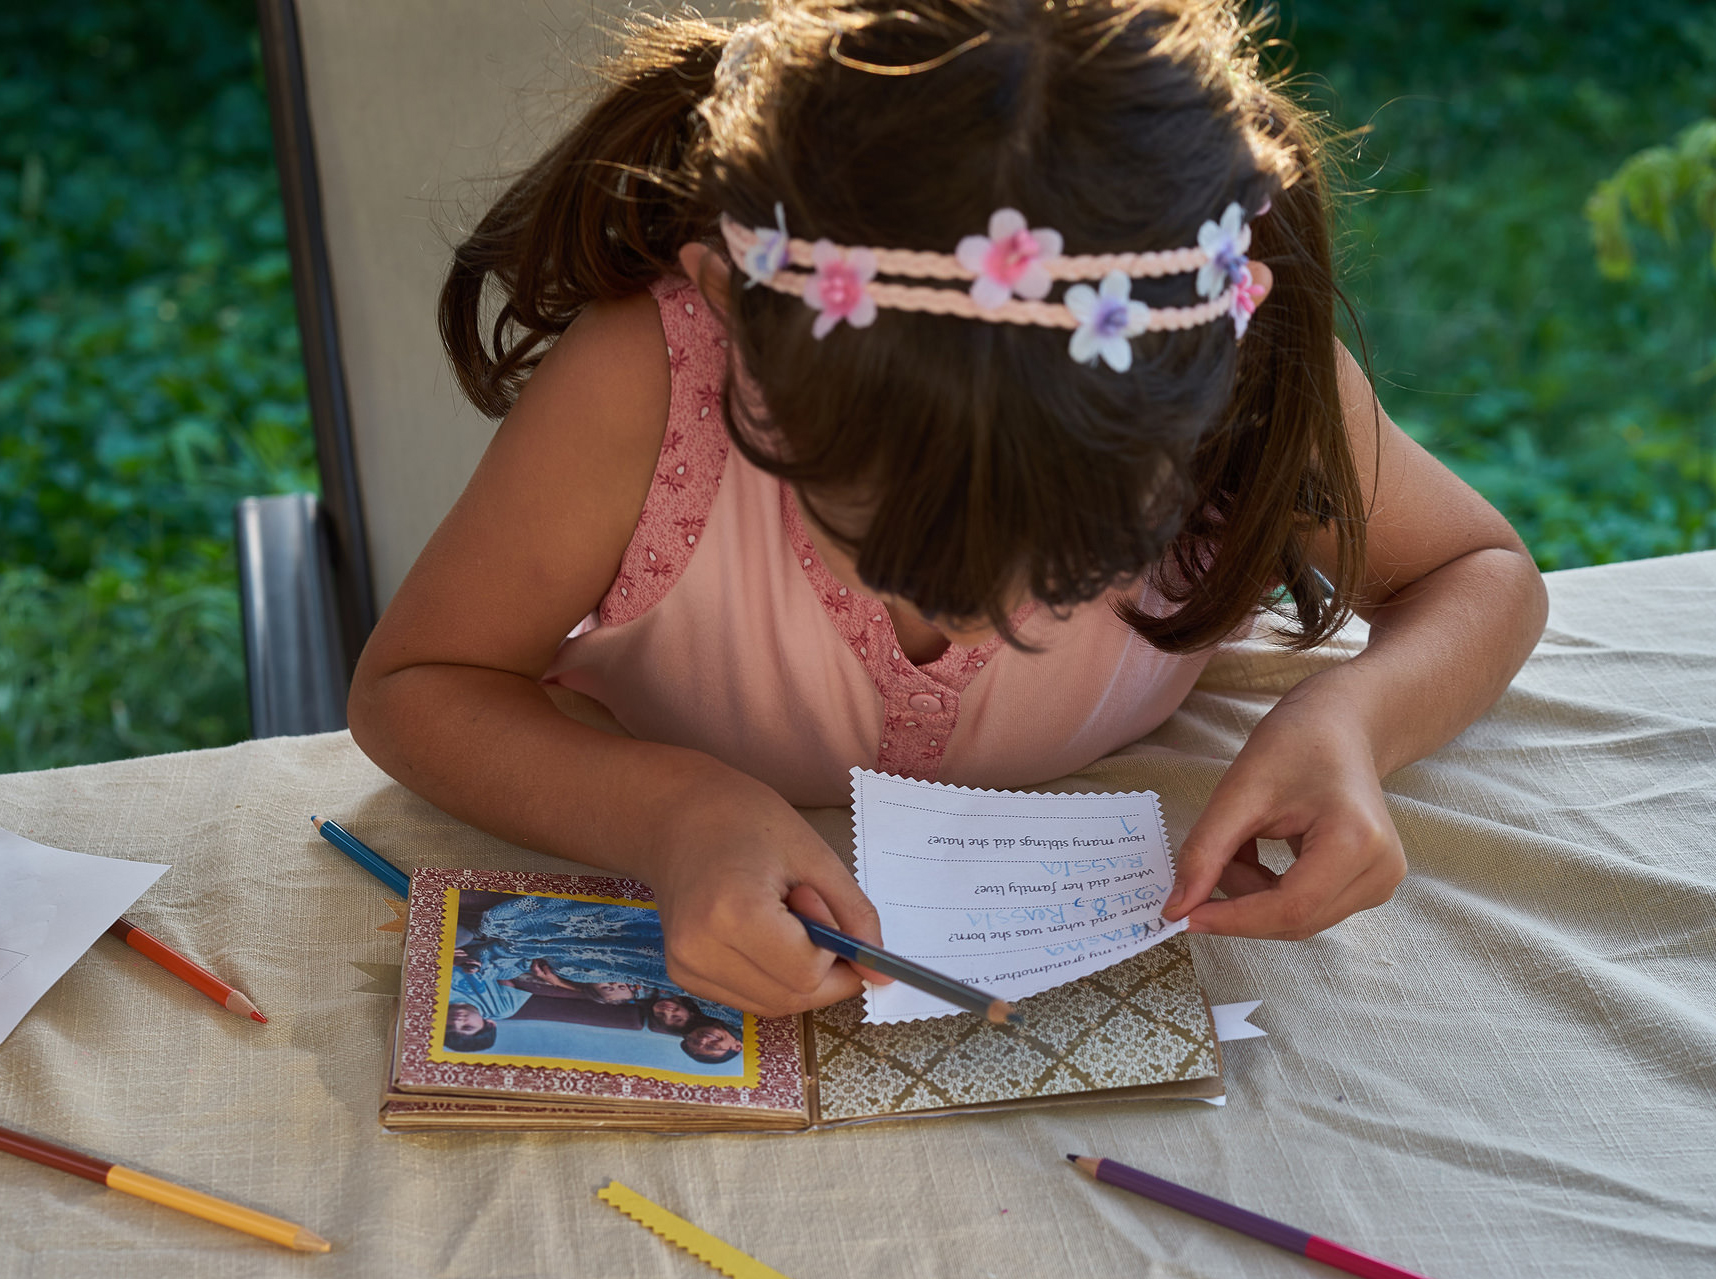
Glue the pictures inside. Have your child interview their elders and help them fill in the answers.
If you liked this tutorial, here are others you enjoy:
Not yet a subscriber? Try a free trial HERE.
About the authors
-

Jenny Barandich
Graphic DesignerJenny Barandich is the graphic designer who brings color and magic to all of Sparkle’s graphics.
With more than 20 years of experience, Jenny works with clients both locally and worldwide. She believes in unique yet practical designs that suit her clients’ needs, covering a wide range of industries including publishing, high-tech, nonprofit, medical, communications, and marketing. Jenny received a B.A. in Visual Communication from the Avni Institute of Art and Design in Tel Aviv. She now lives in Toronto with her husband and three children.
