Sparkle Craft: Furoshiki Lunch Bag Wrap
In this week’s Martin & Sylvia: Saturdays! story, “Lunch Box,” Martin and Sylvia set out on a quest to find new lunch boxes so that they can carry their lunch wherever they please, just like Martin notices other people doing. When they’re unable to find just what they’re looking for, they make lunch boxes instead!
All around the world people have had to figure out a way to bring their lunch with them when they travel – either to work, to school, or just out on a picnic. In Japan, there is a special wrapping called furoshiki that has traditionally been used in place of a lunch box. It’s a relatively simple basic skill to learn, but it can make for a most magical lunch-carrying experience, indeed!
You Will Need
Flexible cotton or silk fabric
Fabric markers (optional)
A lunch to carry
What To Do
Choose your fabric. Furoshikis were traditionally made out of silk or nylon because they are strong and easy to tie. Nowadays you can also find them made out of cotton or linen. When you’re looking for fabric of your own, first see if you have any fabric you don’t want to use for another sewing project. It needs to be big – at least 17” in both length and width. An old white bed sheet would work. We found some fun fabric at Ikea with doodles on it and decided to use that. We also had a larger white playsilk that we used as well.
Cut your furoshiki. Furoshikis are square – usually between 17” to 24”. Cut your fabric to the size that you’d like it. To prevent your fabric from unraveling, you can use pinking shears or stitch a quick hem along the outside. We left our cotton fabric’s edge raw.
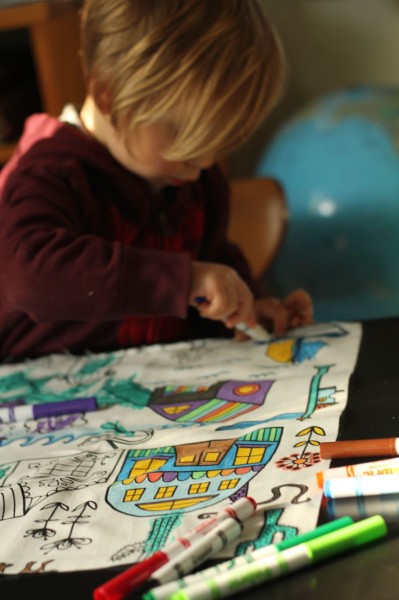
Decorate your fabric. If you have fabric markers and your fabric is light or white, let your little ones personalize their furoshikis with whatever colors and images they’d like. There is something especially fun about drawing on fabric, so this step may be the longest one (and that’s ok). Keep coloring and doodling until everyone is satisfied with their work.


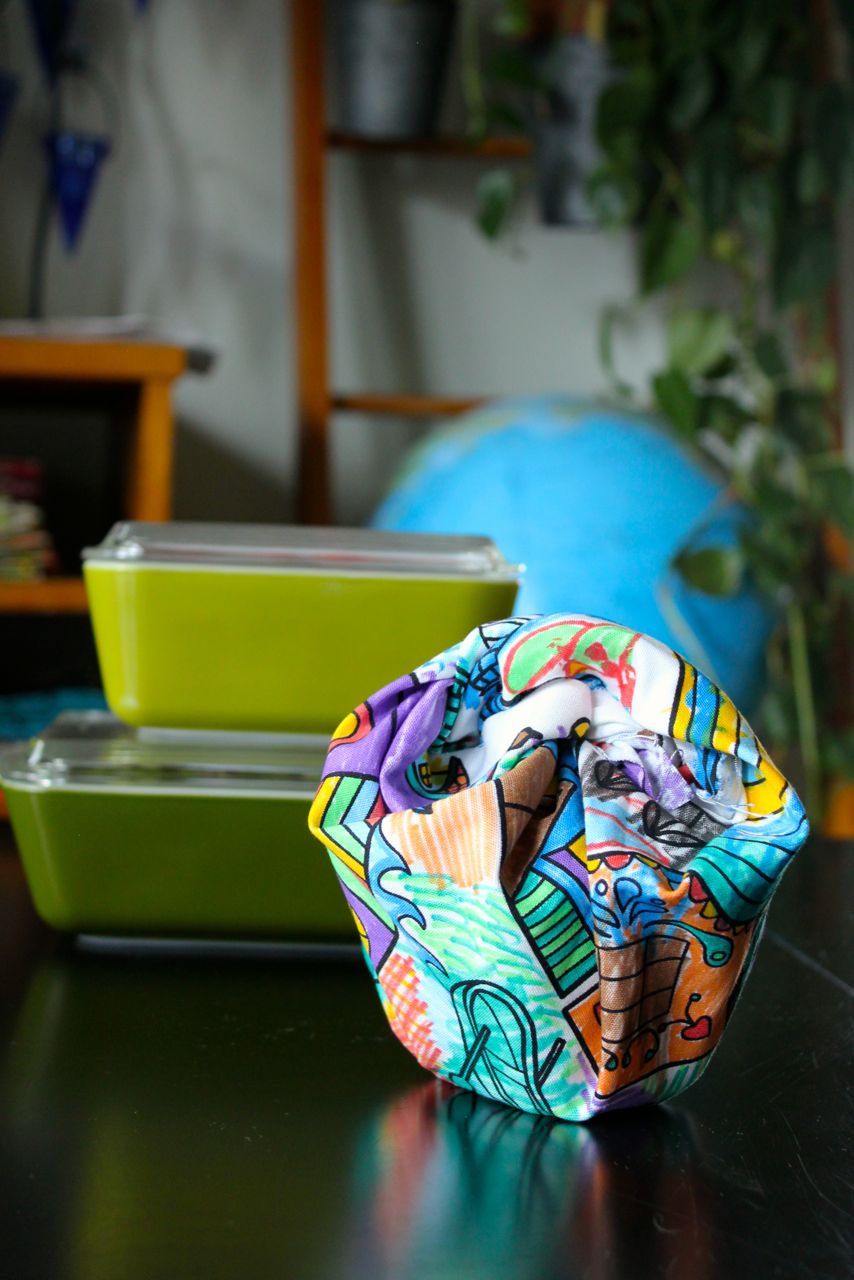
Time to fold! Now that your furoshiki has been cut and decorated, it’s time to wrap up your lunch. There are many different ways to fold a furoshiki; today we’re just going to be doing the basic technique. If you can tie a knot, then you can wrap a furoshiki!
Take a peek at the following speedy tutorial for instructions…
Explore More
Did you decorate your furoshiki? Is there anything you can add? Would you like to make a second one that looks different somehow?
Did you listen to the Martin and Sylvia: Saturdays! story, “Lunch Boxes” this week? How did Martin and Sylvia make their new lunch boxes? Would you like to try that option? See if your grown-up can help you gather the supplies!
Make Connections
Do you ever go any place where you need to carry your lunch? What do you use? Do other people in your family bring their lunch to work or school? Why is that?
Furoshikis are used to carry more than just lunches – what else do you think a furoshiki could carry? How big would the furoshiki need to be? Work with your grown-up to find out the answers – you both may be really surprised!
About the authors
-

Andrea Folsom
Sparkle Crafts BloggerAndrea Folsom describes herself as a writer, editor, creative maker, and eternal optimist. She is passionate about learning and sharing new creative techniques, making beautiful spaces, and talking about the social-emotional benefits of creativity and art. She runs [Crafting Connections](http://www.craftingconnections.net/) – a website providing inspiration, practical advice, and projects for creative families – with her close friend Danielle Reiner.
-

Danielle Reiner
Sparkle Crafts BloggerDanielle Reiner describes herself as a creative, a maker, and a mama. At the heart of her story is creativity, though that hasn’t always been the case. She rediscovered her deeply hidden creativity early in adulthood – with a ball of yarn and a couple of knitting needles – and hasn’t stopped since. Danielle also runs [Crafting Connections](http://www.craftingconnections.net/) – a website providing inspiration, practical advice, and projects for creative families – with her close friend Andrea Folsom.


