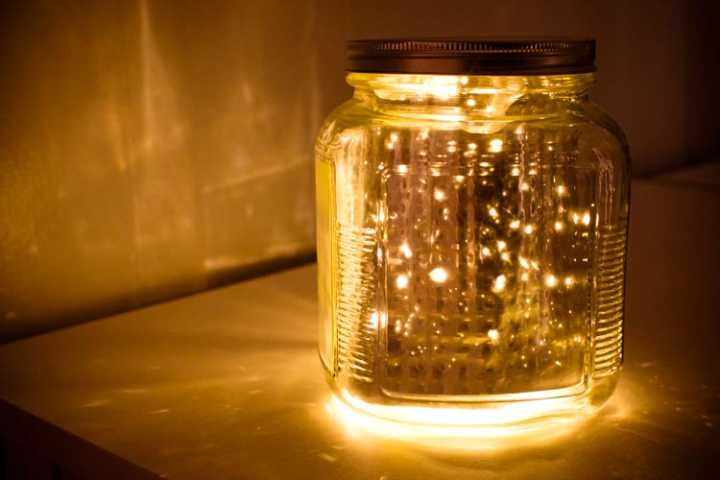
Sparkle Craft: Star Jars
In The Willowbee Tree story "Listen to the Lights," spring is coming and the Willowbee children are filled with excitement and energy. Unfortunately for their mother, this excitement is expressed with very loud voices.
She encourages them to use their “inside voices,” but it's only after the Willow Tree takes them to the far north and a moose shows them how to listen to the magical “Northern Lights” that the children understand how to be both excited and quiet at the same time.
In addition to inspiring this Willowbee story, the Northern Lights have inspired some fascinating mythology over the course of human existence. For example, some Inuit people believed that the lights were the spirits of their ancestors dancing across the sky. And the ancient Norse believed that the lights were a fire bridge built by the gods.
In fact, the Northern Lights are caused when charged particles from the sun strike atoms in the Earth's atmosphere. This excites the atoms, which causes them to light up. It's similar to the way a neon sign works, but on a larger — and so much more beautiful — scale.
Because the lights require these charged particles, they are a phenomenon that's hard to recreate at home. But if you want to get a similar effect in inspiring quiet wonder in your children, may I suggest a star jar?
Whether as a night light for long winter evenings or a lantern for summer camp-outs, these star jars will provoke quiet “oohs” and “ahhs” whenever you switch them on. The initial cutting with a box knife is best done by an adult, but by using a thin, disposable cookie sheet to make the heart of the lantern, a supervised pre-schooler can quickly make a whole galaxy of stars to admire.
Star Jars
Materials
- Disposable cookie sheet
- Medium-sized glass jar
- Box-cutting knife or sharp scissors
- A thin, sharp object for poking holes (bamboo skewers, the sharp end of a drawing compass, pointy scissors, a metal knitting needle, a small screw driver)
- Tape
- A strand of battery-powered twinkle lights
Directions
Use the box-cutting knife to cut any raised edges off of the cookie sheet, then cut the cookie sheet down so that its shorter side is slightly less tall than the top of the jar.
Next, use a thin, sharp object (or several different ones) to poke holes in the cookie sheet. Remember, stars are different sizes so don't get hung up on making each star the same. You can make constellations if you want, or just make a random star pattern.
Roll the cookie sheet into a cylinder and fit it into the jar.
Tape the switch end of the strand of lights to the underside of the jar lid, and feed the strand of lights into the jar.
Take the jar in to a dark closet and turn the twinkle lights on. If you're satisfied with the look of your stars, you're all done. If you need a few more, unroll the cookie sheet and poke a few extra holes until you're satisfied. Then wait for dark and sit back to enjoy the lovely light!
If you like this craft, here are others you might enjoy:
Not yet a subscriber? Try a free trial HERE.
About the Author

Meryl Carver-Allmond
The Sparkle Kitchen Series is created by Meryl Carver-Allmond.
Meryl lives in a hundred-year-old house near the prairie with her sweet husband, two preschoolers, one puppy, one gecko, and about ten chickens. While she's been writing since she could pick up a pen, in recent years she's discovered the joy of photography, too. She feels lucky to be able to combine those skills, along with a third passion — showing people that cooking for themselves can be healthy and fun — in her Sparkle Kitchen posts.

