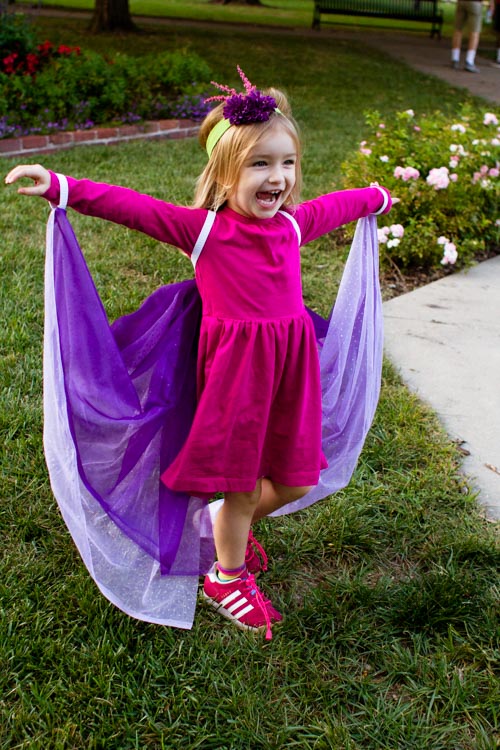
Sparkle Craft: Quick, Low-Sew Wings
In the Martin & Sylvia: More Adventures! story “How to Fly,” one morning Martin asks Momma, “Why is there school?” In response, Momma tries to explain that school teaches how to answer questions in lots of different ways. Martin then asks, “Well, how do birds fly?” and Momma suggests that they all try to answer the question in their own way. Momma chooses to answer it by drawing, Daddy by study, Sylvia by building a model, and Martin by using his imagination.
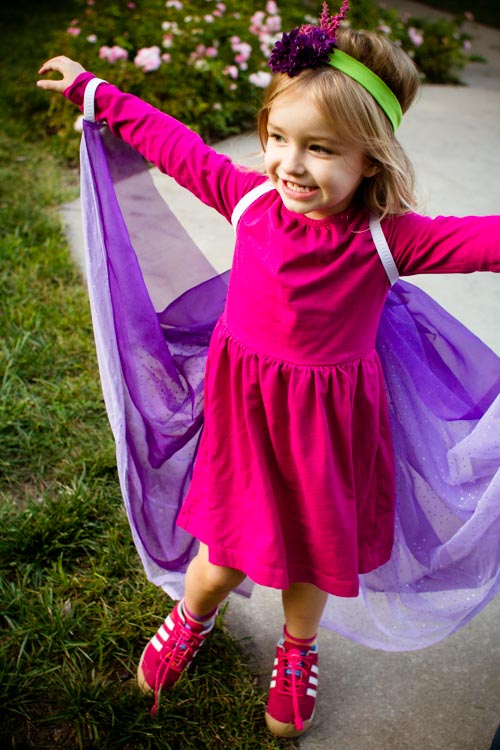
This time of year is all about imagination! Spooky stories, flickering candles in jack-o-lanterns, and — of course — all the delight of choosing a Halloween costume.
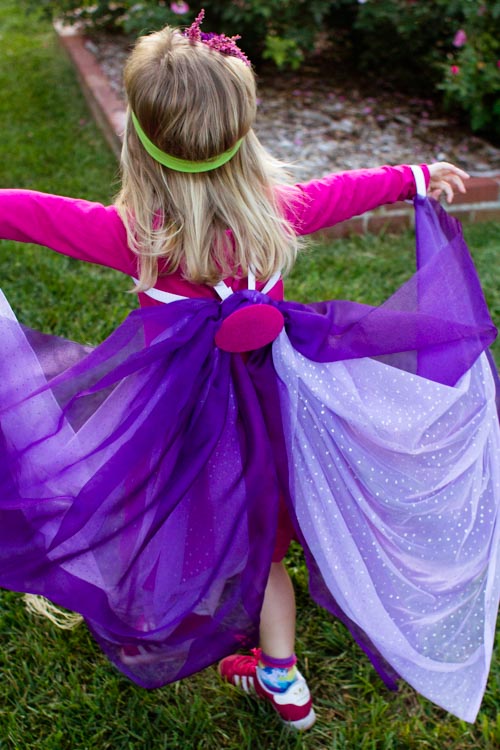
If your little one is still searching on that last front, this week’s craft is a good one to keep in your back pocket. These wings take just the tiniest bit of very basic sewing — hence the “low-sew” designation — and most of the heavy lifting is done by the one big knot you’ll tie in the center of the fabric. If you can tie your shoes, you can do this!
I made our version of these wings to suit their wearer’s specifications (“a pink and purple butterfly, please”), but just by changing the colors they can be transformed into so many different costumes.
How about black fabric for a swooping bat? Or bright red and turquoise to festoon a tropical parrot? White fabric would work for a snowy owl. Green and brown would be perfect for a woodland fairy. These wings will carry you as far as your imagination can fly!
Quick, Low-Sew Wings

Materials
2 yards of fabric (choose two different colors or two of the same color, depending on the costume you’re making)
1 piece of stiff craft felt
Fabric glue
About 2 yards of 1-inch elastic
Hand sewing supplies and/or a sewing machine
Directions
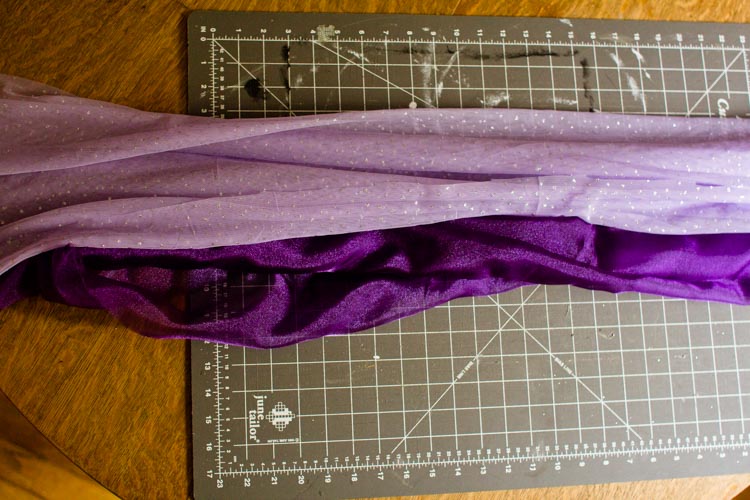
Lay out the two pieces of fabric in front of you with the longest side stretching out to your right and left.
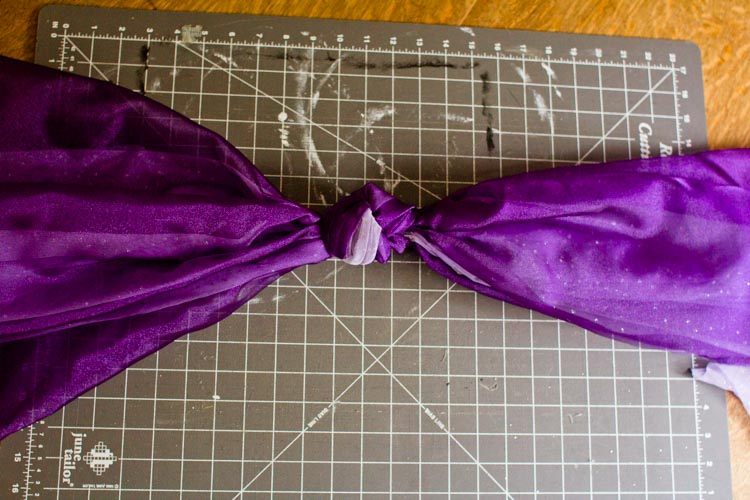
Gather the fabric together in the center and tie a big, tight knot with both pieces.
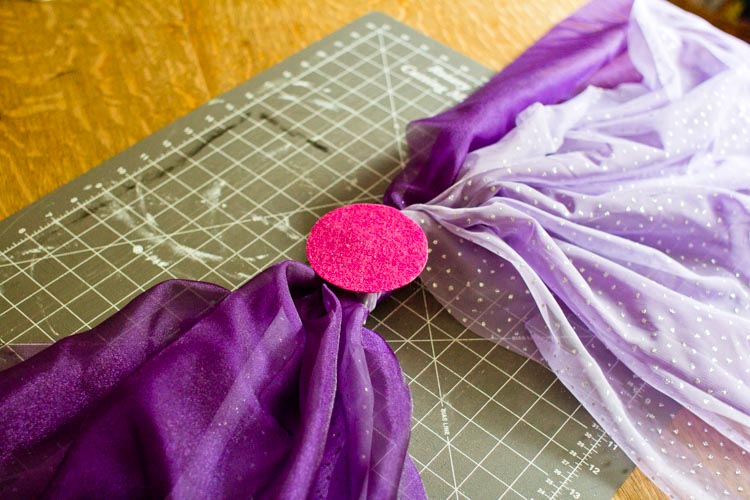
Cut a circle out of the craft felt that is big enough to cover the knot. (My knot was about the size of a wide-mouth canning lid, so I used that as a stencil.) Use fabric glue to attach the felt to one side of the knot, and let the wings sit for 15-20 minutes so that the glue can start to dry. (If you’re in a real hurry, you can just tack the craft felt down with a few stitches, but the glue makes it neater.)

As the glue is setting up, cut two short pieces of elastic, each about an inch longer than your child’s wrist. Next, again using your child’s body to measure, cut two larger loops to attach the wings to their chest and shoulders.

To do this, run a piece of elastic from the center of your child’s back, under their armpit, and back over their shoulder. Pull the elastic just a little tight, overlap the two ends about an inch, then cut the elastic.
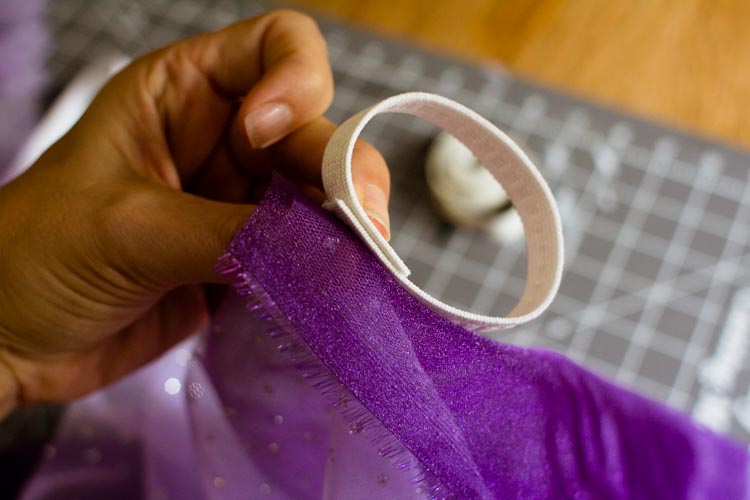
Now attach the wrist loops to the edges of the wings. To do so, first make a loop with one of the short pieces of elastic — overlapping the ends by about an inch — then fold the top corner of the far edges of both pieces of fabric around the elastic, right where the ends of the elastic loop overlap. Sew through the elastic and fabric several times to secure it. Repeat on the other side.

Next, it’s on to the shoulder loops. Being careful not to twist it, overlap the elastic ends by about an inch and sew them together to make a loop. Pin the loop to the back of the knot in your fabric so that it criss-crosses, then hand sew the elastic to the knot in two places for each loop.

Congratulations — you’re now ready to take flight!
If you liked this tutorial, here are others you might enjoy:
Not yet a subscriber? Try a free trial HERE.
About the authors
-

Meryl Carver-Allmond
Sparkle Kitchen & Craft BloggerThe Sparkle Kitchen Series is created by Meryl Carver-Allmond.
Meryl lives in a hundred-year-old house near the prairie with her sweet husband, two preschoolers, one puppy, one gecko, and about ten chickens. While she’s been writing since she could pick up a pen, in recent years she’s discovered the joy of photography, too. She feels lucky to be able to combine those skills, along with a third passion — showing people that cooking for themselves can be healthy and fun — in her Sparkle Kitchen posts.
