Sparkle Craft — No-Sew Cozy Corner Cushion
In the Libby & Dish story, “Apologies and Cake”, Libby returns from helping Mr. Bhachu down the hall, and learns that Dish’s feelings are hurt. He missed spending time with her while she was away.
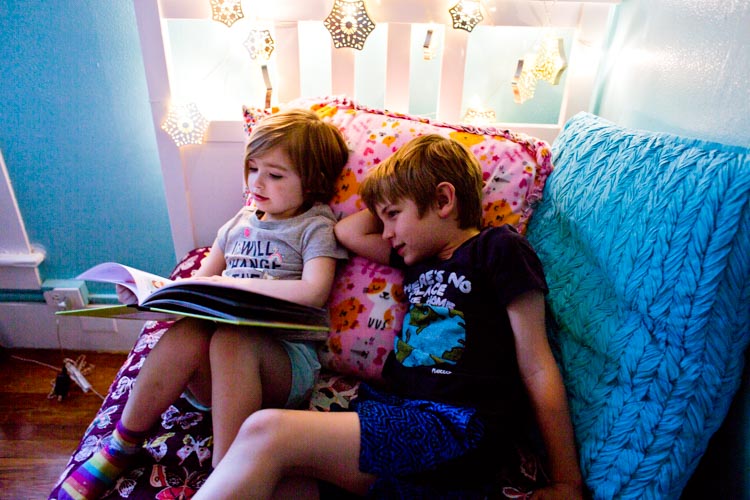
She hates to think that she disappointed her best friend, so she offers an apology and a chance at reconnection: snuggling together and watching the birthday party guests arrive from their ninth floor living room window.
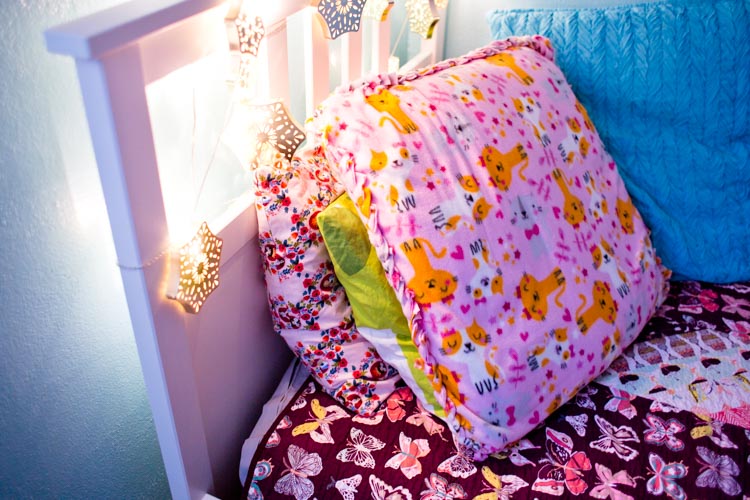
Even on a day with no hurt feelings, a few minutes spent snuggling together is a lovely way to reconnect after a day apart. And this cozy, fleece pillow—inspired by Libby’s red cozy cushion—makes for a soft spot to do just that.
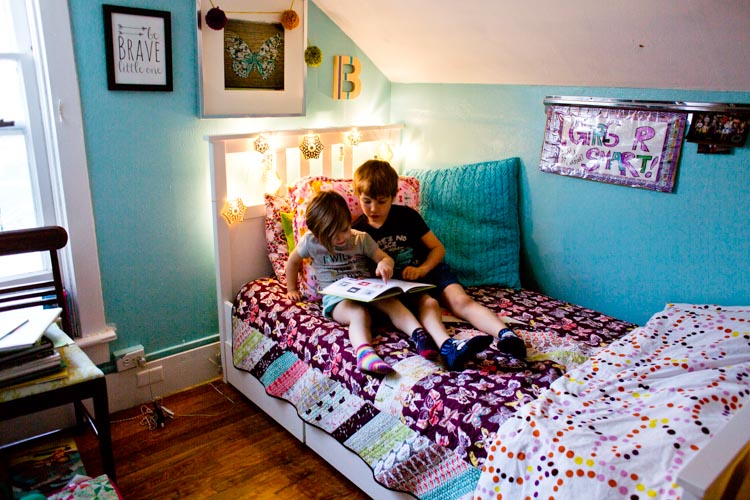
This project is no-sew, and can be put together in about half an hour. Polar fleece comes in an amazing array of colors and prints, so you can make your cushion red like Libby’s or choose another pattern to make it all your own. (My daughter is lobbying hard for her very own “Dish” right now, hence the kittens on everything!)
If you don’t want to futz with crocheting the border together, you can just skip the tiny holes and double knot the top and bottom fringe pieces together. I like the more finished edge a crochet hook creates, and—even if you’ve never crocheted before—it’s really easy to do.
The sooner you get started, the sooner you’ll have a cozy place to snuggle, so off we go!
No-Sew Cozy Corner Cushion
Materials
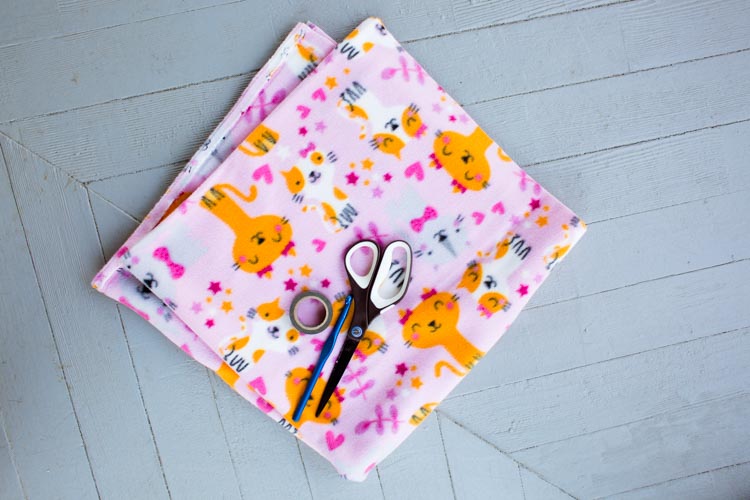
- Fleece (2 pieces, the width and height of your pillow plus 5 inches)
- A pillow insert
- Sharp scissors
- Painter’s tape or washi tape
- A crochet hook (size isn’t critical, but I used a size “G”)
Directions
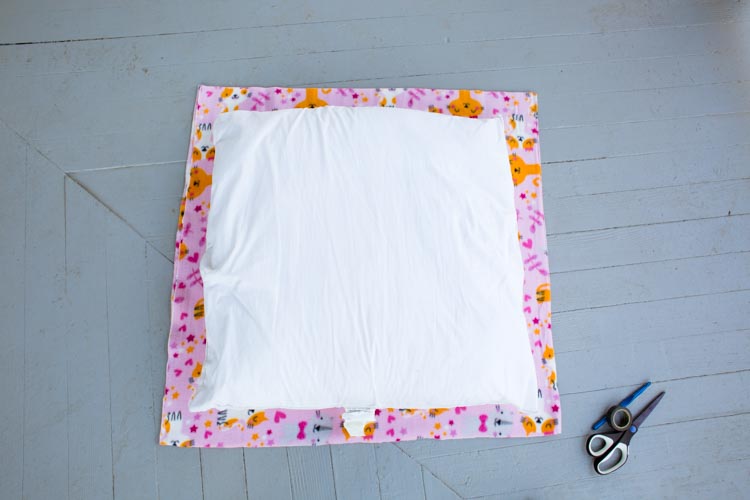
First, cut your fleece so that you have two pieces, each about 2 ½ inches bigger than your pillow on all sides. Stack the two pieces on top of each other, with wrong sides together.
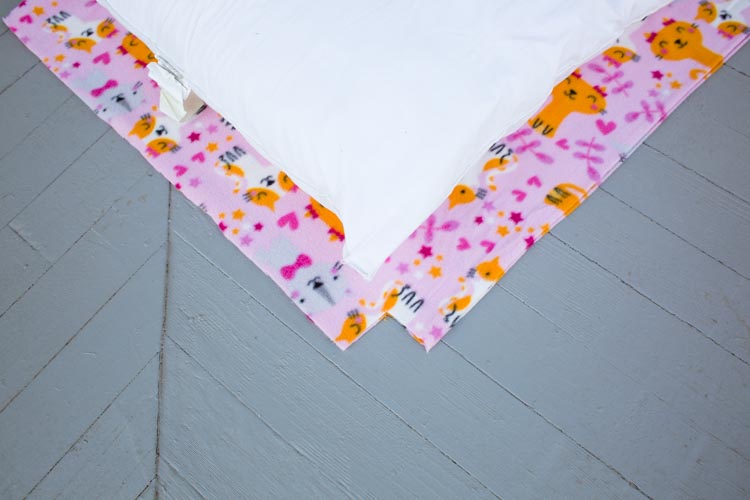
Then, cutting through both pieces of fabric, cut a square notch in each corner (about 2 inches in both directions). Stretch a piece of tape from the top of one corner notch to the top of the corner notch on the opposite side, and repeat until you have all 4 sides marked with tape. Try to lay the tape onto the fabric as straight as you can.
Now, using the tape as a guide for how deep to cut, cut the edge of the fabric into a 1-inch fringe, again, cutting through both layers as you go. You can use a yardstick to help keep the strips even, but I was able to just eyeball it.
Once the fringe is cut on all 4 sides, go back and fold each fringe piece in half, and cut a small hole—a scant inch long—into the center of each piece of the fringe. Once the holes are cut on all 4 sides, you can remove the tape.
Now, starting at a corner, pick up your crochet hook and slip it though the holes (top piece of fabric and bottom) of the first piece of fringe. Slip the hook through the two holes on the second piece of fringe, too, then use the hook to pull the second piece of fringe through the first piece. You should now have just the second piece of fringe on your crochet hook.
Continue in this manner, until you’ve crocheted 3 sides together, then put the pillow insert inside before you finish the last side. When you get to the last piece of fringe, pull the bottom piece of fringe through the first loop, then tie a double knot with the top, last piece of fringe to secure the end.
Prop your pillow up in your own cozy corner, and enjoy!
