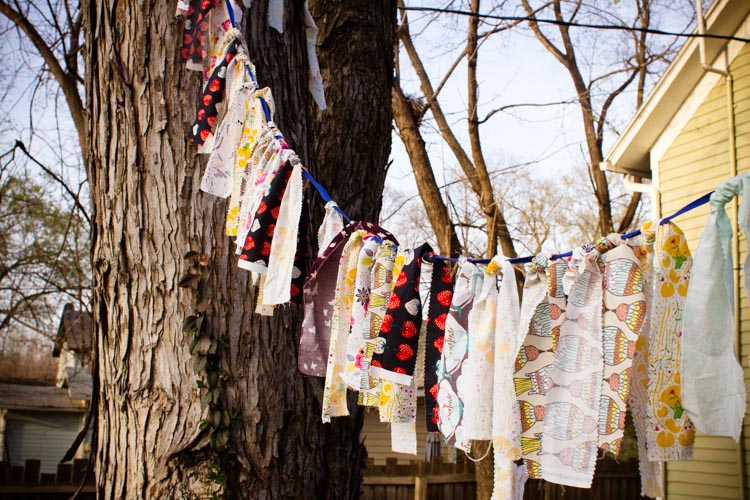
DIY Tibetan Prayer Flags
In this week’s The Willowbee Tree story, “A Stone With Wings,” Clancy is a dreamy boy who has lots of “idea time.” His family understands this and his teachers understand this, but sometimes the children in his class do not. They occasionally laugh at his ideas and think what he says is silly. But, when the Willow Tree takes him to the foothills of the Himalayas to help the local animals find a mythical source of water, it is precisely those “silly” ideas that help him find it.
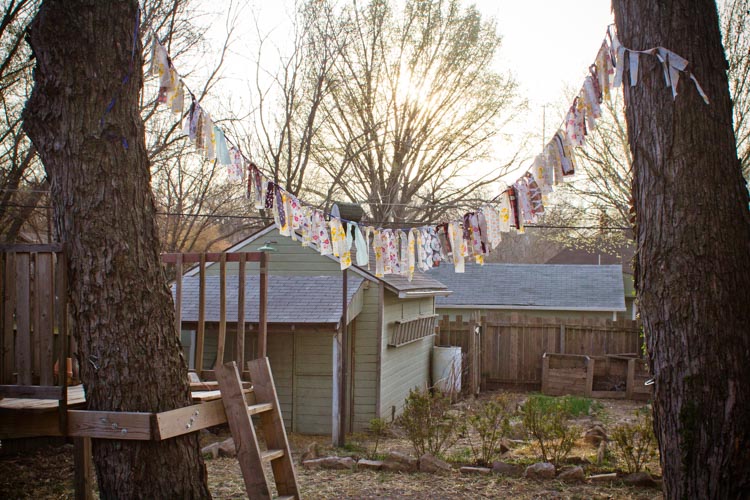
This week’s craft project comes from the region of the “mountains that hold the sky” — it’s a no sew, backyard version of Tibetan prayer flags.
Real prayer flags are always specific colors and have prayers printed on them. As the wind blows, their blessings are believed to be carried on the breeze, spreading good will and compassion to all. When the flags become old and faded, new flags are hung next to them, representing the ongoing cycle of life.
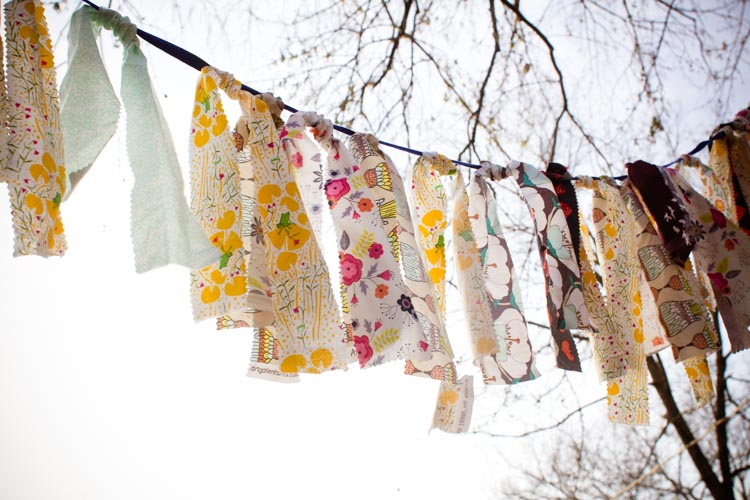
For years now, our family has had a similar tradition of hanging pretty scraps of fabric in a banner over our backyard each spring. As they flutter in the wind, our “flags” carry our hopes for a warm, bountiful garden season with lots of outdoor time together. By the next winter our banner is always faded and tattered, which just means that it’s time to make a new one at the first sign of warm weather. And so the cycle of our own lives continues.
In addition to being decorative, these flags are a great way to let go of odd bits of fabric in your fabric stash. Some years I’m very purposeful and make all of the flags out of the same fabric; sometimes it’s a hodgepodge. One year I even made it out of my children’s t-shirts that were too stained or damaged to hand down.
However you do it, these flags are a delightful addition to a spring and summer of backyard hijinks.
No-Sew Backyard Prayer Flags
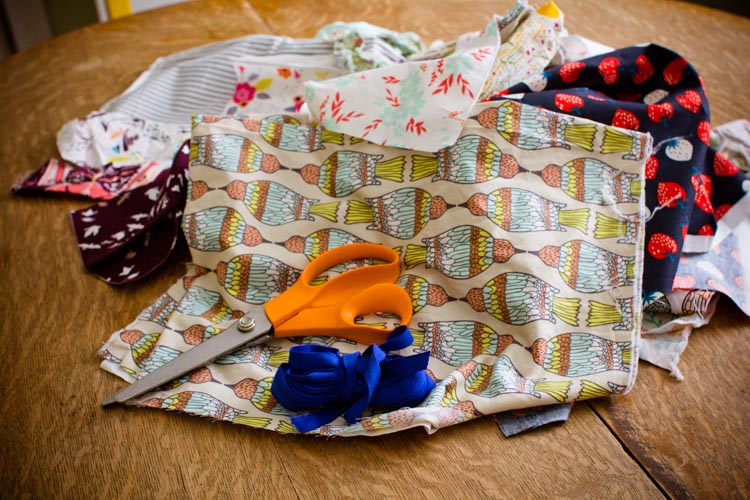
Materials
Scrap fabric
A piece of twill tape (the length of your banner, plus about 2 feet)
Pinking shears or scissors
Directions
There are two approaches you can take for this project.
If you have a bourgeoning mathematician at your house, you can measure the exact space your banner must span, multiply out the exact number of flags you need (about one every 3-4 inches), and perfectly alternate the colors of your flags.
Or, you can eyeball it.
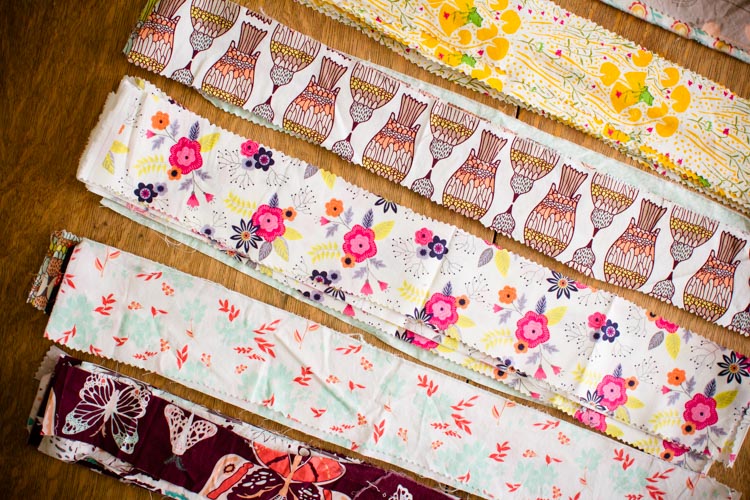
Either way, you need to begin by preparing your fabric strips. Using pinking shears if you have them—it’s not critical, but they do help the flags stay nice longer—cut the fabric into long strips. Size also isn’t critical, but strips that are close to 24 inches long and 3-4 inches wide will tie nicely with plenty of tails left to flutter.
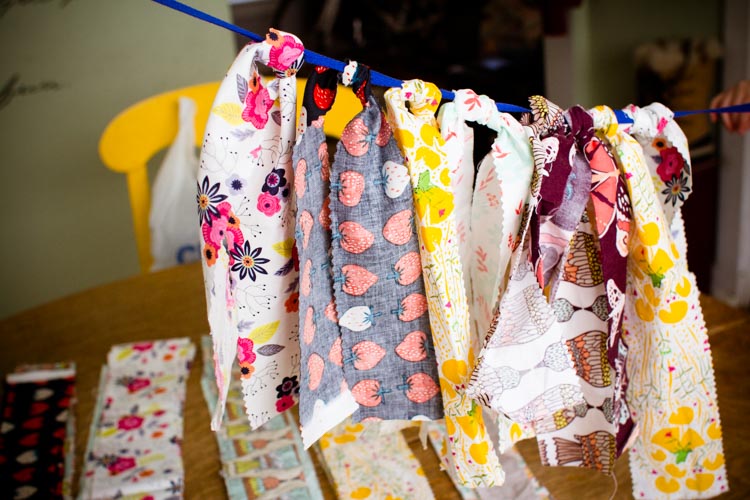
Then, stretch out the twill tape, and begin tying on flags, alternating colors as you go. Be sure to leave a little space at both ends of your twill tape to hang your flags.
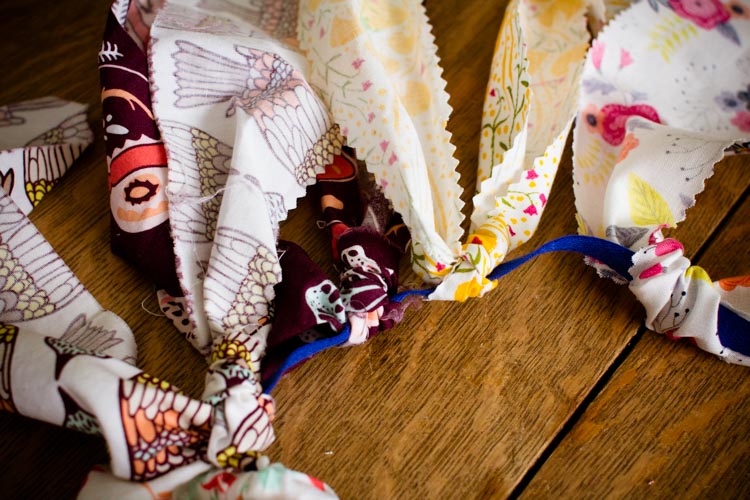
Once you’ve filed the length of your twill tape, go back and adjust flags as needed to make the spacing even.
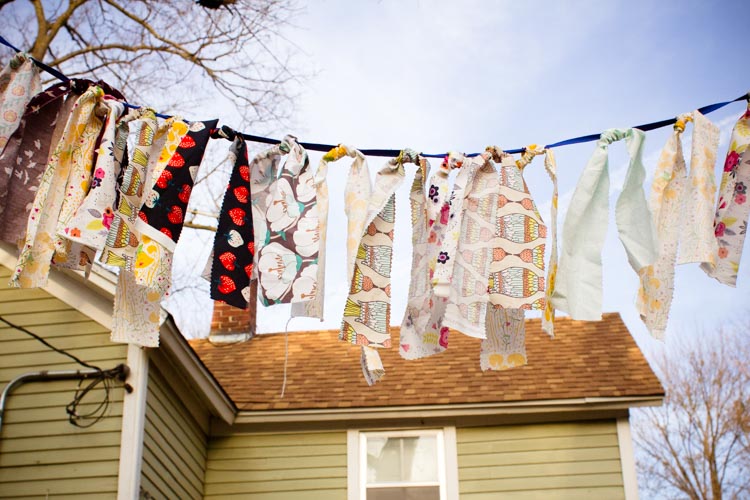
Then, hang your flags some place high and enjoy watching them flutter in the spring breeze.
If you liked this tutorial, here are others you might enjoy:
Not yet a subscriber? Try a free trial HERE.
About the authors
-

Meryl Carver-Allmond
Sparkle Kitchen & Craft BloggerThe Sparkle Kitchen Series is created by Meryl Carver-Allmond.
Meryl lives in a hundred-year-old house near the prairie with her sweet husband, two preschoolers, one puppy, one gecko, and about ten chickens. While she’s been writing since she could pick up a pen, in recent years she’s discovered the joy of photography, too. She feels lucky to be able to combine those skills, along with a third passion — showing people that cooking for themselves can be healthy and fun — in her Sparkle Kitchen posts.
