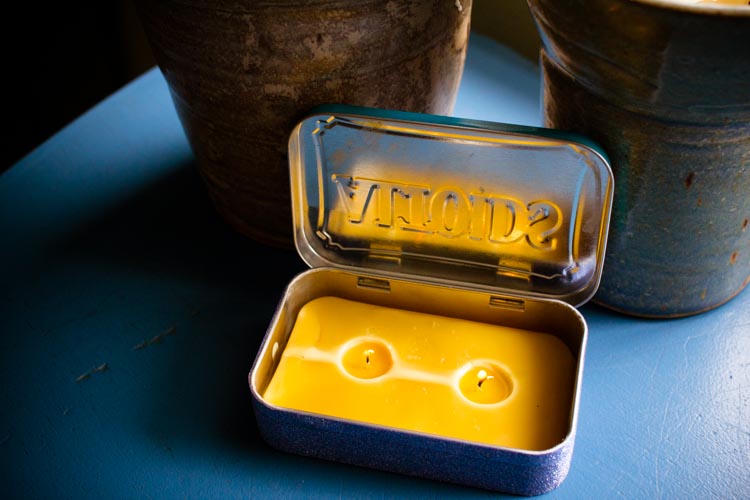
Beeswax Travel Candles: Kid-friendly Craft
In this week’s So Many Fairies story “Fire Fairies,” Nicholas and Miriam love their grandmother, Nani’s, warm and cozy home. But then, one spring day, a fire breaks out, and Nani’s home is mostly lost to smoke and flame.
Their grandmother is okay with the loss, but Miriam is not okay. In fact, she becomes afraid that the fire may happen again. It takes the work of several fairies to help Miriam learn to appreciate fire again.
In addition to the helpful work of fairies, I often find that when my kiddos or I are scared of something, it helps to make it smaller.
The huge shadow on the wall at bedtime? See, it’s just your dinosaur toy caught in the nightlight.
Jumping off the high diving board? Practice lots at the edge of the pool first.
In that spirit, this week’s craft makes the fire that Miriam was afraid of much smaller — small enough that you can travel with it, in fact.
While you can buy plain wax and doctor it up with just about any scent, plain beeswax has a warm smell that’s more pleasant to me than other scented candles. I love beeswax candles at home, but I think they’re also particularly appropriate if you have a shared office where stronger scents might bother co-workers.
The supplies below will make one candle, but feel free to double or triple them to make more candles. These are lovely to keep as treats for yourself, but they also make a pretty little gift.
Beeswax Travel Candles

Materials
60 grams beeswax
an empty can or similar container for melting wax
an empty Altoids (or similarly sized) tin
washi tape
2 short candle wicks with attached wick tabs
Directions
First, find a heat-proof container to melt your beeswax in. I think an empty tin can (with the label removed) pulled from the recycling bin works great, because you can dispose of it easily when you’re finished and don’t have to worry so much about washing it up.
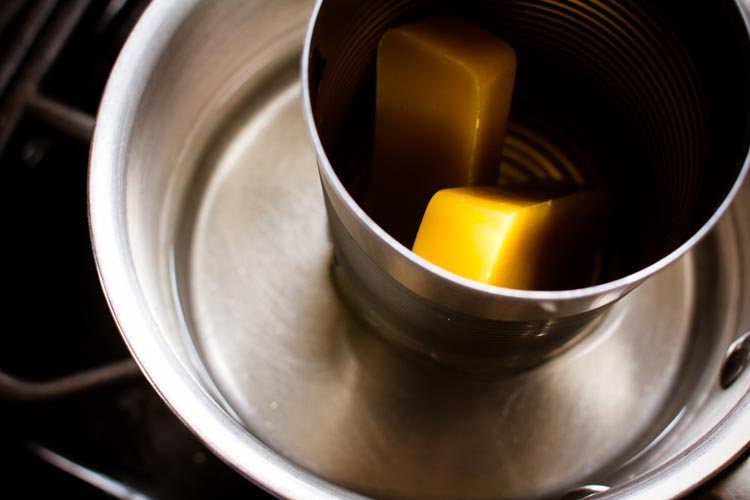
Place the beeswax in the can, and put it in a small pot of water on your stove.You’re setting up a double boiler, so the water should only go about halfway up the sides of the can.Then, gently heat the beeswax until it’s melted, keeping a close eye so that it doesn’t scorch.
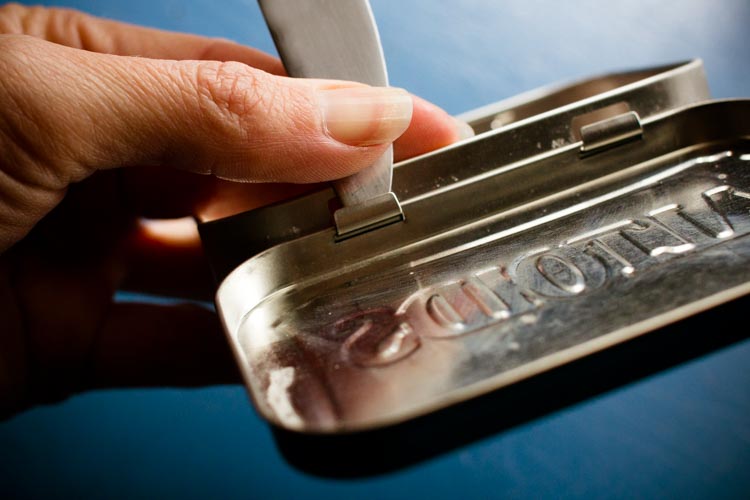
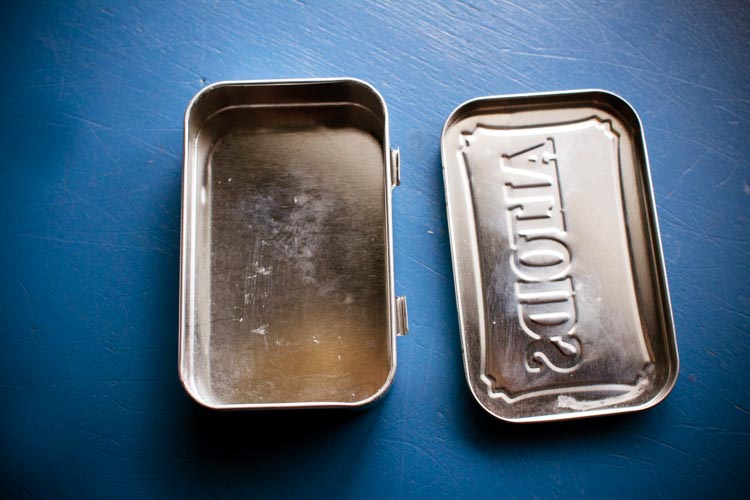
Meanwhile, use a butter knife or flat screwdriver to bend out the hinges of the Altoids tin to remove the lid.
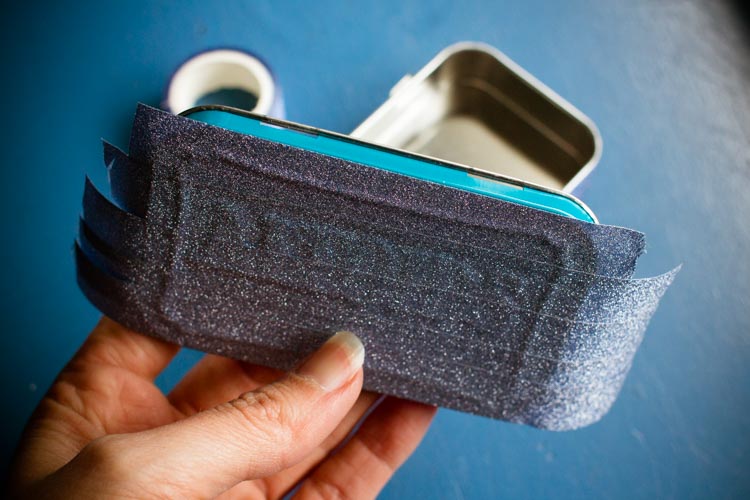
Cover the bottom sides of the tin, as well as the lid, with decorative washi tape.
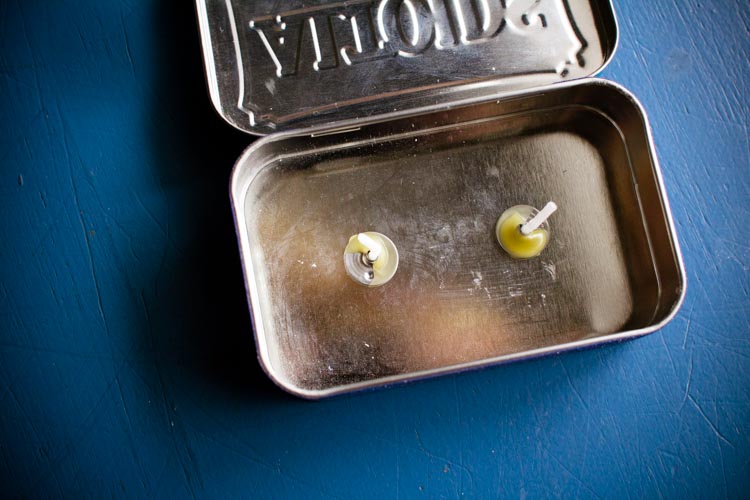
When the wax is melted, use canning tongs or a pot holder to carefully remove the can from the double boiler. Dip the wick tabs just barely into the wax, and use the wax to “glue” them to the bottom of the Altoids container.
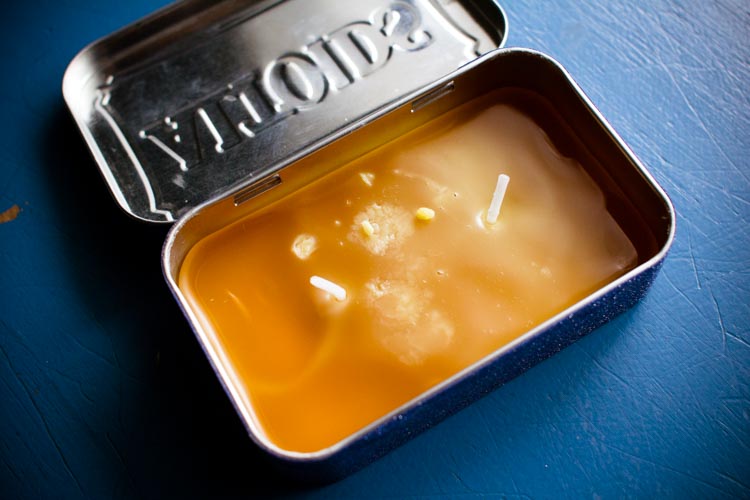
Let the wick tabs cool for about 30 seconds, then pour the rest of the wax into the bottom of the Altoids tin.Let the beeswax harden completely, reattach the lid, and enjoy the warm glow of this little fire that you can take anywhere.
If you liked this tutorial, here are others you might like:
Not yet a subscriber? Try a free trial [HERE](https://www.sparklestories.com/signup
About the authors
-

Meryl Carver-Allmond
Sparkle Kitchen & Craft BloggerThe Sparkle Kitchen Series is created by Meryl Carver-Allmond.
Meryl lives in a hundred-year-old house near the prairie with her sweet husband, two preschoolers, one puppy, one gecko, and about ten chickens. While she’s been writing since she could pick up a pen, in recent years she’s discovered the joy of photography, too. She feels lucky to be able to combine those skills, along with a third passion — showing people that cooking for themselves can be healthy and fun — in her Sparkle Kitchen posts.
