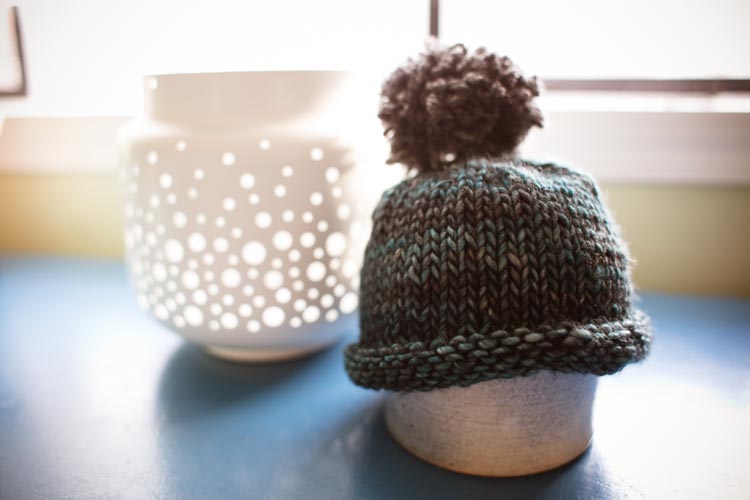
Bauer Baby Hat DIY Tutorial
In the Dry Gables: Hands Together story “A Great Burden is Lifted,” Wilhelm Bauer has a thirty-year plan for Dry Gables, but all of it is upturned when his wife Jane tells him some good news: they are going to have a baby!
Wilhelm is, of course, thrilled, but he is also overwhelmed by the uncertainty this brings. He immediately sits down at his drafting table and creates a new plan, but his intensity and seriousness is difficult for everyone around him. Luckily his wife Jane knows exactly what he needs — a little fun!
It’s kind of funny that, as humans, we typically go around thinking that we’re superior to other animals when really we still have so many of our animal instincts. When it rains, we seek shelter. When it’s cold and dark, we sleep a little more. And when a baby is on the way, we want to make everything as safe and cozy and warm as we possibly can. In short, we “nest.”
When my first baby was growing in my belly, I had an almost animal instinct to knit. It was like my subconscious brain didn’t think that there were going to be stores in existence to buy clothes from after the baby was born. The needles were constantly in my hands. I think I made at least half a dozen tiny sweaters, in addition to hats and booties and rattles and mittens and goodness knows what else.
Like Wilhelm’s intense planning, my knitting was probably overkill, but my little guy was certainly cozy once he decided to come out into the world!
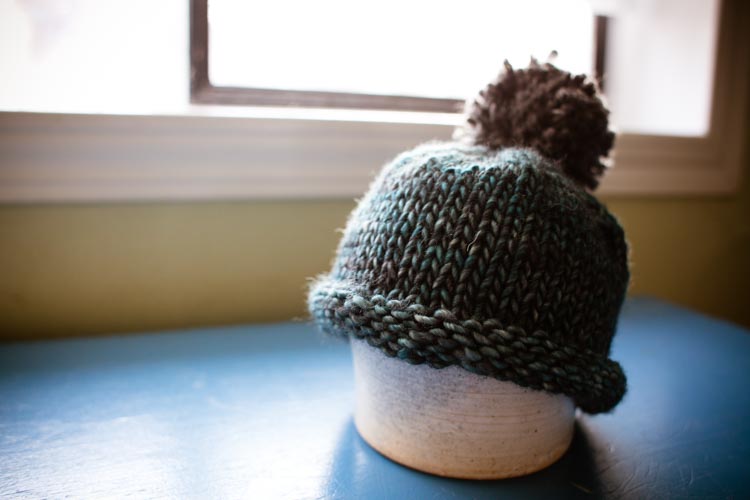
Whether you’re nesting yourself or you know someone who is, this little hat is adorably sweet on a new baby. The purled brim is snug enough to stay on, yet also stretchy enough to accommodate sometimes hard-to-size newborn heads. Using bulky yarn, it knits up in an hour or two and would make a great project for a newer knitter trying to get started with double-pointed needles. The pompom for the top is optional, but it’s so cute bobbling along on top of a tiny head that I highly recommend it.
Happy nesting…er, knitting!
Bauer Baby Hat
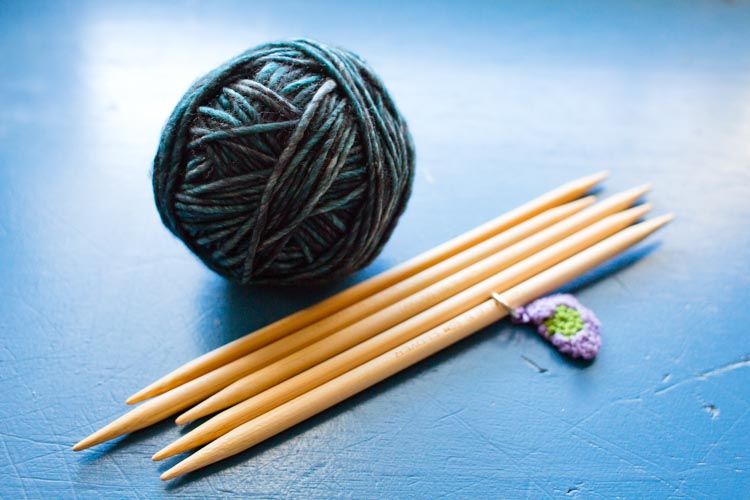
Materials
About 50 yards bulky weight yarn (here I’ve used Malabrigo Mecha in Green-Grey)
Scrap amount of a contrasting color (for the pompom)
US 10 double pointed needles
1 stitch marker
Yarn needle
Sharp scissors
Abbreviations
k: knit
ssk: slip, slip, knit
k2tog: knit 2 stitches together
Directions
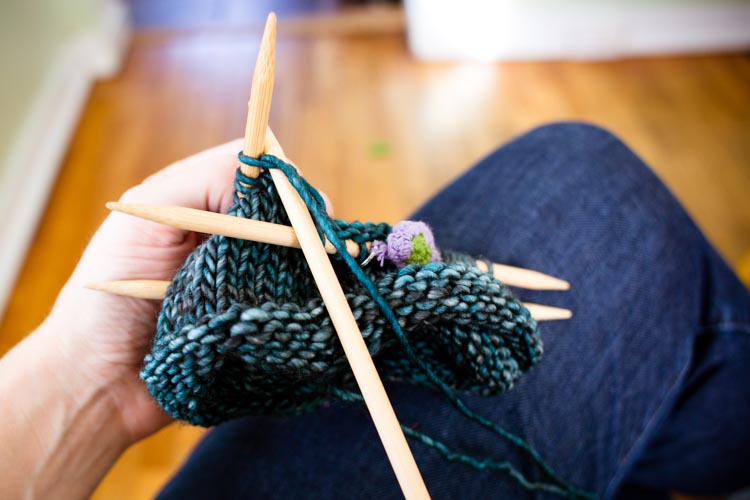
Cast on 50 stitches. Being careful not to twist the stitches, join in the round using the stitch marker to mark the beginning of the round. Purl for 1 ¼ inches.
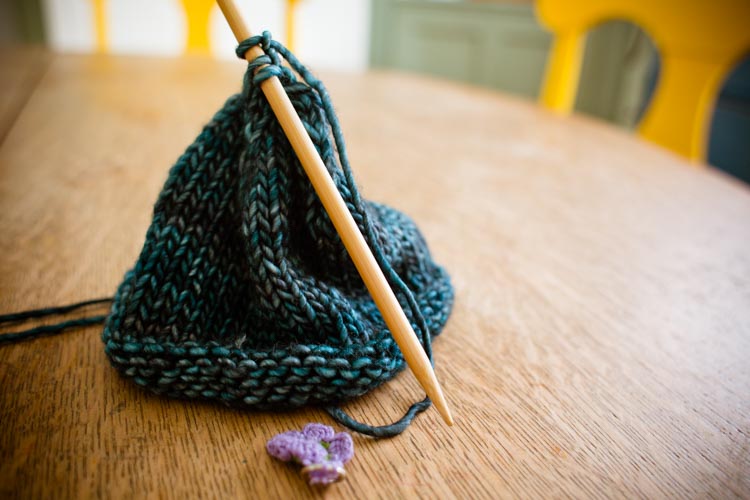
Now, switch to knitting and knit until the entire hat measures 4 inches from the cast-on edge. Then, work the decrease rows to form the top of the hat as follows:
Round 1: (ssk, k6, k2tog) repeat to end of row.Round 2 (and all even-numbered rounds): k to end of row.Round 3: (ssk, k4, k2tog) repeat to end of row.Round 5: (ssk, k2, k2tog) repeat to end of row.Round 7: (ssk, k2tog) repeat to end of row.Round 9: (ssk) repeat to end of rowRound 10: k2tog, k2tog, k1.
Thread the tail of the yarn onto a yarn needle, and run it through the remaining stitches. Cinch the top of the hat closed, and tie off the tail, tightly and discreetly, near the top of the hat. Weave in the end of the tail at the top of the hat, as well as any yarn tail leftover from your cast-on at the brim of the hat.
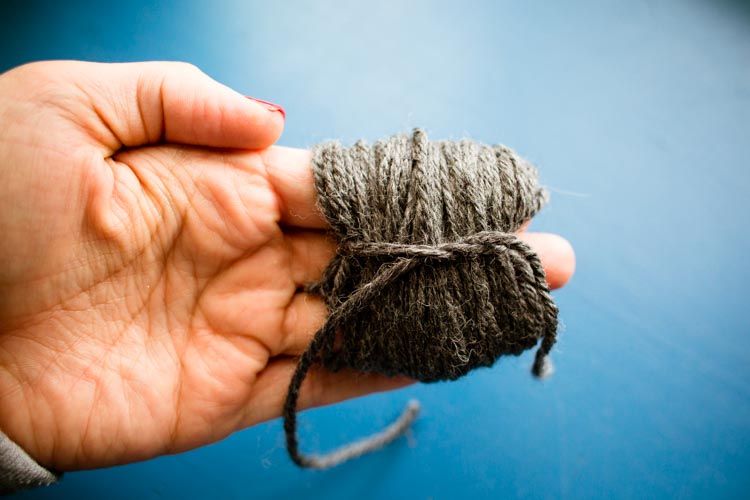
To make the pompom, cut a 6-inch piece of the scrap yarn and set it aside. Now, wrap the remaining scrap yarn around 3 fingers of your non-dominant hand. The more yarn you wrap, the fatter and fluffier your pompom will be.
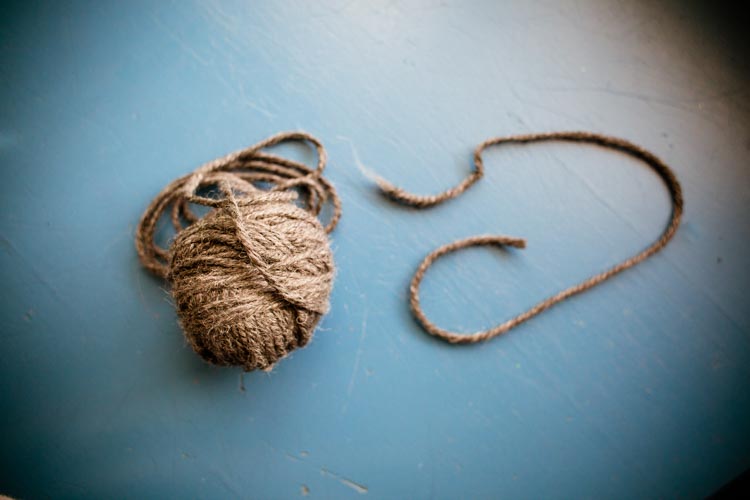
When you’re finished wrapping, part your fingers slightly between your pointer and middle fingers. Use the 6-inch piece of yarn you cut to tie around the middle of the wrap, cinching it tightly with a knot.
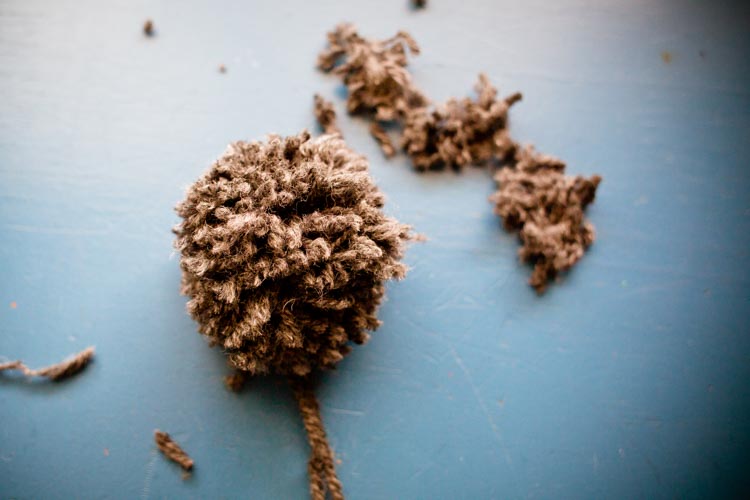
Use sharp scissors to cut the loops at either end of the wrap, trimming as necessary to get a nice, round shape. Last, thread the tails (from the 6-inch piece of yarn you cinched the middle with) onto a yarn needle, and use them to tie the pompom to the top of the hat. Once again, use the yarn needle to weave in the ends so that they don’t show on the outside of the hat.
If you liked this tutorial, here are others you might enjoy:
Not yet a subscriber? Try a free trial HERE.
About the authors
-

Meryl Carver-Allmond
Sparkle Kitchen & Craft BloggerThe Sparkle Kitchen Series is created by Meryl Carver-Allmond.
Meryl lives in a hundred-year-old house near the prairie with her sweet husband, two preschoolers, one puppy, one gecko, and about ten chickens. While she’s been writing since she could pick up a pen, in recent years she’s discovered the joy of photography, too. She feels lucky to be able to combine those skills, along with a third passion — showing people that cooking for themselves can be healthy and fun — in her Sparkle Kitchen posts.
