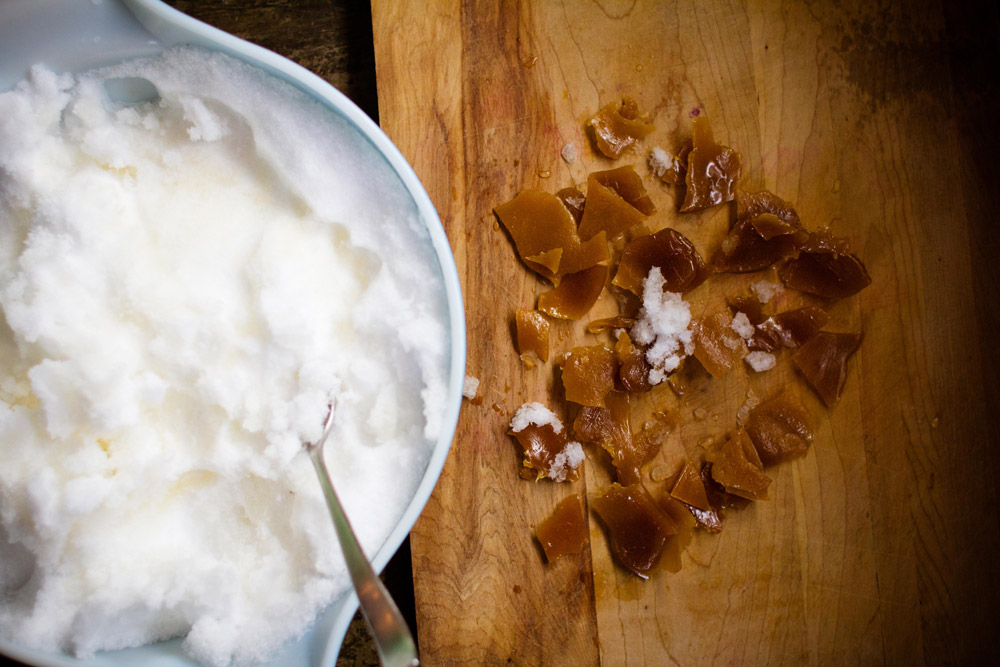
Sparkle Kitchen: Maple Syrup Candy
In this Martin & Sylvia Nature School story “Sugaring Together“, maple sugaring time has finally arrived, but Martin is upset when he learns he’ll miss the first day of sugaring at home — a disappointment made worse by the notion that Sofia will be taking his place. But when he arrives at his wilderness school that morning, he learns that not only will they be sugaring, but HE will be teaching the others how it’s done!
Note this post was first accompanied the At Home with Martin & Sylvia “Maple Perfect” story. We thought it was just perfect for nature school so we paired it up with this new story.
I first learned about making maple syrup from Laura Ingalls Wilder’s book, Little House in the Big Woods. Wilder tells the story of a “sugaring-off” party and they make maple syrup candy in the snow.
Even if you don’t have a maple tree to tap or, like me, your climate isn’t right for the sap to really flow, you can still get in on the fun of sugaring season by making maple syrup candy. You’ll only need three ingredients: pure maple syrup, butter, and a patch of clean snow.
While Wilder’s family made the candy by tossing the combined syrup and butter outside into the snow, I think it’s easier ― particularly making this with younger children ― to bring a bowl of snow inside, instead. Just stash it in the freezer to keep cold while you’re heating the syrup.
At a real sugaring-off party, maple syrup candy would traditionally be eaten with pickles and saltine crackers to cut the sweetness, but feel free to improvise with whatever salty food is in your pantry. The only thing to be careful of is your dental work ― this candy is definitely sticky enough to do some damage if you indulge too vigorously!
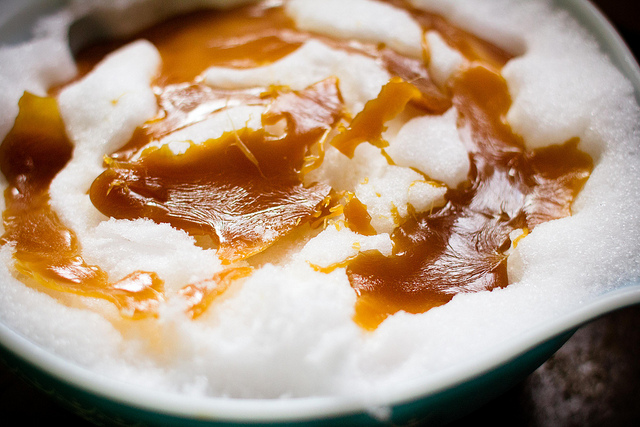
Maple Syrup Candy
Ingredients
½ cup pure maple syrup
2 Tablespoons butter
a bowl of clean snow
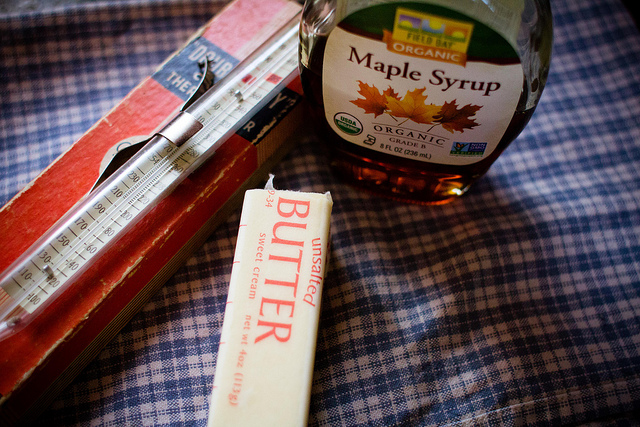
Collect a bowl of clean snow from outside and put it in your freezer while you work.
Combine the syrup and butter in a saucepan with high sides. Stirring constantly, heat the mixture to 220 degrees. The syrup will be a molten, sticky mess, so this is definitely a step for grown-ups to do.
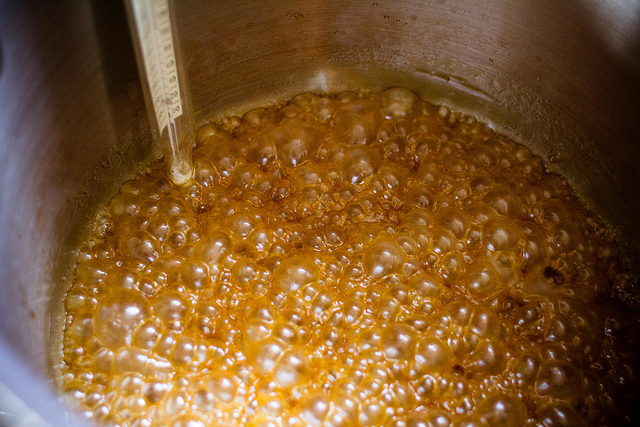
Once it’s hot enough, turn off the heat and let the mixture rest for about a minute. Then, remove your snow from the freezer and drizzle the syrup out into long ribbons. As soon as you see a skin start to form on top of the syrup, it’s cool enough to carefully peel out of the snow.
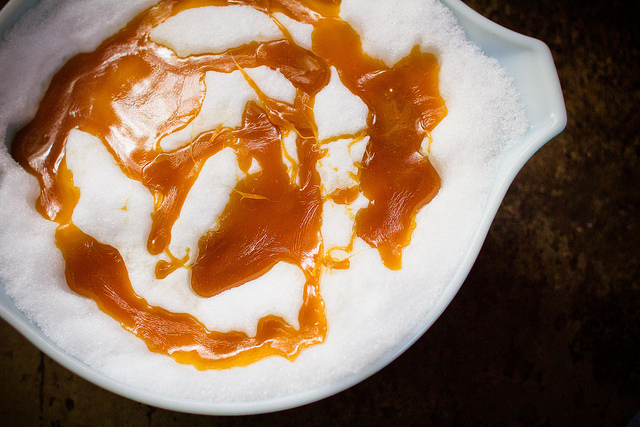
This recipe makes enough for everyone to try a bite and then some. If you end up with leftovers, they can be kept in the fridge for at least a few weeks. They’ll stick together, but that didn’t stop anyone at our house from enjoying them for an entire snowstorm.
If you liked this recipe, here are others you might enjoy:
Not yet a subscriber? Try a free trial HERE.
About the authors
-

Meryl Carver-Allmond
Sparkle Kitchen & Craft BloggerThe Sparkle Kitchen Series is created by Meryl Carver-Allmond.
Meryl lives in a hundred-year-old house near the prairie with her sweet husband, two preschoolers, one puppy, one gecko, and about ten chickens. While she’s been writing since she could pick up a pen, in recent years she’s discovered the joy of photography, too. She feels lucky to be able to combine those skills, along with a third passion — showing people that cooking for themselves can be healthy and fun — in her Sparkle Kitchen posts.
