
Sparkle Craft: Colorful Ice Garland
In the Martin & Sylvia: Saturdays! story, “Four In One Snow Forts”, Martin and Sylvia join with their friends Jonathan and Sasha to build a snow city. The four friends quickly learn, however, that trying to build a snow house alone is hard work (and takes a long time!) But when they work together, they make a home that wouldn’t have been possible without each individual’s vision and contribution.
If you live someplace cold and snowy, perhaps you’ve had a chance to build a snow house as well! Today, we’re going to add a bit of color to your wintry home (or a fun temporary outdoor decoration if you live somewhere warmer!) with a beautiful DIY Ice Garland. You can make it outdoors if it’s chilly out, or in your freezer if it’s not. But either way, your snow forts (or tree forts!) will take on a new lovely, colorful décor!
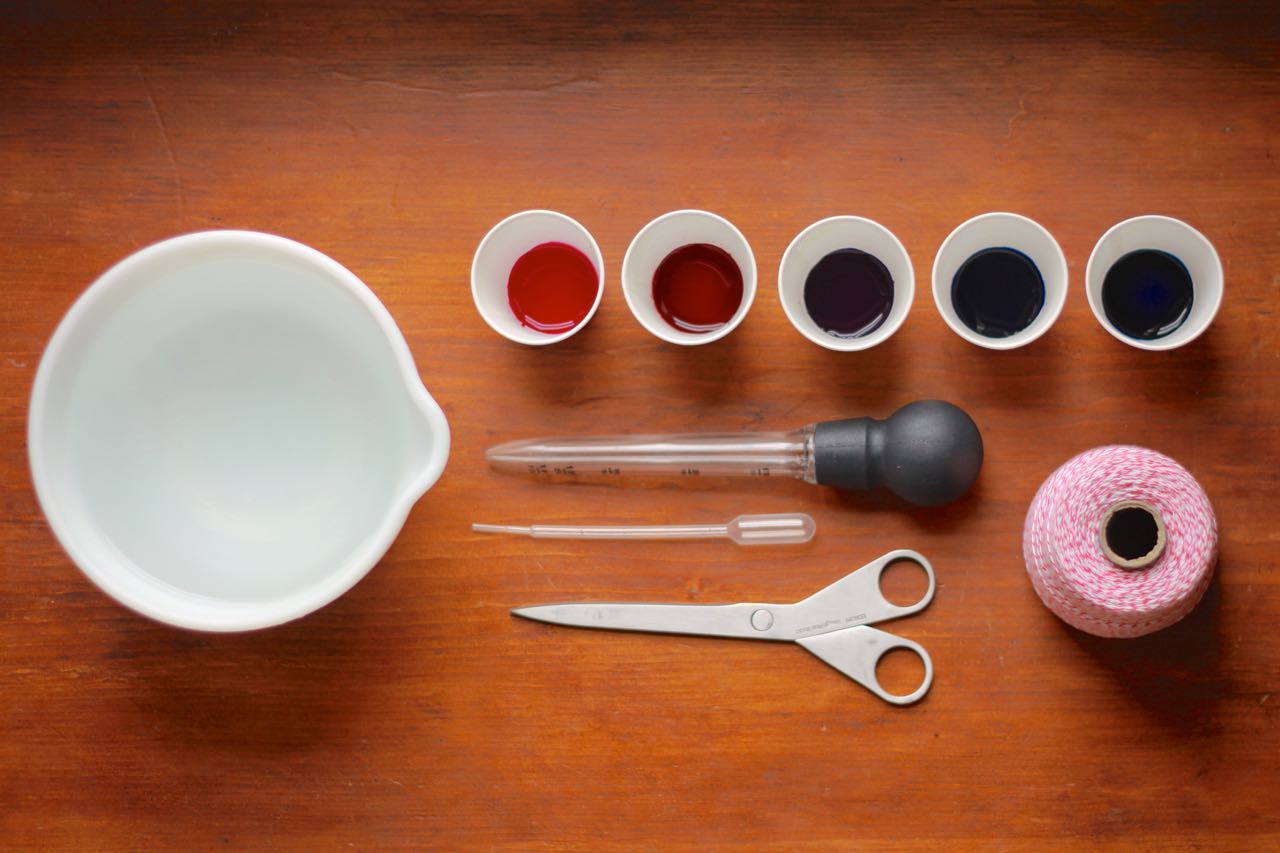
You Will Need
Water
Food coloring or liquid watercolors
Small paper cups, an ice tray, muffin tin, mini-bundt pan, etc.
Cotton string
Turkey baster or ladle
Pipette or spoon
Scissors
What To Do
Choose your colors. First have your little one choose which colors they would like to have on the ice bunting. You can experiment with having all colors in the same color field (red, purple, blue) or use the whole rainbow (red, yellow, blue). Mix together a couple drops of food coloring, or one tablespoon of liquid watercolor paint, and about 2-3 Tablespoons of water in individual cups and set aside.
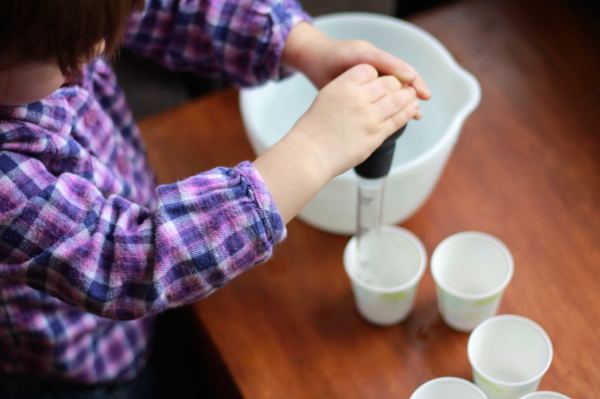
Fill your cups. Set out a water bowl, ladle, and as many cups as you would like pieces on your garland. Using the ladle or a turkey baster, have your little one fill each cup about halfway full with clear water.
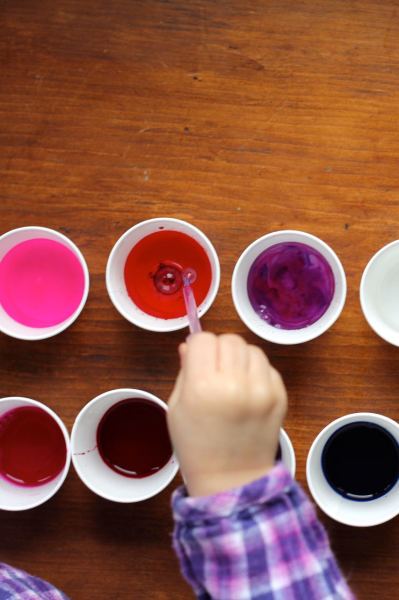
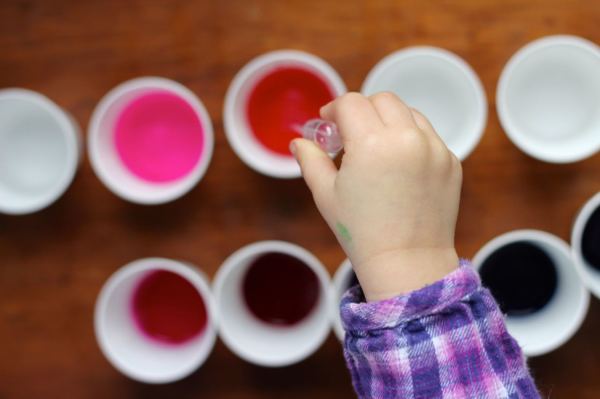
Color your garland. Now, using a pipette or small spoon, let your child experiment with adding colors to the water cups. Don’t worry if they mix – that’s half the fun!
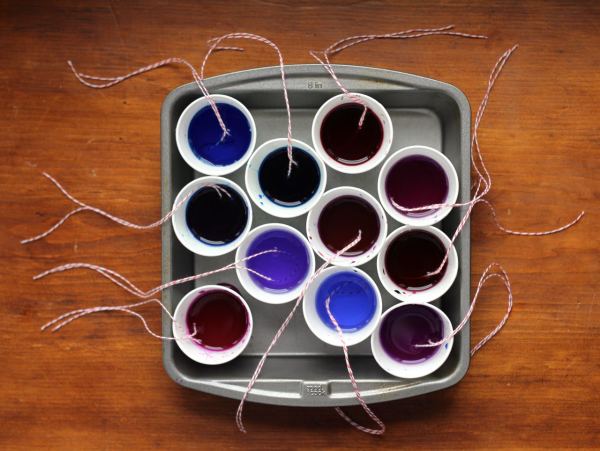
Place your garland strings. Once your little one is satisfied with the colors they have created, place the cups in a shallow pan or tray so you can move them more easily.
Cut several pieces of string. Fold each piece in half and fully immerse the looped middle into each cup (see photo above).
Freeze your garland. If your outdoor temperatures are consistently below freezing, place your tray and cups outside to freeze. Otherwise, place your cups in your freezer. Be sure to check back often for another opportunity to watch water-freezing in action!
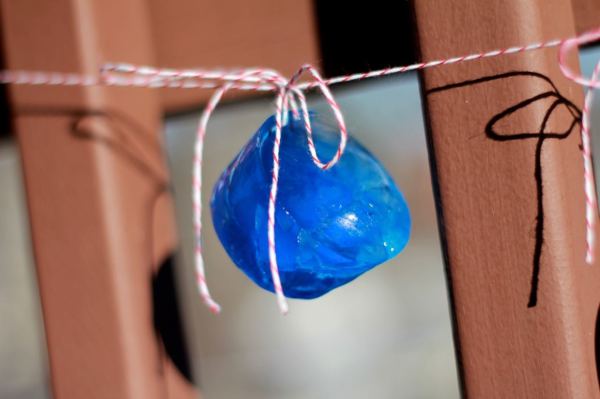
Once the cups have frozen, have your little one help rip off the paper cup, revealing the colored ice block. If you chose to use an ice tray, muffin or mini-bundt tin, just run the back of the tin under warm water for a few seconds to help release the ice.
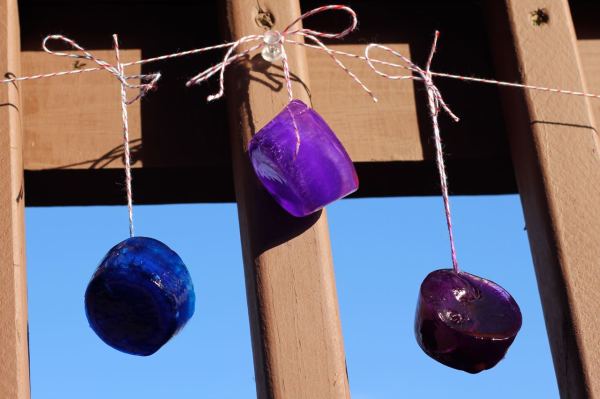
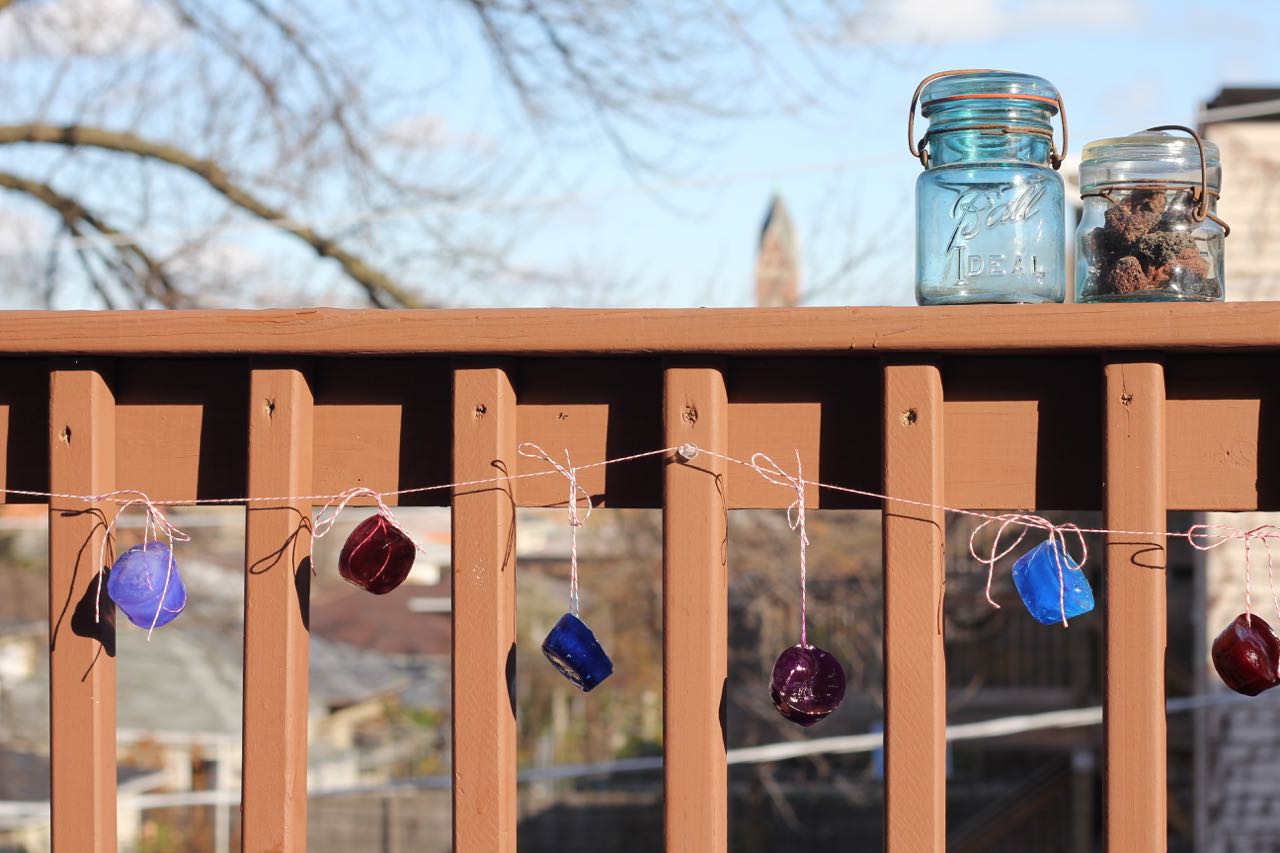
With your little one, choose where you will hang your bunting and put up a long piece of cotton string. Tie on each piece of ice. Finally, stand back and enjoy the sparkle!
Explore More & Make Connections
What will happen when the sun shines on your ice bunting? Watch and see! Could you decorate your snow fort with ice ornaments? What else could you decorate outside with your ice garland or ice ornaments?
Can you think of something winter birds might like to eat that you could add to your ice bunting? How will you add or attach it? How would the birds get to the food?
About the authors
-

Andrea Folsom
Sparkle Crafts BloggerAndrea Folsom describes herself as a writer, editor, creative maker, and eternal optimist. She is passionate about learning and sharing new creative techniques, making beautiful spaces, and talking about the social-emotional benefits of creativity and art. She runs [Crafting Connections](http://www.craftingconnections.net/) – a website providing inspiration, practical advice, and projects for creative families – with her close friend Danielle Reiner.
-

Danielle Reiner
Sparkle Crafts BloggerDanielle Reiner describes herself as a creative, a maker, and a mama. At the heart of her story is creativity, though that hasn’t always been the case. She rediscovered her deeply hidden creativity early in adulthood – with a ball of yarn and a couple of knitting needles – and hasn’t stopped since. Danielle also runs [Crafting Connections](http://www.craftingconnections.net/) – a website providing inspiration, practical advice, and projects for creative families – with her close friend Andrea Folsom.
