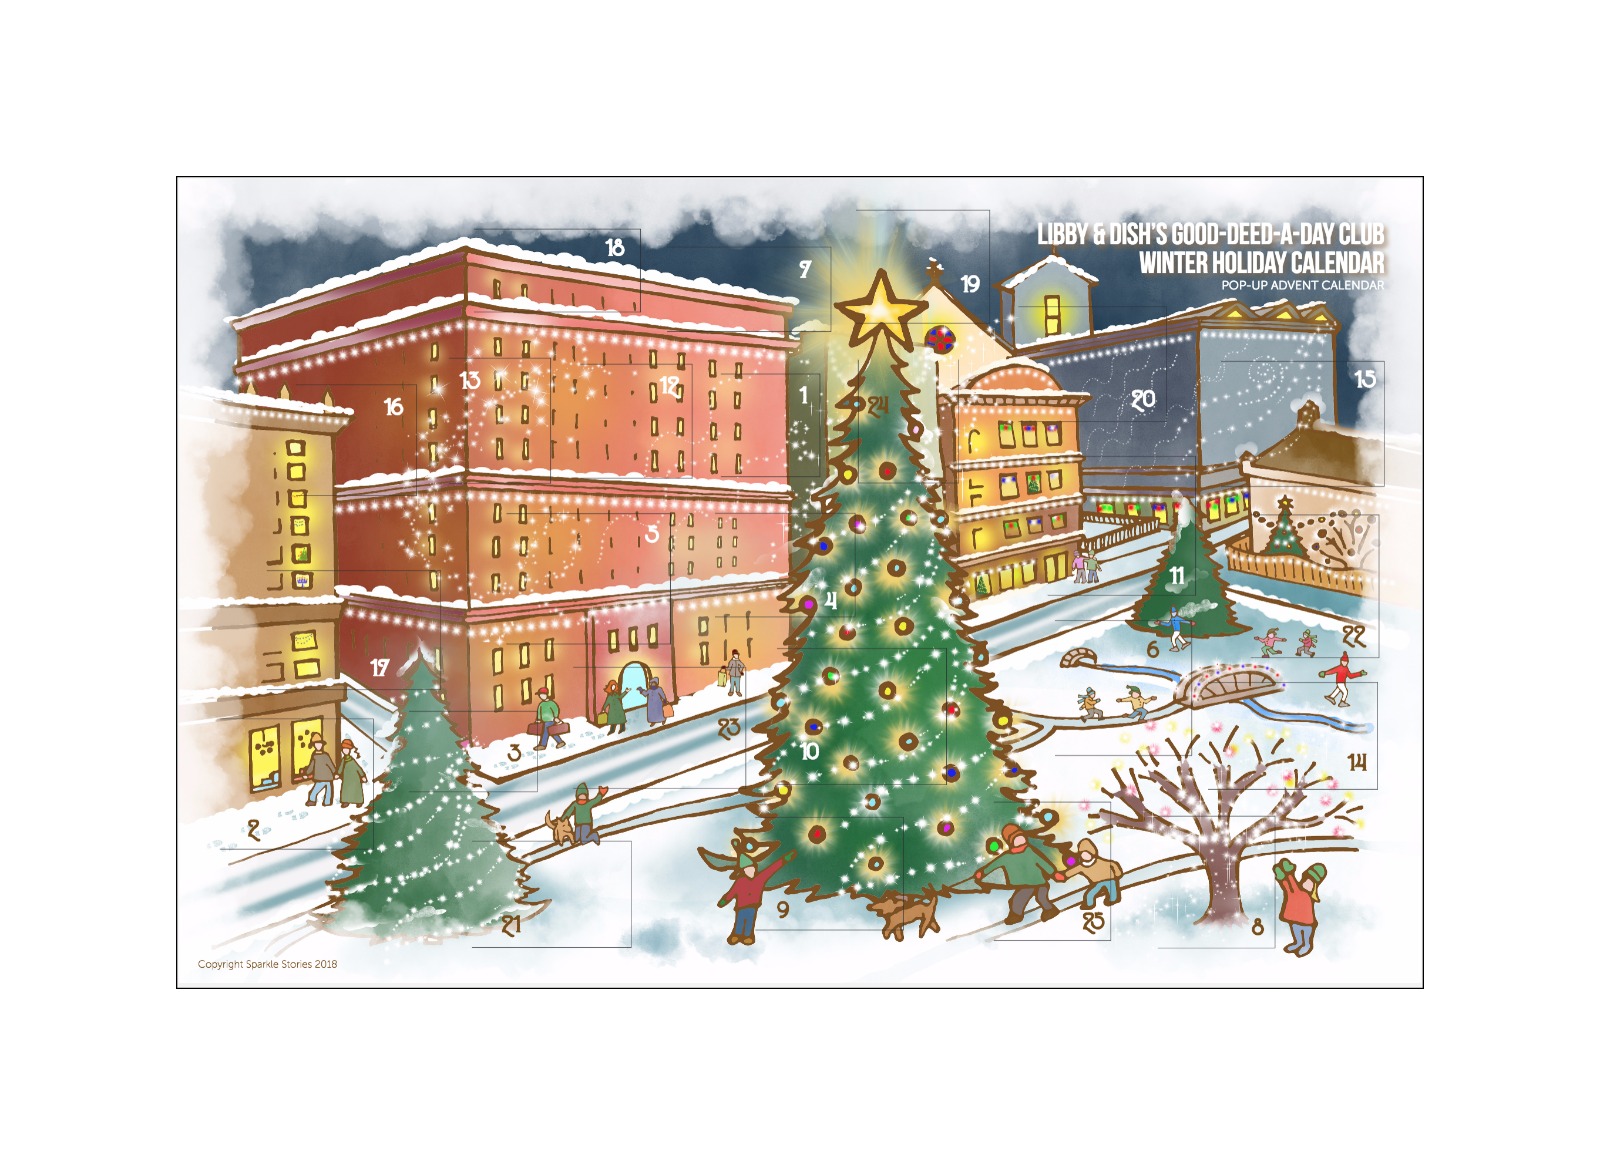
Tutorial: Libby & Dish’s December PRINTABLE Holiday Calendar!
We are so excited to launch a new story-a-day audio experience this December!This year it’s all about Libby & Dish.
The new story collection is called Libby & Dish’s Good-Deed-A-Day Club, and we’ll be releasing a story each day of December all the way to the 25th.
We couldn’t resist creating a printable holiday calendar to go along!

Each of the 25 little doors hides a clue to the matching story in Libby & Dish’s Good-Deed-A-Day Club – so you can listen and open a door each day from December 1st to the 25th!
We’ve also created a parent cheat sheet for what’s ahead, so you can let the ideas from the stories inspire your own daily activities and encourage the spirit of giving with your own kiddos. (Download it here.)
This calendar involves a little DIY (cutting and glueing) – so we’ve created a tutorial post to show you what to do. If you want to see the process in action, take a look at last year’s video tutorial at the bottom of this postit’s the same construction process!
Libby & Dish’s December Holiday Calendar
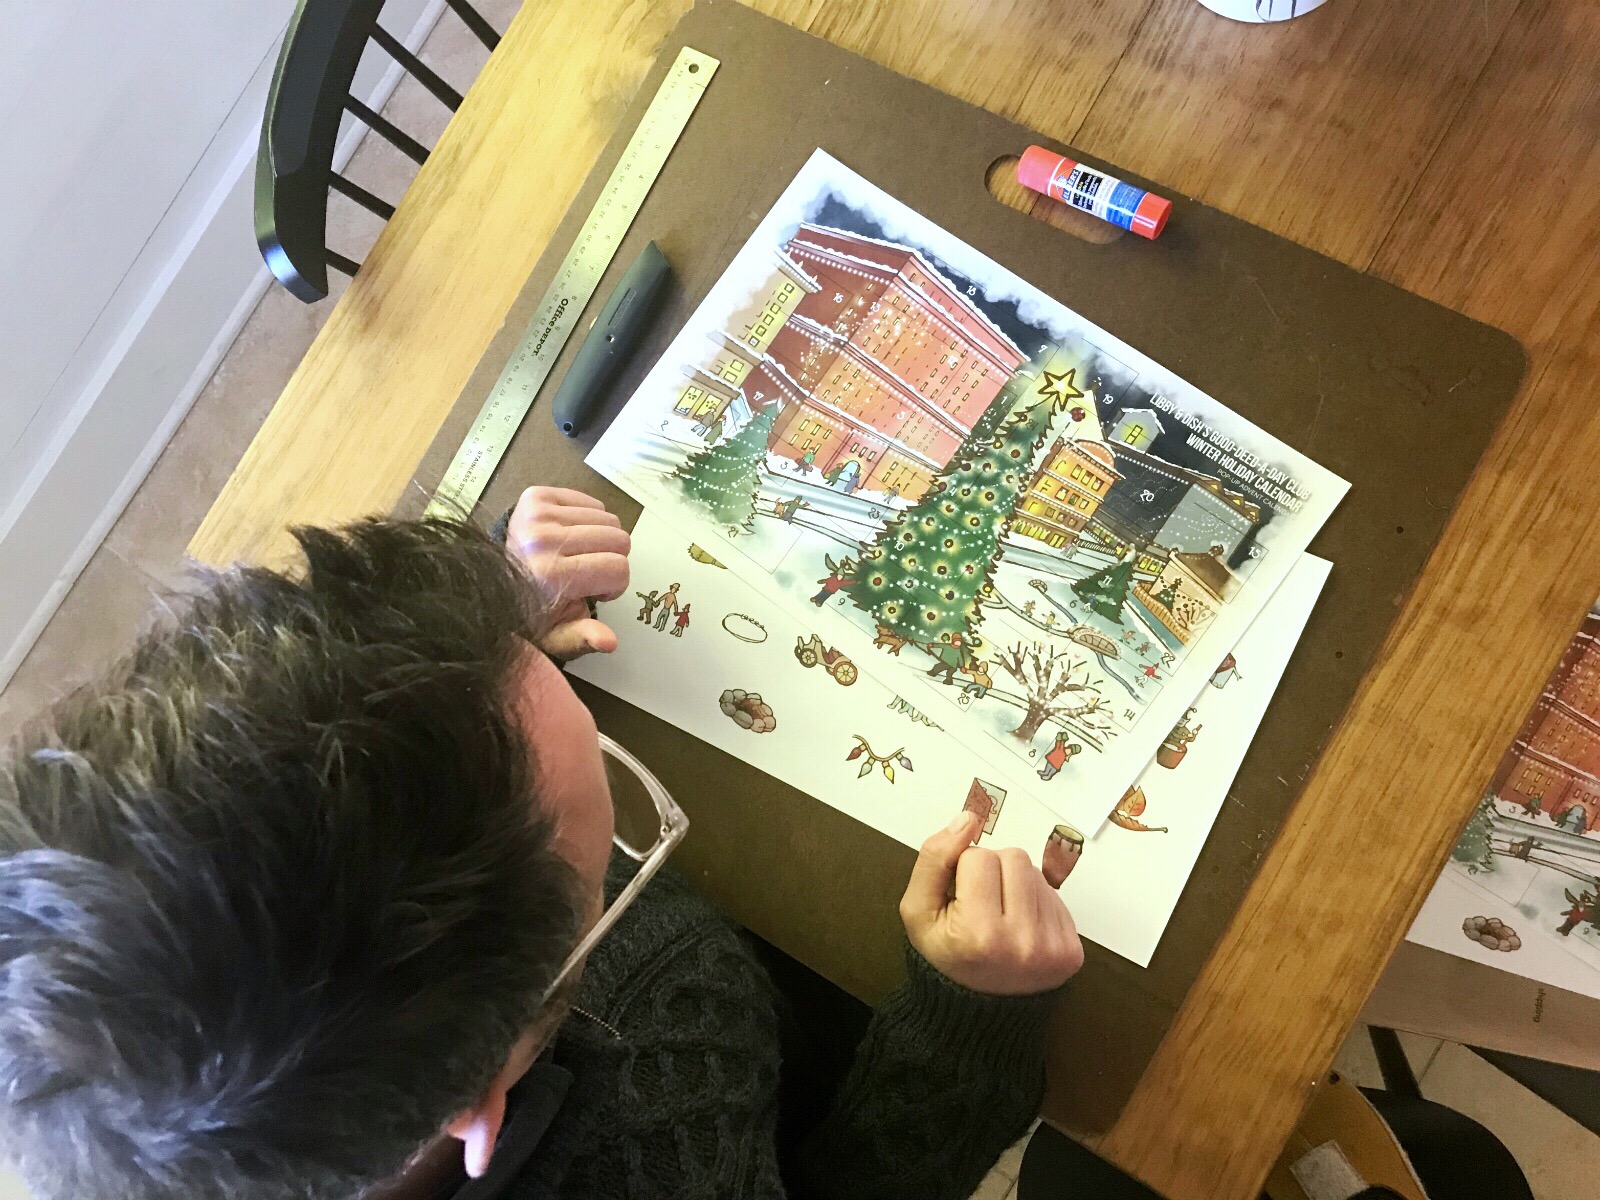
Materials:
- a sharp x-acto knife or matte knife
- a metal-edged ruler
- a glue stick
- a surface for cutting (ie: an art board)
- the 2 pages of the December Holiday Calendar
Instructions
1) Download the 11×17 color printableHERE.
(Click the text above to download.)
There are two pages: a front and a back. (These will be overlaid to create the finished Holiday Calendar.)
Suggestion: I recommend doing this project without children so they can be surprised by the images behind the door.
2) Send it out to a printer.
You’ll want to print on 11×17 cardstock (ledger size).We chose glossy because it looks so sharp.
I used the Office Depot down the street – and simply placed the order on their website. But you can use any business that can print on 11×17 cardstock.You can email it to a printer, upload it to a website, or move it to a flash drive and take it to the print shop.
Suggestion: Print 2-3 copies of each page so you have a fresh copy in case you make a mistake.
3) Cut the doors of the first page.
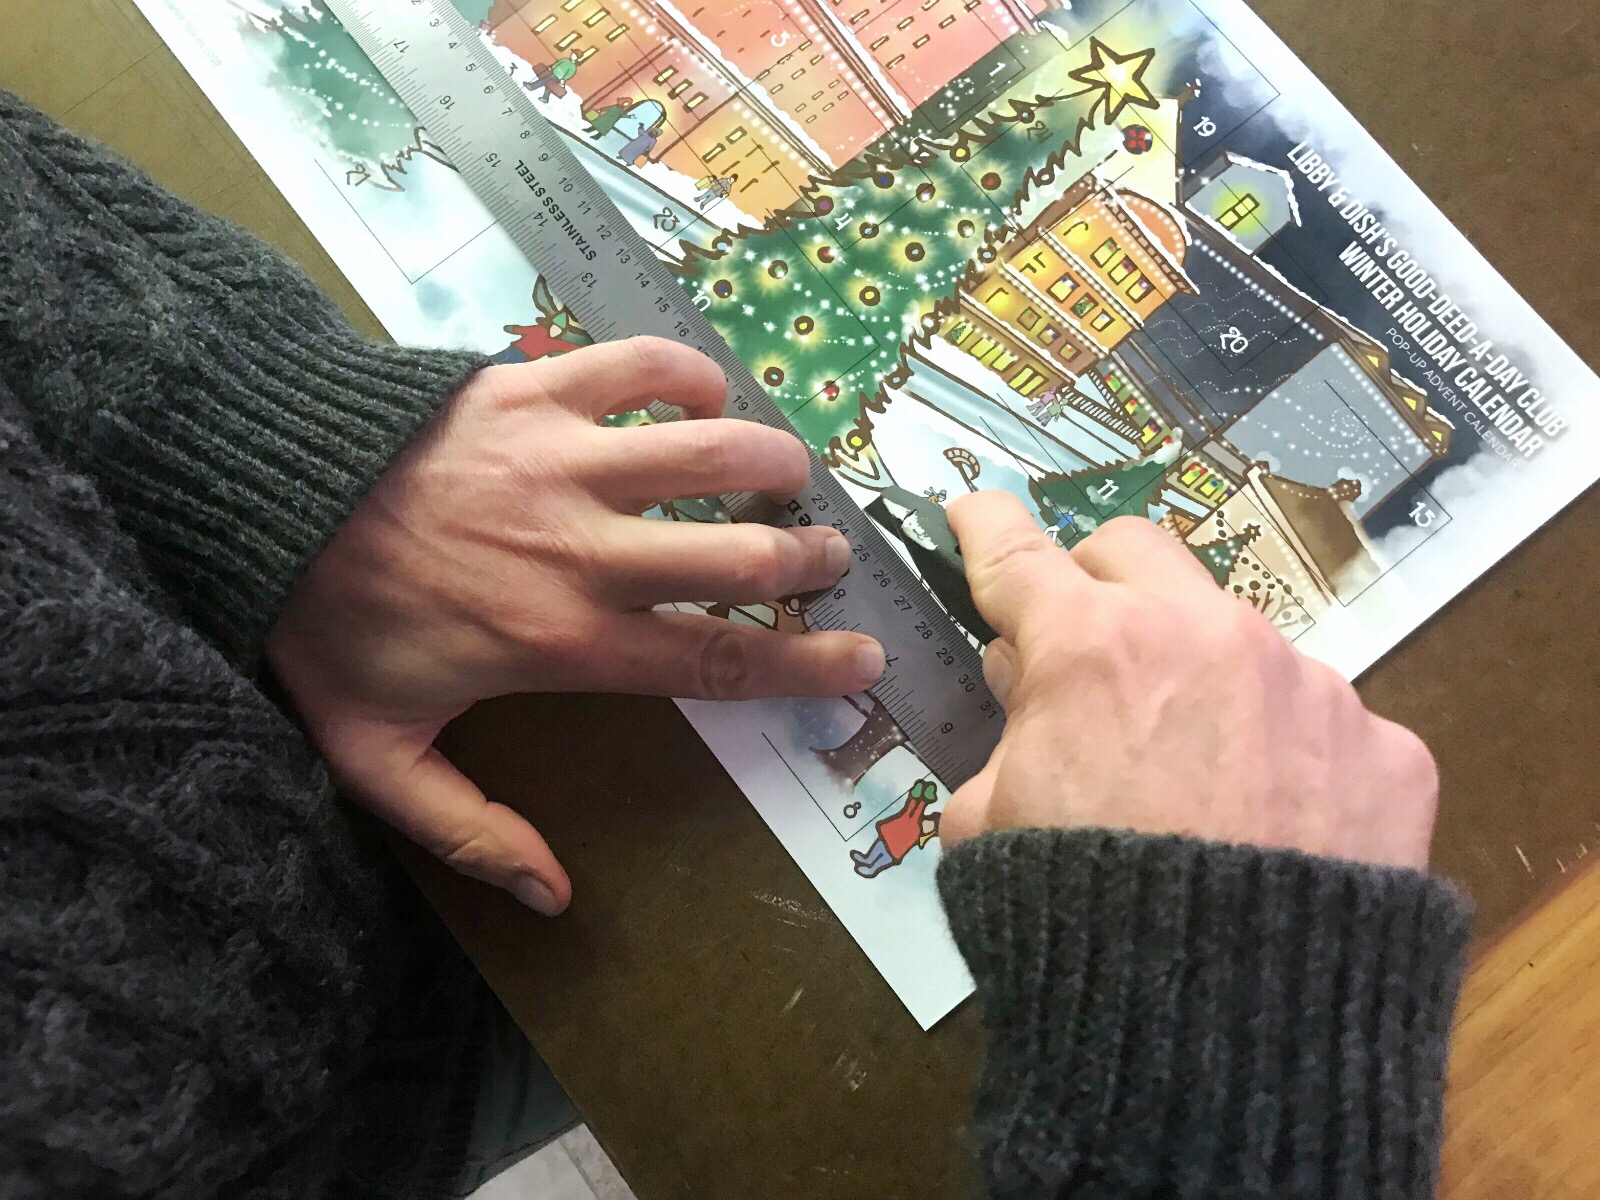
Place the first page on a safe surface (that you’re OK cutting on).
Using the metal-edged ruler as a guide, cut where you see the lines for the 3-sided door with the x-acto knife.
Try not to open or bend them.
Suggestion: Go slowly and take breaks. It requires focus and a steady hand.
4) Glue the back side of the first page.
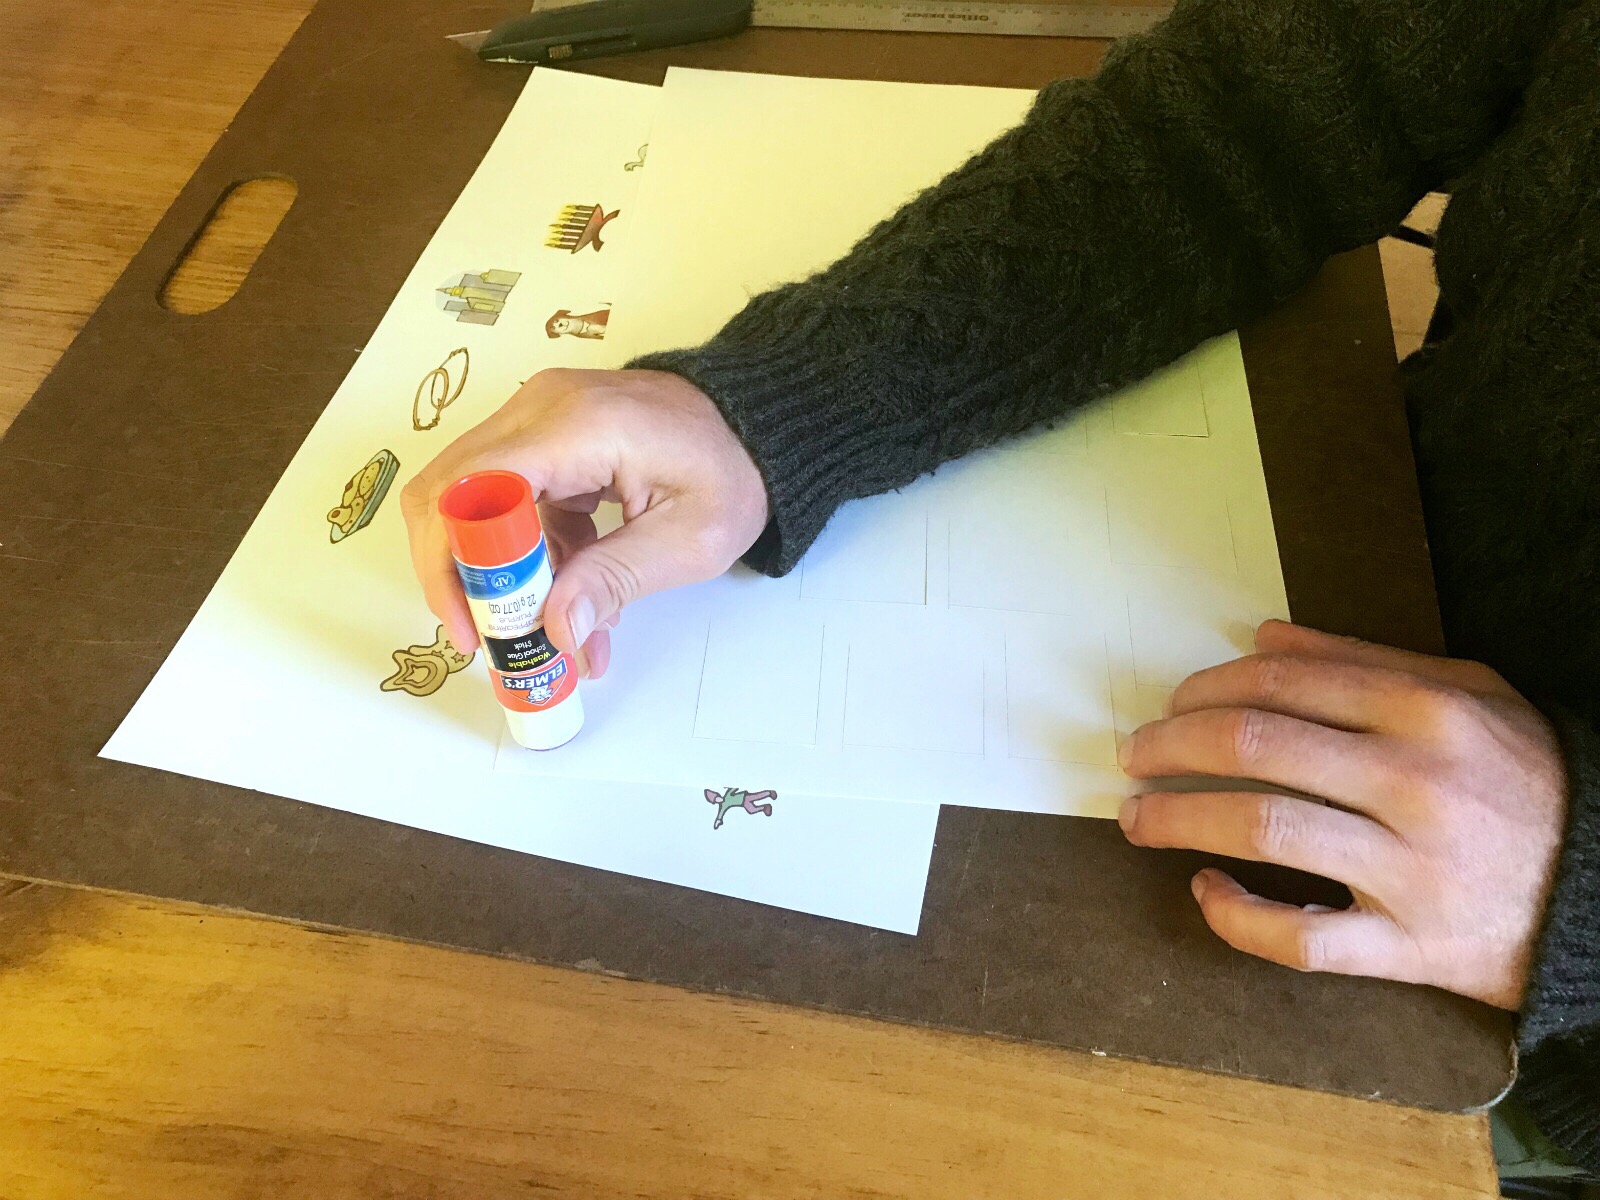
Turn the first page over (carefully so as to protect the newly cut doors) and add glue from the glue stick to the areas outside the doors.
Important: Be sure to keep glue OFF the doors, otherwise the doors won’t open!
5) Lay the 1st page on top of the 2nd page.
Make sure the sides match perfectly, and then use your hands to smooth the entire top.
And there you have it!Your own Libby & Dish December Holiday Calendar!

Download the 11×17 color printable HERE.
(Click the text above to download.)
Quick video tutorial
We made a tutorial to go with our 2016 Junkyard Tales Advent Calendar – which is constructed the exact same way.Find it here:
If you have any questions, don’t hesitate to ask:customerservice@sparklestories.com
Not yet a subscriber? Try a free trial HERE.
About the authors
-

Lisabeth Sewell
Doer of Many Wonderful and Odd Things (including CEO)Lisabeth Sewell has worn many hats at Sparkle over the years, from Sparkle Kitchen Blogger to Editorial Director to Doer of All Odd Jobs. Her primary role is as CEO.
